

How to Create Custom Labels That Stand Out
More than just a sticker with your name on it, creating a custom label is a whole process. It's about carefully designing, picking the right materials, and making sure the final result truly reflects your brand's identity. A fantastic label is your silent salesperson, grabbing attention and showing value before anyone even picks up your product.
Why Your Custom Label Is Your Hardest-Working Employee
Before we get into the fun stuff, let's talk about why this is so important. Don't think of your label as just a piece of sticky paper—it's your most dedicated employee. It works 24/7, whether it's sitting on a store shelf or showing up in an online photo, constantly telling your story and convincing people to choose you.
The Silent Salesperson on the Shelf
Picture someone walking down a store aisle, faced with a dozen options that all look pretty similar. What makes them stop and grab your product? A lot of the time, it's the label. A thoughtfully designed custom label does the heavy lifting for you.
- It’s the first impression. Your label is like a first handshake. It can instantly communicate quality, a sense of fun, or pure sophistication.
- It tells your brand’s story. Are you an eco-friendly candlemaker or a fiery hot sauce brand? The colors, fonts, and even the texture of your label communicate that in a split second.
I've seen it happen time and again. One small candle business, for instance, saw a huge jump in sales just by updating its labels to better match the high-quality, artisanal vibe of its products. A simple design refresh can make all the difference.
Building Trust and a Real Connection
A professional-looking label tells customers you're a professional brand. It shows you care about the little things, which builds a quiet, subconscious trust. This is the whole idea behind private labeling, where the entire brand's reputation is built on the custom packaging and labels you design.
That connection is everything in a crowded market. The need to stand out is a huge reason the global labels market, valued at around USD 76.7 billion in 2025, is only getting bigger. We dive deeper into this with practical tips in our guide on using custom stickers for small business.
At the end of the day, learning how to create custom labels is about creating an experience. It’s that final, critical touch that can turn a first-time buyer into a loyal fan who looks for your product every single time.
Planning Your Label Before You Ever Start Designing
I know how tempting it is to jump straight into the fun part—designing. But take it from someone who has seen it all: the real magic of a label that sells comes from the prep work you do before you even open a design tool. Think of it as laying the foundation for a house. A little planning now saves a world of headaches and redesigns later, ensuring your final label isn't just beautiful, but also smart and effective.
The very first thing you need to lock down is your brand’s core message. What's the one feeling you want someone to have when they pick up your product? For a line of small-batch organic soaps, it might be "pure and calming." For a killer hot sauce, maybe it's "bold and adventurous." Nailing this down is your compass; it will guide every single choice you make, from the colors you pick to the fonts you use.
Know Your Customer and Gather Your Must-Haves
Okay, now think about who you're actually talking to. A label designed to catch the eye of a Gen Z TikTok enthusiast will look completely different from one made for a new parent shopping for baby-safe products. When you understand your ideal customer, you can create a design that speaks their language and makes them feel like you made this product just for them.
With that vision in mind, it's time to get practical and gather all the non-negotiable information. This is the stuff that absolutely has to be on your label, whether for legal reasons or just to make sense to the customer. Forgetting a key piece of info here can mean a costly and frustrating reprint down the line.
To make sure you've got everything covered, here's a quick checklist to run through before you start designing. It’s your safety net for getting all the essential details in one place.
Essential Information Checklist for Your Custom Label
| Information Category | Examples & Considerations | Why It's Important |
|---|---|---|
| Product Identity | Product Name, Flavor/Scent Variation, Brand Logo | This is your product's first impression. It needs to be clear, memorable, and instantly recognizable. |
| Legal & Compliance | Net Weight/Volume, Ingredient List, Allergen Warnings | These are often legally required and build trust by showing transparency and ensuring customer safety. |
| Company Details | Business Name, City/State, Website or Social Media Handle | Lets customers know who made the product and how they can find you again. It's a crucial part of building a brand. |
| Retail & Marketing | Barcode (UPC), QR Code, Batch Number | Essential for selling in stores. QR codes are also a great way to link to your website, a recipe, or a special offer. |
Think of this table not as a chore, but as a map. Having these details ready to go frees you up to focus on the creative side of things without having to stop and hunt for information.
Measure Twice, Order Once for a Perfect Fit
This might sound obvious, but you’d be surprised how often it gets overlooked: you have to measure your container precisely. A brilliant design can be completely undermined if it wraps weirdly, wrinkles, or gets cut off. Grab a flexible measuring tape—not a rigid ruler—and get hands-on with your packaging.
Every container has its own quirks. A tapered candle jar, for instance, needs a specially shaped label to avoid bubbling and creasing. A bottle with ridges means your label has to fit perfectly in the smooth space between them. Pay close attention to the usable surface area, which is the flat, smooth part where your label will actually live.
Also, don't forget to consider the container's texture. A standard adhesive works great on a glossy surface, but a rough, matte, or recycled material might need a stronger, more specialized label material to stick properly and look professional. Getting this small detail right is the difference between an amateur look and a product that pops on the shelf.
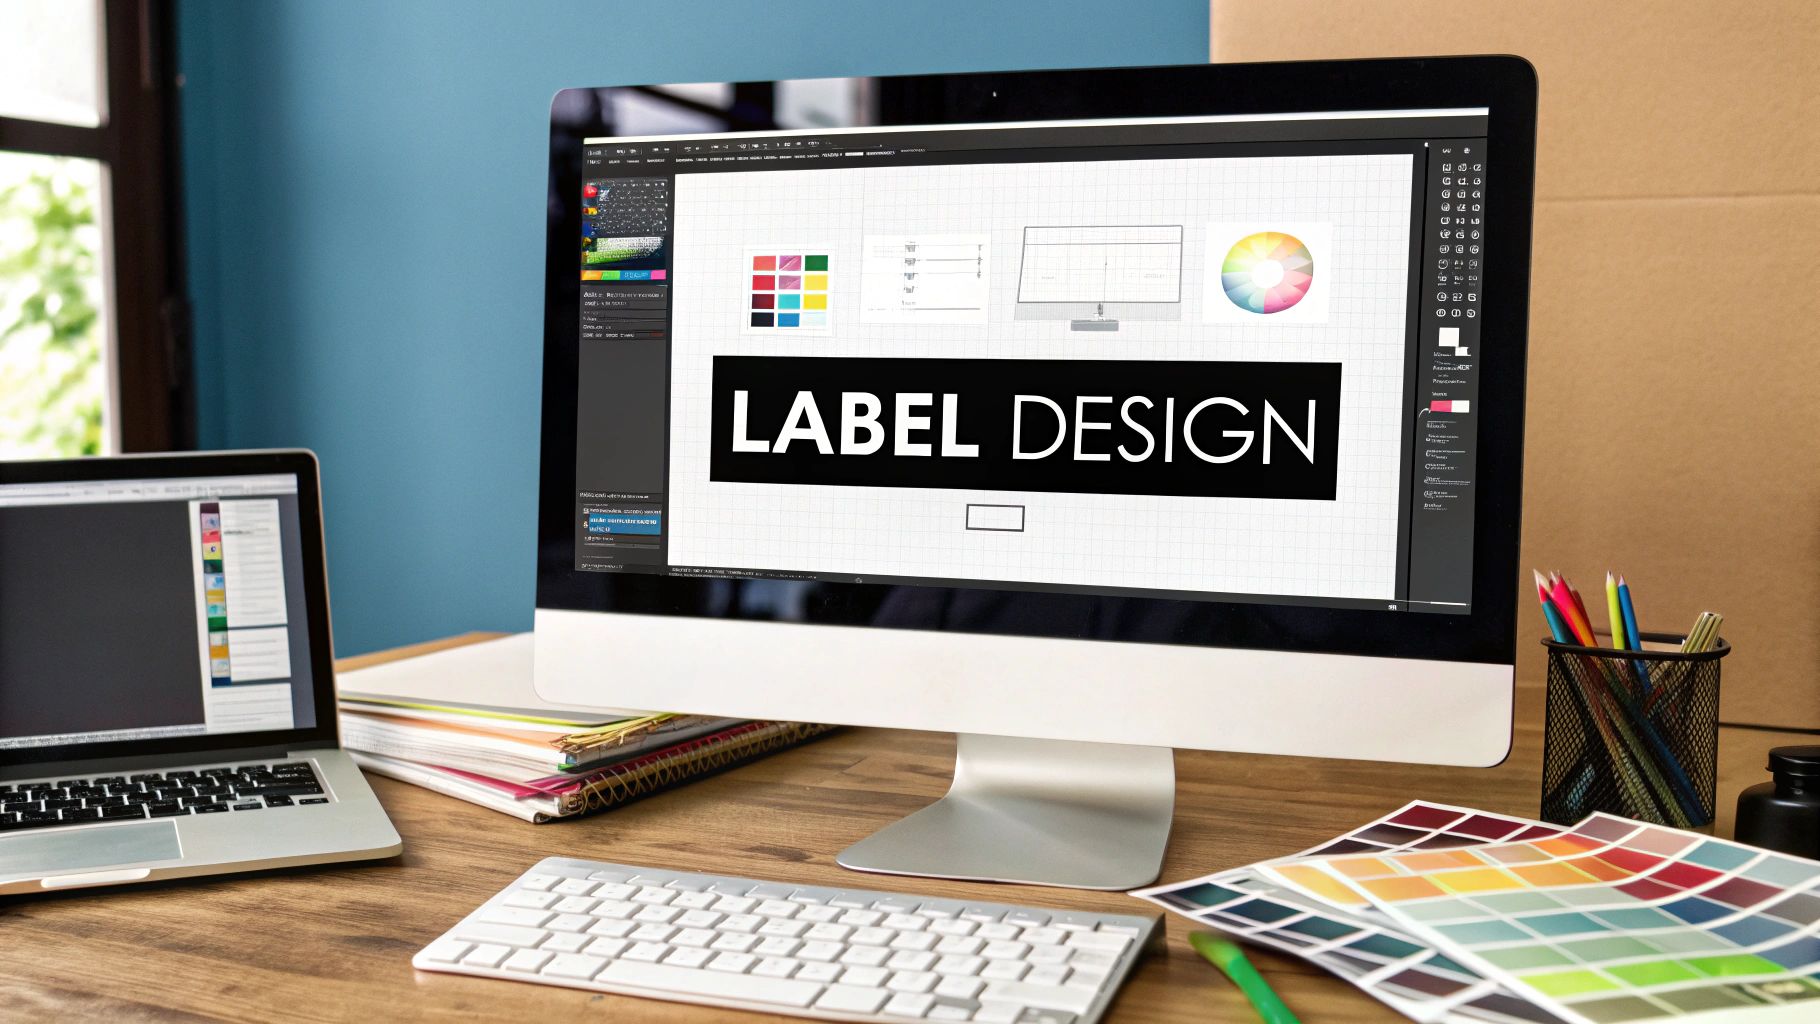
Designing a Label That Actually Looks Professional
Alright, let's get to the fun part—bringing your vision to life on the screen. The best news? You absolutely do not need a graphic design degree to create custom labels that look incredible. With the online tools available today, anyone can put together a design that’s both beautiful and effective.
I’m going to walk you through the fundamentals that really matter. We'll talk about picking fonts people can actually read and choosing a color palette that perfectly captures your brand's personality. These aren't just abstract theories; they're practical tips I've seen work time and time again.
Your Essential Design Toolkit
Forget about needing expensive, complicated software. There are so many fantastic tools out there that are genuinely user-friendly and built for people who aren't professional designers. Platforms like Everone's own design tool are made specifically for this, offering templates and simple interfaces that take the guesswork out of the process.
For example, take a look at a popular tool like Canva. It shows you just how these platforms organize templates and design elements to make everything feel intuitive.
This kind of visual, drag-and-drop setup lets you play around with different layouts and elements without getting bogged down by a steep learning curve.
Mastering Design Basics Without the Stress
Let's break down the core pieces of a great label design. If you focus on getting these three areas right, you'll see the biggest impact on your final product.
-
Typography That Speaks Volumes: Your font choice is everything. Above all else, it needs to be readable. A great rule of thumb is to use no more than two fonts—one for headlines and another for the body text—to keep the design feeling clean and uncluttered. A script font might feel personal and rustic for a handmade jam, but just make sure the flavor and ingredients list are in a simple, easy-to-read sans-serif font.
-
A Color Palette with Purpose: Colors create an emotional response. A calming, earthy palette of greens and browns is a perfect fit for an organic skincare line, while a bright, bold combination might be just the thing for a kids’ snack. One study even found that color can boost brand recognition by up to 80%, so choose your palette carefully. If you're stuck, try using an online color palette generator for a little inspiration.
-
The Power of White Space: Don't be afraid of empty space! A cluttered label is an unreadable one. White space (which can be any background color, it just means "empty") gives your design room to breathe. It naturally guides the customer's eye to the most important info, like your brand name or the product's key benefit.
Pro Tips for a Flawless Finish
Once you have the basics down, a few small details can take your design from good to truly great. These are the little things that often separate amateur-looking labels from professional ones.
First, always use high-resolution images. If you're including a logo or any graphics, they have to be sharp. Make sure they are at least 300 DPI (dots per inch). A blurry, pixelated logo can instantly make your entire product feel cheap.
Next, you have to respect the safe zone. Printing is a physical process, and cutting blades can shift by a tiny fraction of an inch. To be safe, always leave a small margin around the edge of your label. Keep all your critical text and logos away from this edge so nothing important gets accidentally trimmed off.
Remember, the goal isn't just to make something pretty—it's to create a design that clearly communicates your product's value and makes a memorable impression.
Following these guidelines will give you a solid foundation for designing fantastic product labels that look like you hired a pro. When you feel confident in your design, you're one huge step closer to creating custom labels you'll be proud to put on your products.
Choosing Materials and Finishes That Feel Right
A great design is just the start. The real magic happens when a customer picks up your product and feels the quality. The texture and finish of your label say so much about your brand before they even read a word. Let’s get into the nitty-gritty of materials and finishes so you can find that perfect match.
Think about where your product will live. A bath bomb needs a label that can handle a steamy bathroom, making a durable, waterproof vinyl a must-have. On the other hand, a jar of small-batch honey would feel so much more special with a rustic, textured paper label. It just fits the vibe.
Seeing the different options up close like this really helps you imagine how the texture and shine can change everything.
Getting a Feel for Your Material Options
Picking the right material is about more than just looks—it’s about durability. You need your label to survive whatever life throws at it. Here are a few of my go-to choices for custom labels:
- White Vinyl (BOPP): This stuff is the workhorse of the label world. It’s waterproof, oil-resistant, and tough as nails. I always recommend it for products that get handled a lot or live in damp environments, like skincare, drinks, and food jars.
- Clear Vinyl (BOPP): Want that sleek, "no-label" look? This is your answer. It’s perfect for letting the product itself shine through, especially if you have a colorful liquid, a beautiful candle, or something in a really nice glass container.
- Paper Labels: A fantastic, classic choice for any dry goods. Paper gives off a natural, organic feel and comes in all sorts of textures, from silky smooth to a more rustic, laid-back look.
This is a huge part of your brand strategy. There’s a reason the primary packaging labels market is projected to skyrocket from USD 10.38 billion in 2025 to USD 18.82 billion by 2034. These little details are a massive part of a product’s identity.
Comparing Label Materials for Your Product
To make this even easier, I've put together a quick comparison to help you weigh your options based on what you need most—durability, a specific look, or a certain feel.
| Material | Best For | Key Features | Finish Options |
|---|---|---|---|
| White Vinyl (BOPP) | Cosmetics, Food & Beverage, Bath Products | Waterproof, oil-resistant, tear-proof, versatile | Gloss, Matte, Satin |
| Clear Vinyl (BOPP) | Candles, Juices, Products in Glass Jars | "No-label" look, showcases product, durable | Gloss, Matte |
| Paper | Dry Goods, Gift Packaging, Wine Bottles | Eco-friendly, classic feel, textured options | Uncoated, Matte, Gloss |
Ultimately, the right material is the one that tells your product's story best while standing up to its environment.
The Finishing Touch That Makes Your Brand Pop
Once you’ve got your material locked in, the finish is what seals the deal. It's a thin laminate that protects your design from scuffs and fading, but more importantly, it sets the final mood.
Your label’s finish isn't just a protective layer; it's a strategic choice that directs how your customer perceives your brand's personality—be it slick and modern, or soft and natural.
A glossy finish makes colors jump off the label with a reflective shine. It’s bold, confident, and perfect for grabbing attention on a crowded shelf.
If you’re going for a more modern, sophisticated feel, a matte finish is the way to go. It offers a soft, non-reflective look that feels premium and understated.
And for those who want something in between? A satin finish gives you a gentle sheen that’s less flashy than gloss but more vibrant than matte. It’s a super versatile option that works for almost any brand. Getting this detail right is what makes for truly memorable die-cut stickers and product labels.
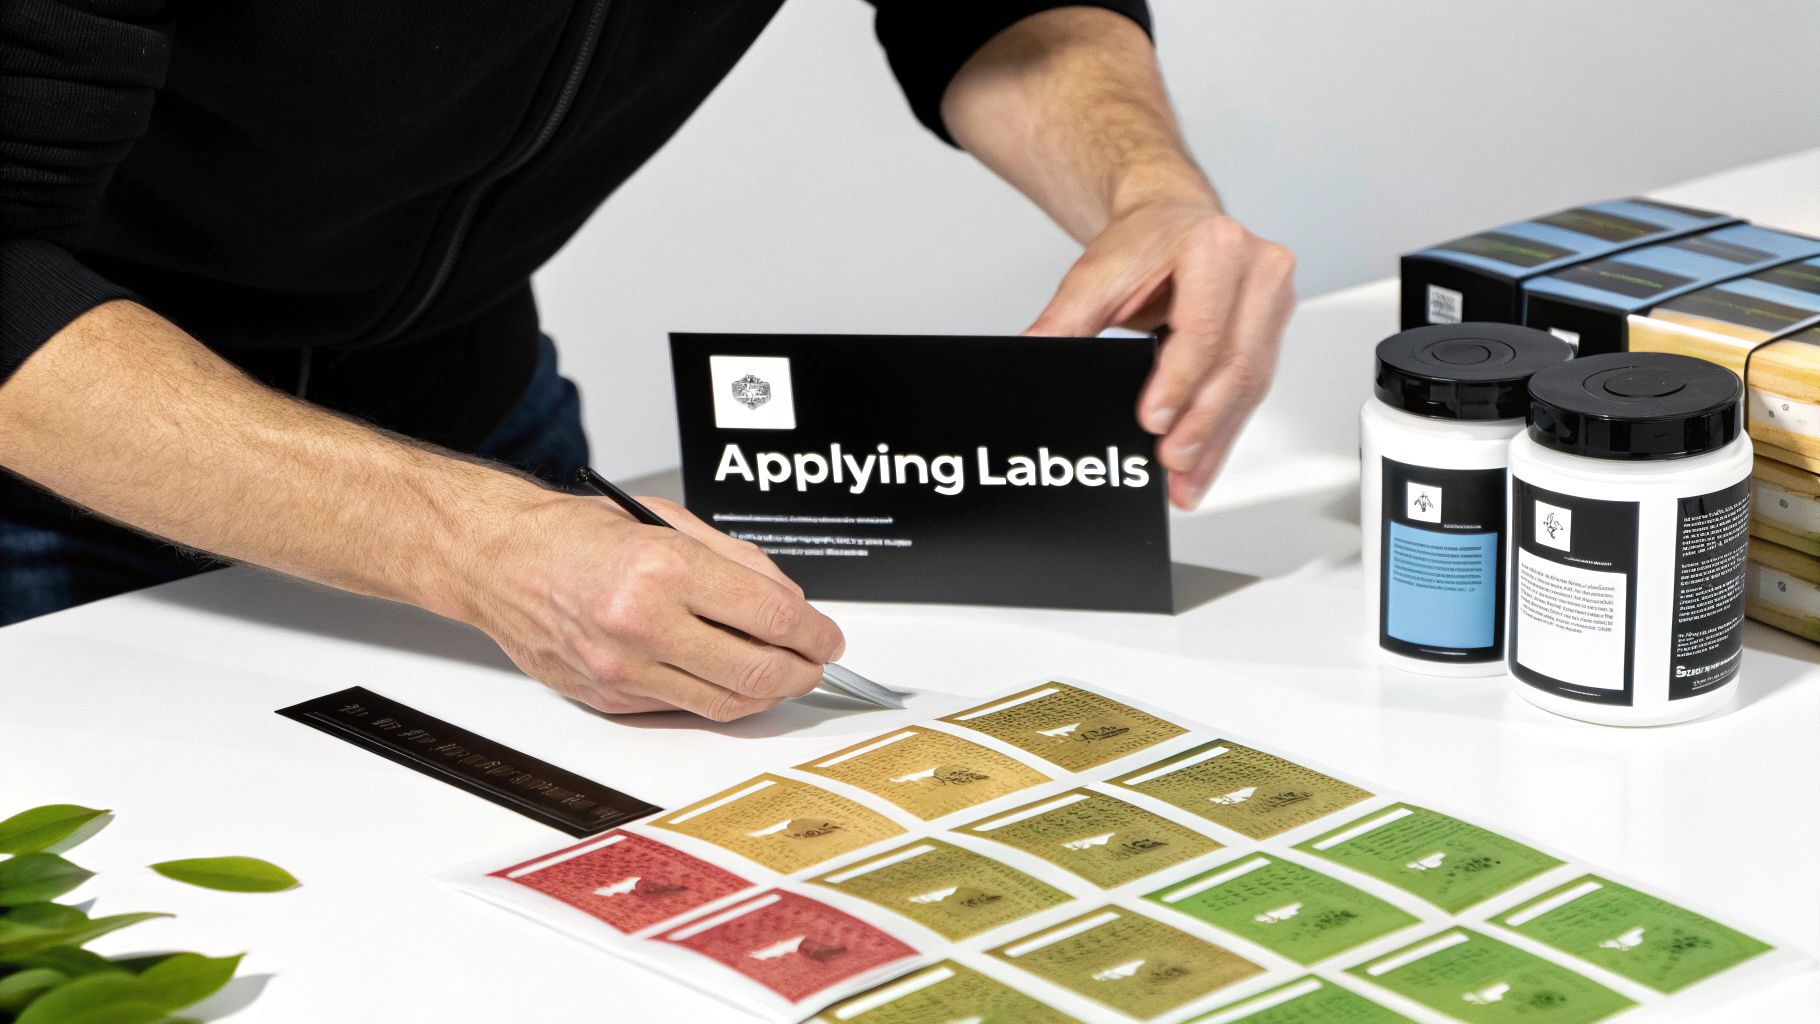
Taking Your Labels to the Next Level with Interactive Features
So, you’ve got a great-looking label. But what if it could do more than just look pretty? Modern labels can be a secret weapon for customer engagement, creating a connection that lasts long after they've brought your product home.
This is where things get really exciting. By adding a few clever interactive elements, your label stops being just a piece of paper and becomes a dynamic tool for your brand. Let's walk through how you can make that happen.
Get Personal with Variable Data Printing
One of my favorite ways to create a personal touch is through variable data printing, or VDP. It’s a game-changer. This technology lets you print unique information on every single label in a single print run—think names, serial numbers, or custom messages—without ever slowing down the presses. It's how you make each product feel like it was made just for them.
Let me give you a few real-world examples I've seen work brilliantly:
- Create Scarcity for Special Releases: Imagine a craft brewery numbering each bottle of a limited-edition stout, like "Bottle 27 of 500." It instantly makes the product feel like a collector's item.
- Make Events Memorable: For a wedding favor, you could print each guest's name on a small jar of jam. It’s a small detail that makes a huge impact.
- Improve Traceability: A skincare company can print a unique batch code on every single bottle. This is fantastic for quality control and makes tracking inventory a breeze.
This isn't just a niche trend; it's becoming a core strategy for brands. The global market for VDP labels is skyrocketing, projected to grow from USD 21.48 billion in 2025 to a massive USD 52.80 billion by 2032. You can dig into the numbers in these insights on the variable data printing market if you're curious, but the takeaway is clear: personalization is what customers want.
Connect Your Product to the Digital World with QR Codes
You see them everywhere for a reason—QR codes are a ridiculously easy way to connect your physical product to almost anything online. One quick scan with a phone can take your customer to a tutorial video, a special offer, or your Instagram page.
Think of a QR code as a tiny, interactive doorway on your product. It’s an invitation for your customer to step into your brand’s world and discover more than what fits on the label.
Don't just link to your homepage, though. Get creative! A QR code on a bag of coffee could lead to a video of the farmer who grew the beans. A code on a bottle of hot sauce could unlock a page full of exclusive recipes.
This kind of extra value makes your customers feel more invested in your brand's story. It can turn simple custom stickers into some of your most effective marketing tools. By weaving these interactive elements into your design, you create labels that don't just inform—they delight, engage, and build a brand people remember.
Got Questions About Making Custom Labels? Let's Get Them Answered
It’s completely normal to have a few questions as you get ready to hit that "order" button. In fact, it's a good thing! Thinking through these final details is what separates an okay label from a fantastic one that you’re truly proud of.
Getting this part right ensures the process is smooth and the labels that land on your doorstep are exactly what you had in mind.
So, let's walk through some of the most common things people ask, from confusing file types to order sizes, so you can move forward with confidence.
What’s the Best File Format for My Design?
This is probably the number one question I hear, and it’s a big one. The right file format is the key to getting a sharp, professional-looking print instead of something fuzzy or pixelated. While a JPG or PNG might look great on your monitor, they often don't cut it for high-quality printing.
For the best possible results, you’ll want to upload a vector file. Here’s what you’re looking for:
- AI (Adobe Illustrator): This is the gold standard in the design world.
- PDF (Portable Document Format): A solid choice, but with a catch. Make sure it’s a true vector PDF saved from a program like Illustrator, not just a JPG dropped into a PDF wrapper.
- SVG (Scalable Vector Graphic): A fantastic, web-friendly format that also prints beautifully.
So, why the big deal about vectors? Unlike pixel-based images (like JPGs), vector files are made from mathematical paths. This means they can be scaled up or down to any size without losing a drop of quality. Your text will stay crisp and your logo will be clean, whether it's on a tiny lip balm tube or a giant shipping box.
Can I Order a Small Batch Just to Test Them?
Yes, you absolutely can! And honestly, I can't recommend it enough. Going all-in on a massive order before you’ve seen and touched a physical sample is a gamble you don't need to take. A small test run is your chance to see how the colors translate from screen to print, test the adhesive on your actual product, and double-check that the size is just right.
Think of a small test batch as affordable insurance for your brand. It’s a tiny investment that prevents you from getting stuck with hundreds, or even thousands, of labels that aren’t quite right.
This is your final quality check. Slap that sample label on your bottle, jar, or box. Live with it for a day. Does it peel at the edges? Does the ink smudge? Answering these questions now will save you from a major headache (and a lighter wallet) down the road.
What Exactly Is a Minimum Order Quantity?
You'll see this term a lot: Minimum Order Quantity (MOQ). It's simply the smallest number of labels you can purchase in a single order. Printers have MOQs because there are fixed setup costs involved in getting a custom job ready for the press, whether they're printing 10 labels or 10,000.
Different printers will have different MOQs, often based on the materials and complexity of the job. You can explore a variety of custom label printing services to get a feel for the industry standards. Here at Everone, we do our best to keep those minimums as low as possible, because we love helping small businesses and new creators get started.
Ready to bring your vision to life? At Everone Prints, we make it simple to upload your design, choose your perfect materials, and get stunning, professional-quality labels delivered right to your door. Start creating your custom labels today at https://everone.shop.