
Printing Photos From Instagram: Your Ultimate Guide
So, you want to turn that amazing Instagram post into something you can actually hold? It’s a great idea. All it really takes is grabbing the high-quality version of your photo, giving it a few quick tweaks for printing, and then sending it off to a printing service. I'll walk you through every step, making sure those digital memories become beautiful, tangible keepsakes.
Bringing Your Digital Memories into the Real World
That scroll-stopping photo from your last vacation or that perfect candid of your family deserves more than just a fleeting like on a screen. Printing your photos from Instagram is all about transforming those digital moments into lasting art for your home, meaningful gifts, or a new page in your scrapbook. It’s about giving your favorite memories a physical presence.
But let's be honest, it's not always as simple as hitting a "print" button. The journey from your phone screen to a high-quality print has a few key steps. Getting them right is what makes the difference between a blurry disappointment and a stunning piece of art you'll be proud to display.
Why Bother Printing Your Instagram Photos?
The desire to print digital photos is making a real comeback, and it's about more than just nostalgia. We're all realizing how great it feels to decorate our spaces with personal, meaningful images that tell our own stories. It’s part of a bigger shift toward valuing tangible things that last.
Believe it or not, the global photo printing market is projected to hit USD 30.92 billion by 2030, and a huge part of that growth comes directly from social media. It’s just so easy now to connect your Instagram account to a printing service and create something personal.
A Heads-Up on Common Printing Challenges
Before we jump into the "how-to," it helps to know about the common hurdles. I’ve seen lots of people get frustrated with their first attempt at printing Instagram photos because they hit roadblocks they just didn't see coming.
Printing from Instagram can be tricky, but knowing what to look out for makes all the difference. Here’s a quick rundown of the most common issues and how to solve them.
Key Challenges and Solutions for Instagram Printing
| Common Challenge | Why It Happens | Quick Solution |
|---|---|---|
| Low-Resolution Prints | Instagram heavily compresses photos for fast loading on the app. A simple screenshot will look pixelated when printed. | Always download the original, full-resolution file directly from Instagram or your phone's camera roll. Never use a screenshot. |
| Colors Look Dark | Your phone screen is backlit, making images appear brighter than they will on paper. | Lightly increase the brightness of your photo in an editing app before uploading it. A small adjustment goes a long way. |
| Awkward Cropping | Instagram's classic square format doesn't fit standard print sizes (like 4x6 or 8x10), which can lead to parts of your image being cut off. | Plan your crop ahead of time. Either choose a square print size or make sure your subject has enough space around it to be cropped. |
Getting ahead of these potential issues is the key to a successful print. This guide will walk you through each solution, giving you the know-how to create prints that look professional and do your memories justice.
The goal is to bridge the gap between the digital and physical worlds. Understanding how to prepare your photos ensures the final print captures the same life and vibrancy as the original post. Our comprehensive guide explains how we turn your photos into art, detailing the care and technology involved.
Getting Your Hands on High-Quality Photos
First things first: before you can bring your favorite grid moments to life, you need the original, high-quality files. I can't stress this enough—a quick screenshot is not your friend here. It might seem like a simple solution, but screenshots grab a low-resolution version of your photo, which is fine for a phone screen but will look blurry and pixelated on paper.
To get those sharp, frame-worthy prints, you have to download the original file. This is probably the most critical part of the whole process. Luckily, Instagram has a built-in tool that makes this pretty painless.
Your Best Bet: Instagram’s "Download Your Information" Tool
The most reliable way to get your photos is straight from the source. Instagram’s "Download Your Information" feature lets you request a file of everything you’ve ever shared, including your photos and videos at the highest quality they have stored.
Here’s the rundown on how to do it:
- Head to your Instagram profile and tap the menu icon (the three horizontal lines).
- From there, go to Your Activity.
- Scroll down until you see Download your information and tap it.
You’ll have the option to get a complete copy of everything or just select specific things, like your photos and videos. Once you hit submit, Instagram gets to work bundling everything up. This might take a few minutes or a few hours, depending on how much you’ve posted over the years. You'll get an email with a download link as soon as it's ready.
When you open that downloaded folder, you'll find all your photos, neatly organized. These are the files you want to use for printing.
This is the screen you're looking for inside the app. It's where the magic starts.
What About Other Download Options?
You might come across third-party apps or websites that claim to download Instagram photos for you. They can be a quick fix if you only need one or two pictures. Just be careful. Always do your research and stick to reputable services to keep your account safe.
For my money, if you're downloading more than a couple of images or just want to be certain you’re getting the best quality file, the official Instagram tool is the way to go.
My Two Cents: Seriously, don't use a screenshot for printing. Always use Instagram's own "Download Your Information" tool to get your original, high-res photos. It’s a non-negotiable first step if you want a print you'll actually be happy with.
This whole idea of turning our digital feeds into physical keepsakes is bigger than you might think. The global photo printing market is expected to hit a staggering USD 46.17 billion by 2032. It’s all thanks to how easy online printing has become and the massive photo collections we all have on social media. It just goes to show how much we still value holding a memory in our hands. You can read more about the photo printing market's expansion if you're curious.
Alright, now that you have your high-quality files downloaded, it's time to make a few quick but important tweaks to get them ready for the printer.
Prepping Your Images for a Perfect Print
You've successfully downloaded your photos, and now you're just a few small tweaks away from a flawless print. This next part is crucial, though. It’s all about bridging the gap between how an image looks on your bright, backlit screen and how it will actually look on paper.
The first hurdle nearly everyone runs into is the classic Instagram crop. Most of your pictures are probably square or in that tall 4:5 portrait format. That's great for the feed, but it doesn't line up with standard print sizes like 4x6 or 8x10. If you try to force a square photo into a rectangular frame, you'll end up with some awkward cropping, potentially slicing off parts of the image you wanted to keep.
Resizing and Cropping Without Sacrifices
To avoid any unwelcome surprises, it’s always a good idea to crop the photo to the correct aspect ratio yourself before uploading. This puts you in the driver's seat and gives you total control over the final look. The good news is, you don't need any fancy software—your phone's built-in photo editor can handle this perfectly.
Let's imagine you're going for a classic 4x6 print. Here’s how you’d do it:
- Open the picture in your phone’s photo app (like Photos on an iPhone or Google Photos on Android).
- Tap the edit button and find the crop tool. You should see a list of preset ratios.
- Look for and select the 4:6 option (or 6:4 if it's a landscape shot).
- Now, you can slide the crop box around to frame the photo exactly how you want it. Make sure nothing important is getting cut off at the edges.
Taking a minute to do this yourself means you decide what the final composition looks like, not some automated system that might chop off your friend's head.
Pro Tip: What if you can't crop your square photo without ruining it? Try printing it with a border. This keeps your original shot intact and simply adds white space to fit it onto a standard paper size. It often creates a really cool, retro-style vibe.
Making Minor Adjustments for Major Impact
Have you ever printed a photo and thought it looked way darker than it did on your screen? That’s not your imagination. Your phone screen is basically a light box, making every image look bright and vibrant. A piece of paper, on the other hand, just reflects the light in the room.
To get ahead of this, a tiny bump in brightness can make a world of difference. Again, your phone's editor is all you need.
- Brightness: Give it a slight nudge, maybe just 5-10%. You're aiming to lift the shadows a little without making the bright spots look blown out.
- Contrast: A small boost here can also help the colors pop and give the image a bit more definition.
Think of it like you're mastering the photo for a new medium. These tiny edits ensure the print has the same energy and life as the digital image you fell in love with.
Once your photos are prepped and ready, you can start exploring options for regular photo prints to see how your work translates to paper. The key is to be subtle—you’re not trying to fundamentally change the photo, just giving it the best possible chance to shine in its new physical form.
Choosing the Right Print Format and Finish
Okay, you’ve got your Instagram photos saved and ready to go. Now for the fun part: deciding how to bring them to life. This is where you get to think like an artist and match your photo to the perfect physical format. The choices you make here really shape the final vibe of your printed memory.
What are you printing? A single, stunning landscape shot from that unforgettable trip? That might be destined to become a large, statement-making canvas. Or maybe you have a collection of happy, candid snaps from a family get-together. Those little moments are perfect for a photo book where you can weave them into a bigger story.
Finding the Perfect Paper Finish
The paper you choose does more than just hold the ink—it completely changes how the photo looks and feels. It’s a detail that can make a huge difference in the final product, affecting everything from color vibrancy to how it handles light and fingerprints.
Let's look at the three main players you'll come across:
-
Glossy: This is the classic, high-shine finish we all know. It makes colors pop and details look incredibly sharp. The downside? It’s very reflective and a total fingerprint magnet, so it’s not the best for photos you'll handle a lot or hang in a sunny room.
-
Matte: For a more understated, artistic look, go with matte. It has absolutely zero glare, which is perfect for black-and-white images or anything you plan on framing behind glass. Colors appear a bit softer, and it’s great at resisting fingerprints, giving it a timeless feel.
-
Lustre (or Semi-Gloss): I like to think of lustre as the happy medium. It gives you the rich, saturated color of a glossy print but has a subtle texture that cuts down on glare and hides smudges. It's a durable, professional-looking choice that works for just about any photo.
Choosing the right finish can feel tricky, but it really comes down to what you want to highlight in your photo.
Thinking about the paper finish beforehand helps you match the final print to the photo's mood and its future home. This little table breaks it down to make the decision easier.
Photo Finish Comparison Matte vs Glossy vs Lustre
| Paper Finish | Best For | Key Characteristics | Considerations |
|---|---|---|---|
| Matte | Black-and-white photos, framed art, photo books | No glare, resists fingerprints, soft/subtle colors | Less "pop" than glossy, can mute very vibrant images |
| Glossy | High-contrast, colorful images, small prints | Vibrant colors, sharp details, high-shine finish | Highly reflective, shows fingerprints and smudges easily |
| Lustre | Portraits, wedding photos, wall art, all-purpose | Rich colors, slight sheen, textured to reduce glare | A great compromise, but might not have the "wow" of glossy |
Ultimately, there's no single "best" option—it all depends on the photo and your personal style.
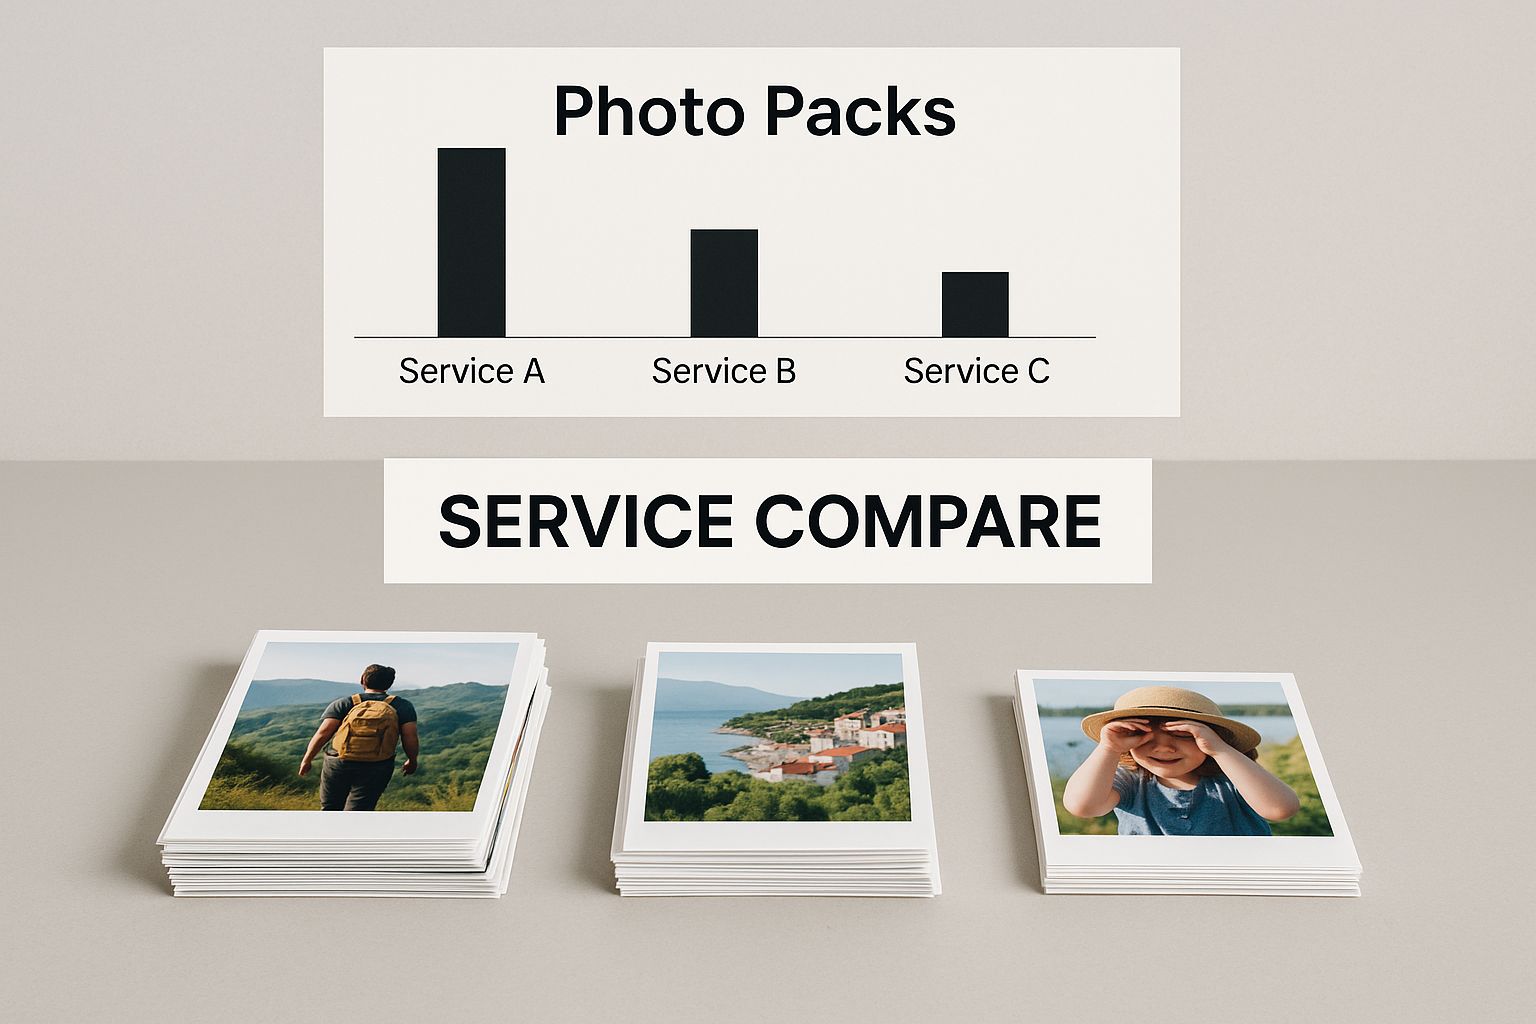
This comparison shows how different services offer a variety of options, so you can always find a good match for your specific project and budget.
Beyond the Standard Print
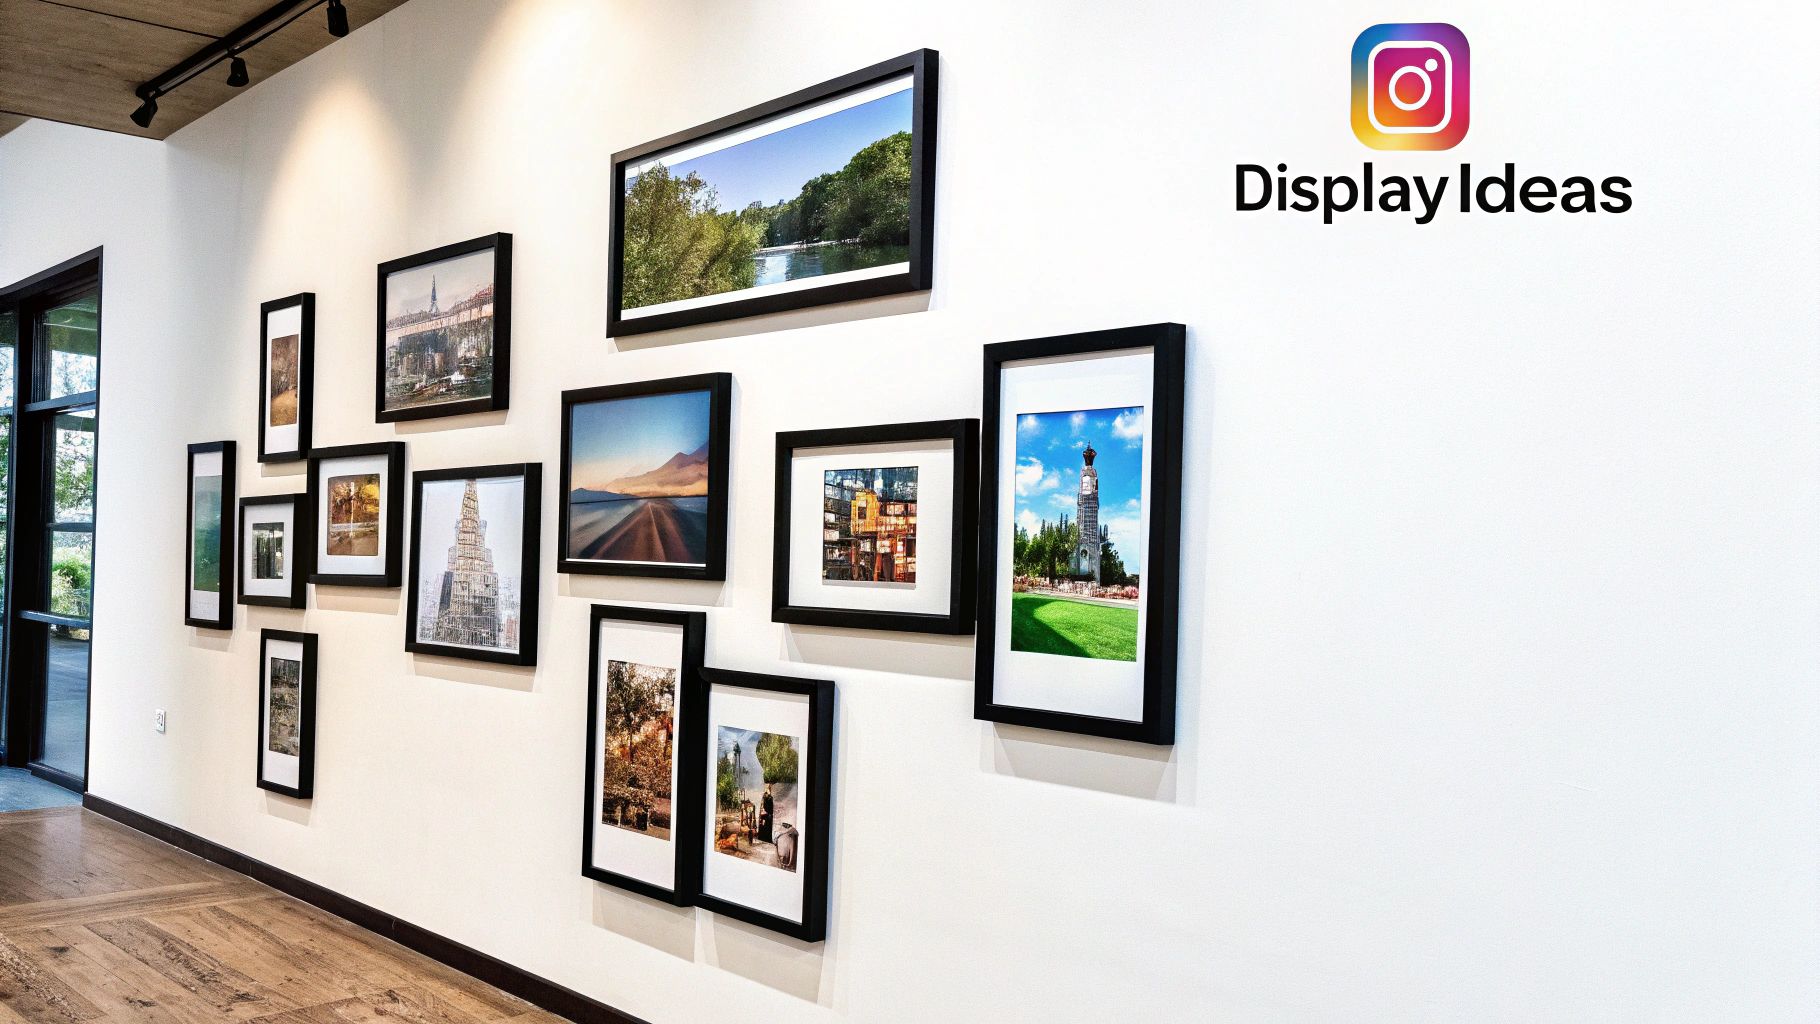
A classic 4x6 print is great, but don't feel boxed in! Instagram's unique formats open up some really cool creative possibilities.
That iconic square crop, for example, is perfect for things like photo tiles or retro prints that have that old-school instant camera vibe. A grid of nine square prints can make for a seriously cool, modern wall display. If you've got one shot that you absolutely love, consider elevating it into a proper piece of art with a framed photo print.
My Personal Takeaway: For a single, high-impact photo I plan to frame, I almost always choose a lustre finish. It gives me the color depth I want without the annoying glare from my living room windows. For a photo book that my kids will be flipping through constantly, matte is the only way to go—it holds up to smudges and fingerprints like a champ.
This whole idea of printing social media photos is getting a huge boost from technology. The market for portable instant photo printers, for instance, is expected to hit USD 3.2 billion by 2033. That growth is coming from people wanting to print directly from their phones and from viral photo trends on platforms like Instagram and TikTok.
Placing Your Order with an Online Printer
You've done the hard work of curating and editing your photos. Now for the fun part: turning those digital files into something you can actually hold. This is where your vision comes to life, and while most online printers make it easy, a few key decisions here will really make your photos shine.
The process usually starts by uploading your prepped images. Most sites, like Everone, have a simple drag-and-drop uploader or a button to select files from your computer. From there, you'll be prompted to choose what you want to create—maybe it's a classic print, a stunning canvas, or a whole photo book.
Navigating the Customization Options
Once your pictures are uploaded, you get to the customization screen. This is where you’ll lock in the final details like sizes, paper finishes, and layouts. But there's one setting you absolutely need to watch out for: automatic color correction.
Here’s my advice from experience:
- Turn it OFF if: You’ve already put in the time to edit your photos. You tweaked the brightness, contrast, and colors for a reason. Letting an automated system "fix" your work will likely undo everything you just did. Trust your own eye.
- Leave it ON if: You're printing a photo straight from your phone or camera with no edits. In this case, the printer’s algorithm can be a decent safety net, making small tweaks to ensure the image looks its best on paper.
If you're creating something with multiple photos, like a collage or photo book, take a moment to think about the flow. I like to arrange images to tell a story. Try grouping photos with similar color schemes together for a really polished look, or mix candid moments with formal portraits to add some energy and variety.
Take a serious look at the final preview. This is your last chance to catch an odd crop, a typo in a caption, or a photo that just feels out of place. What you see on that preview screen is exactly what you're going to get.
Finalizing Your Order and Checkout
Alright, before you click that final confirmation button, give your shopping cart one last look. I mean, really look. Double-check the quantities, sizes, and paper types for every single item. It's surprisingly easy to accidentally order 10 copies instead of 1, and that’s a mistake you only make once.
After you've placed your order, you'll get a confirmation email with all the details and an order number. Most printers give you a way to see where your order is in the process, from printing to shipping. Once it leaves the facility, you can typically track your order and get an ETA.
Now all that's left is to figure out where you’re going to hang your new masterpiece.
Got Questions About Printing Your Instagram Photos? We've Got Answers.
Even after you've picked your favorite shots, a few questions always seem to pop up right when you're ready to print. It happens to everyone. Let’s walk through some of the most common snags so you can get the beautiful prints you’re picturing in your head.
The first big one is about screenshots. It’s so tempting to just grab a quick screen capture of a post, but trust me on this—it's the fastest way to get a disappointing print. A screenshot is just a low-resolution snapshot of your screen, not the actual, high-quality photo file.
If you try to print a screenshot, you'll almost certainly end up with something blurry and pixelated, especially if you're aiming for anything bigger than a tiny wallet print. For a final product you'll actually want to display, you need to download the original photo using one of the methods we talked about earlier.
Getting the Size and Brightness Just Right
So, what’s the best size for those classic square Instagram photos? They really shine when you print them in a matching square format. Think 4x4, 5x5, or even 8x8 inches. Most modern print shops offer these sizes specifically because they know how great they look for social media photos.
But what if you want to use a standard 4x6 frame? You have a couple of options:
- Crop the image: This means you'll have to trim a bit from the top and bottom of your photo to make it fit.
- Print with borders: This is my preferred method. It adds white bars to the sides, fitting the square photo onto the rectangular paper without cutting anything off. Your whole picture stays intact.
Another super common problem is getting a print that looks much darker than it did on your phone. This isn't your fault—it's just a difference in technology. Your phone screen is backlit, which means it generates its own light and makes everything look bright and vibrant. A piece of paper, on the other hand, just reflects the light in the room.
A great pro-tip is to bump up the brightness on your photo just a little bit before you upload it for printing. This simple tweak helps compensate for the difference and ensures your final print looks as lively as it does on your screen.
Paying attention to these little details can make all the difference. And if you have a whole collection of square shots you want to display together, a photo grid collage is a fantastic option designed to do just that.
Ready to see your digital memories in real life? At everone, we make it simple to create stunning, high-quality prints that you'll be proud to hang on your wall. Start your project today!
Article created using Outrank