

How to Arrange Photos on a Wall Like a Designer
The secret to a stunning photo wall? Planning. Before a single nail meets the wall, you need a game plan. It all starts with picking the right spot, settling on a vibe or color scheme, and gathering the photos that tell your story. A little forethought now saves you from a wall full of misplaced holes later and makes the final result look polished and intentional.
Start Your Photo Wall With a Clear Vision
Let’s be honest, the best photo walls don't just happen by chance. They're carefully curated collections that bring your personality to life and really pull a room together. Think of this initial brainstorming phase as the foundation—it's what turns a random assortment of pictures into a true focal point. A great way to get into this mindset is to learn how to choose wall art like an interior designer.
First up, find your canvas. Look for a wall that could use a little love, like that long, empty hallway, the blank space above your couch, or the wall along your staircase. Pay attention to lighting and how you move through the space. A wall bathed in natural light will make your photos sing, but try to avoid direct, harsh sunlight that can cause your precious memories to fade over time.
Define Your Theme and Style
Now for the fun part: deciding on a theme. What story do you want to tell? Maybe it's a collection of your favorite family vacations, a series of dramatic black-and-white portraits, or a happy jumble of candid moments. A cohesive theme is the glue that holds everything together. This doesn't mean every photo has to be matchy-matchy, but they should share a common element, whether it's a color palette, a specific filter, or the subject matter.
Personalized decor is huge right now, and for good reason. It’s part of a massive trend—the global wall art market was valued at an incredible USD 68.9 billion in 2025 and is only expected to keep growing. It shows how much people value making their spaces uniquely their own.
Pro Tip: Think beyond just photos! Weaving in small art prints, a favorite quote, or even a tiny, interesting mirror can add so much texture and visual weight. It breaks things up and makes your gallery wall feel more dynamic and collected over time.
Before you finalize anything, pull together more photos than you think you'll need. It's always better to have too many options to play with when you start mapping out the final layout. For a little more inspiration, don't forget to check out our guide on creative photo wall display ideas.
Here’s a quick look at some popular styles to help you find the perfect one for your space.
Common Photo Wall Styles at a Glance
| Layout Style | Best For | Key Characteristic |
|---|---|---|
| Grid | Modern, minimalist spaces; hallways. | Symmetrical and orderly. All frames are the same size and evenly spaced. |
| Organic/Eclectic | Bohemian, casual, or artistic interiors. | A free-flowing mix of frame sizes, shapes, and orientations. |
| Spine/Vertical | Narrow walls or small corners. | Photos are arranged along a central vertical line, branching outwards. |
| Linear/Shelf | Renters or those who love to switch things up. | Photos are leaned on floating shelves, allowing for easy updates. |
Choosing a style upfront gives your project a clear direction and helps you select the right frames from the get-go.
Map Out Your Gallery Wall Layout
This is where the real fun begins. Before you even think about picking up a hammer, it's time to bring your vision to life—safely on the floor, not on your newly painted wall. Lay out all your framed pieces on the ground to get a feel for the arrangement without the pressure of making a single nail hole.
A Pro Trick for Perfect Placement
Here's a little trick I've used for years: trace each of your frames onto kraft paper (or even old newspaper). Cut out these paper templates and stick them to the wall with painter's tape. This is your chance to play with the composition, shifting things around until the spacing and balance feel just right. It's a low-commitment way to get a high-impact result.
For those of us planning something really intricate, you can even explore techy options like interior design VR tools to perfect your layout in a virtual space first.

Thinking through these initial steps—picking the wall, setting a theme, and choosing your photos—really shows how a bit of prep work makes all the difference in creating a cohesive, intentional display.
Find Your Anchor and Create Balance
Every great gallery wall needs an anchor. This is usually your largest or most eye-catching piece, and it's the focal point you'll build everything else around.
- Position Your Anchor: Start by placing your biggest piece, but try putting it slightly off-center. This immediately makes the arrangement more dynamic and encourages the eye to move across the whole collection.
- Build Outward: Next, place your medium-sized frames around the anchor. Arranging them diagonally often creates a really pleasing sense of balance.
- Fill in with Smalls: Use your smallest frames to fill in the gaps, making sure to keep the spacing between each frame consistent.
My go-to rule? Keep about 2 to 3 inches of space between each frame. This gives the art room to breathe while still feeling like a unified collection. You might need to adjust this a bit depending on your frame sizes and the wall you're working with, but it's a solid starting point.
Once you’ve got your paper templates looking perfect on the wall, pull out your phone and snap a quick picture. Now you have a foolproof map to follow, guaranteeing your final installation looks just as amazing as you planned.
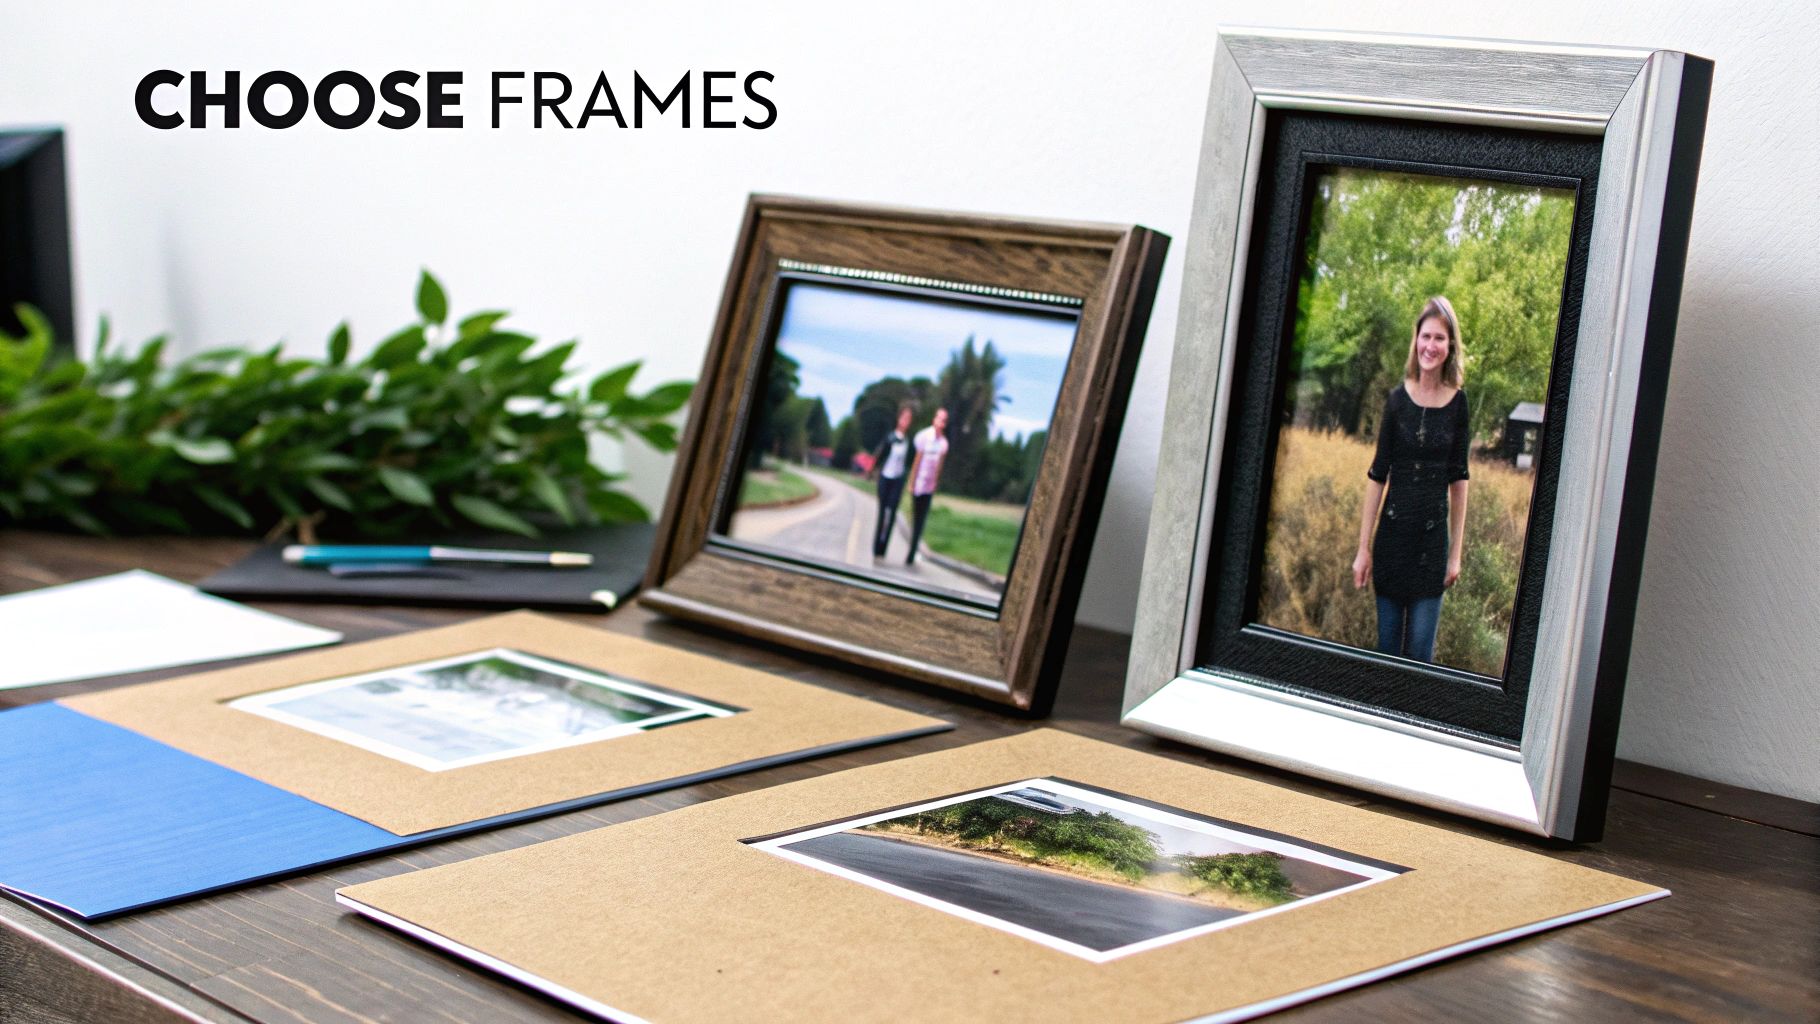
Select Frames That Tell Your Story
Think of your frames as more than just a border for your photos; they're the final brushstroke on your artistic masterpiece. The right frame choice can transform simple snapshots into a stunning, curated collection. It all starts with one big decision: will you go for a uniform look or mix it up?
Choosing a set of identical frames—all sleek black or warm natural wood, for instance—is a fantastic way to create a clean, unified aesthetic. This approach is perfect for more structured layouts like grids, as it puts the focus squarely on the photographs. It’s a timeless, gallery-inspired style that always looks sharp and intentional.
Mix Materials for a Curated Look
On the flip side, don't be afraid to get a little eclectic. Mixing up frame materials, colors, and textures can inject a ton of personality and a dynamic, bohemian vibe into your space. It gives the impression of a collection built over time, with each piece telling its own tale.
You could pair a modern metal frame with a rustic wooden one, or a simple black frame next to an ornate, vintage-style piece you found at a flea market. To keep it from looking messy, just find a common thread to tie it all together. Maybe it's a consistent color in the matting or a shared metallic accent. This mix-and-match style is actually right on trend, reflecting a global love for bold, collage-style arrangements.
A Quick Tip on Matting: Never underestimate the power of a mat! A crisp white mat gives your photo breathing room and instantly makes even a simple print look more professional. It's my secret weapon for creating harmony when I'm using a wild mix of frame sizes and styles.
Prepping Photos for Display
Finally, let's talk about the photos themselves. The finish you choose for your prints—glossy or matte—can really change how they look once they're on the wall. Glossy finishes are vibrant but can catch a lot of glare from lights and windows. Matte finishes, on the other hand, have a more subdued, fine-art quality that I personally love.
For those extra-special pieces, especially anything you're printing on canvas that won't be behind glass, getting the dimensions just right is absolutely key. If you're going that route, our guide on selecting the perfect custom canvas size can walk you through making the best choice for your most precious memories.
Hang Your Photos Securely and Perfectly Level
With all the planning behind you, it's time for the best part: getting your art up on the wall. This is where your vision truly comes to life, and a little precision goes a long way. Don't feel like you need a contractor's toolkit, though. A few simple items will get the job done right.
Before you start, gather your supplies. You'll want a tape measure, a pencil for making faint marks, a hammer, and a level. Your smartphone probably has a great level app already, which works just fine! The last thing you'll need is your hanging hardware.
Choosing the Right Hanging Method
What you use to hang your photos really comes down to your walls and how permanent you want the display to be.
- Traditional Hooks: Picture-hanging hooks are a classic for a reason. They're strong, reliable for drywall, and only leave a small pinhole behind. For anything with significant weight, you’ll want to grab some drywall anchors to make sure it's not going anywhere.
- Adhesive Strips: If you're renting or just cringe at the thought of making holes, adhesive strips are your best friend. They’ve come a long way and can hold a surprising amount of weight, giving you a totally damage-free way to create your wall.
For lighter, unframed pieces, we've got some extra tips in our guide on how to put posters on walls.
Here's a pro tip from interior designers: aim to have the center of your entire gallery wall arrangement at eye level. The industry standard for this is 57 inches up from the floor. Following this simple rule makes the whole display feel balanced and natural to look at.
Executing with Confidence
Ready to hang? Start with your anchor piece—the main photo you built the layout around. Use the paper templates you taped to the wall to mark the precise spot for your nail or adhesive strip.
Once you’ve placed your first hook or strip, hang your main photo. Grab your level and make sure it’s perfectly straight before you even think about the next piece. Now, just work your way out from there, hanging one photo at a time and checking for levelness as you go.
Take it slow. This methodical approach is the secret to getting each frame exactly where you want it. Step back every now and then to admire your work and check the overall balance. Trust the layout you so carefully planned, and soon enough, you’ll have a stunning photo wall that tells your story perfectly.
Get Creative with Unconventional Photo Displays
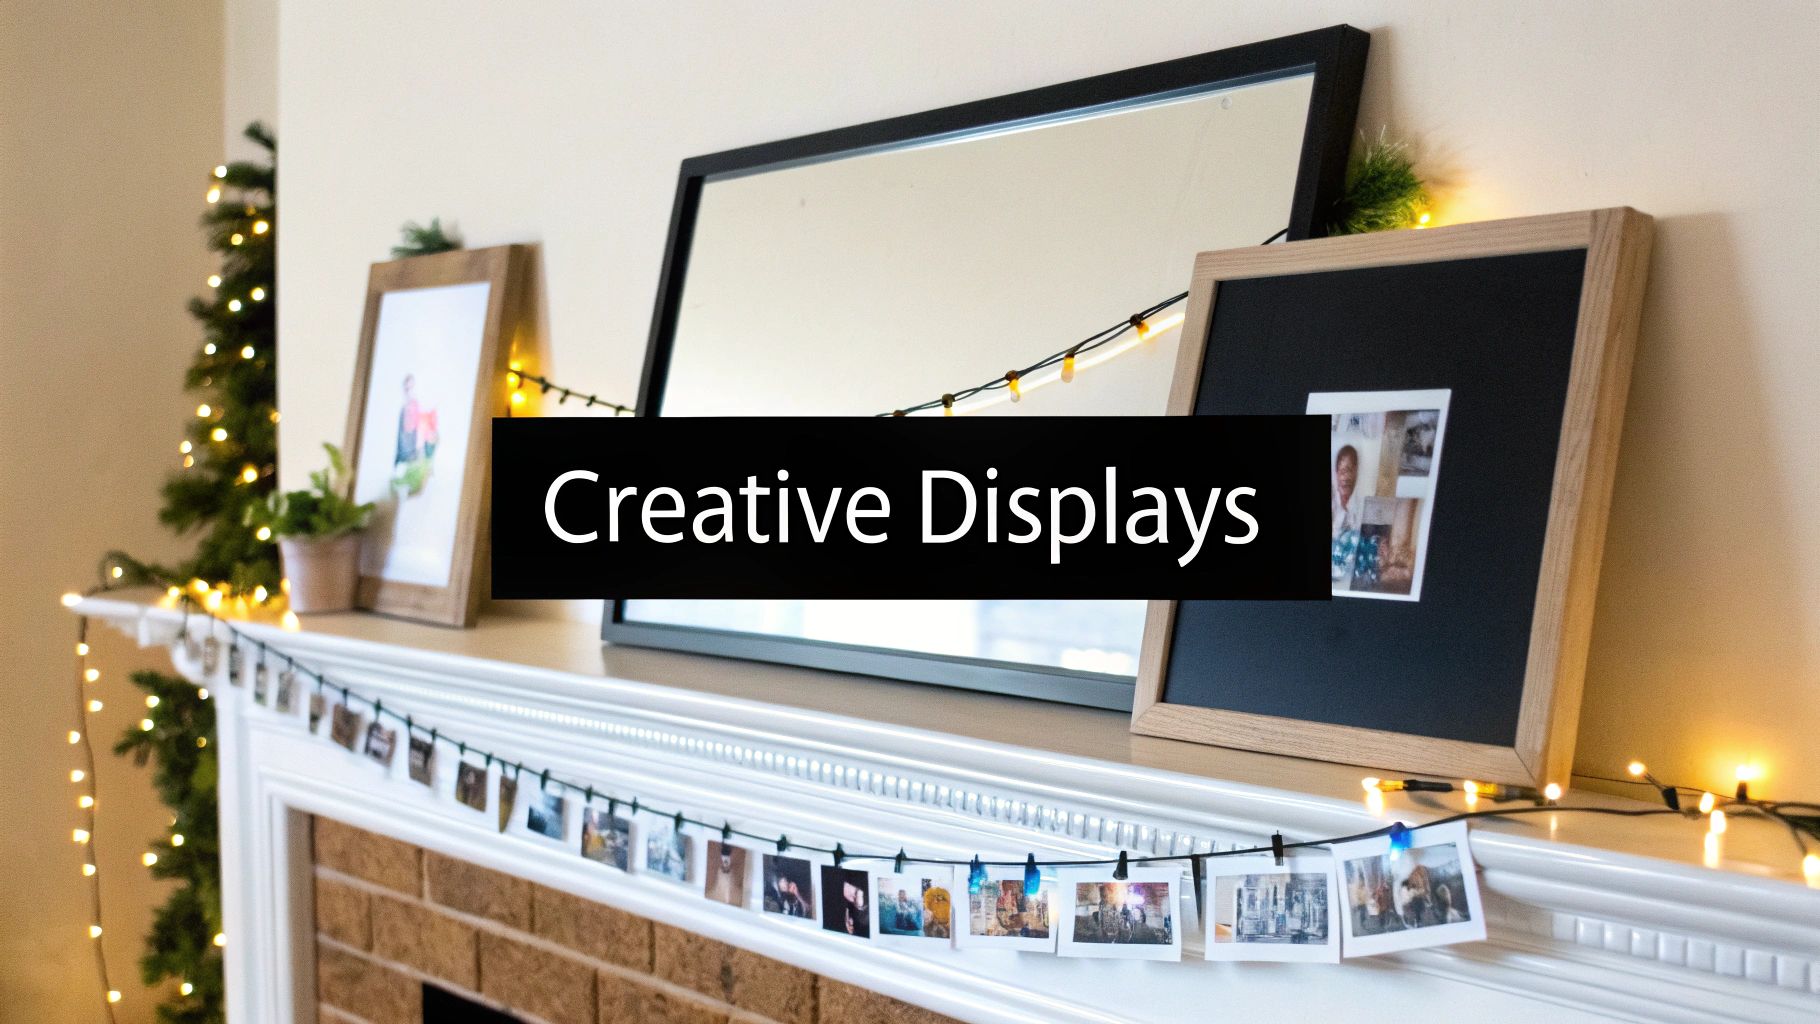
Think beyond the classic grid for a moment. Your photo wall is your personal canvas, so why not break the rules a little? There are so many interesting ways to arrange photos that feel less formal and more you.
One of my favorite flexible options is using picture ledges. These narrow shelves let you overlap frames of different sizes and depths, giving you a relaxed, curated vibe. The real magic, though, is how easy it is to change things up—you can swap photos, add new art, or completely rearrange the look without drilling a single new hole in the wall.
Mix in Meaningful Objects
A truly captivating photo display tells a story, and sometimes that story includes more than just pictures. Weaving in other meaningful items is what takes a collection of photos and turns it into a personal narrative.
- Small Mirrors: A cool vintage-style mirror can break up all the straight lines of the frames and bounce a little more light around the room.
- Textiles: Try hanging a small, woven wall hanging or even a beautiful scrap of fabric to bring in some softness and texture.
- Personal Trinkets: That treasured postcard, your kid’s first masterpiece drawing, or a small sculptural piece can add a layer of personality that's impossible to replicate.
This desire to personalize our homes isn't new, but it definitely got a huge boost recently. A 2020 study from the pandemic era showed that a whopping 57% of homeowners made home improvement a top priority. As we all spent more time staring at our own four walls, creating comforting, personal spaces became essential. You can dig into more of this trend in the wall art market research.
Expert Tip: For a truly dynamic effect, let your display follow the line of a staircase. By arranging photos to cascade up the wall, you create a beautiful sense of movement that tells a story as you walk by.
If you’re going for a whimsical, cozy vibe, you can't go wrong with string lights and clips. It’s a fantastic, low-commitment way to display prints, especially in a bedroom or a laid-back living area. For even more inspiration, check out our guide packed with unique family photo display ideas.
A Few Final Questions People Always Ask
Even with the best plan in hand, a few little questions always seem to surface right when you're about to hammer in that first nail. Let's tackle some of the most common ones I hear all the time.
How High Should I Actually Hang These?
This is probably the number one question, and there’s a great rule of thumb the pros use: aim to have the center of your entire gallery wall at eye level. For most people, that’s somewhere between 57 and 60 inches off the floor. This magic number keeps the whole arrangement from feeling too high or too low.
Now, if you're hanging your photos above a piece of furniture like a sofa, a bed, or a console table, the game changes a bit. You'll want to leave about 6 to 8 inches of breathing room between the bottom of the lowest frame and the top of the furniture. This creates a visual connection, making the art and the furniture feel like a single, intentional grouping.
Can I Mix Black and White Photos with Color?
Absolutely! This really comes down to the vibe you're going for in the room.
Sticking with all black-and-white photos gives you a very classic, sophisticated, and timeless feel. On the other hand, a gallery of all-color photos is pure energy and vibrancy.
But mixing them? That's where you can get really creative. A great way to pull this off is to put all your black-and-white shots in matching frames. This creates a strong, unified base. Then, you can sprinkle in your color photos, maybe in slightly different frames, to act as beautiful, eye-catching accents.
A Quick Tip for Staircases: Hanging photos along a staircase can be tricky. To get that clean, diagonal line that follows the stairs, here’s a simple trick. Pick a consistent height—say, 60 inches—and measure that distance straight up from every third or fourth step. Use those marks as the centerline for each frame. It’s a foolproof way to make the gallery feel like a natural part of your home's architecture.
Feeling inspired to get your own memories up on the wall? everone prints is all about turning your favorite photos into gorgeous, high-quality canvas prints and posters that tell your story. It’s time to start building that photo wall you’ve been dreaming of.