

How to Make Canvas Prints From Scratch
Before you even think about hitting 'print', let's talk about what you'll need to get started. Honestly, gathering the right materials is half the battle. Think of it like a chef's mise en place—having everything prepped and ready makes the entire process smoother and a lot more enjoyable. It's the foundation for a print you'll be proud to hang on your wall.
Gathering Your Canvas Printing Essentials
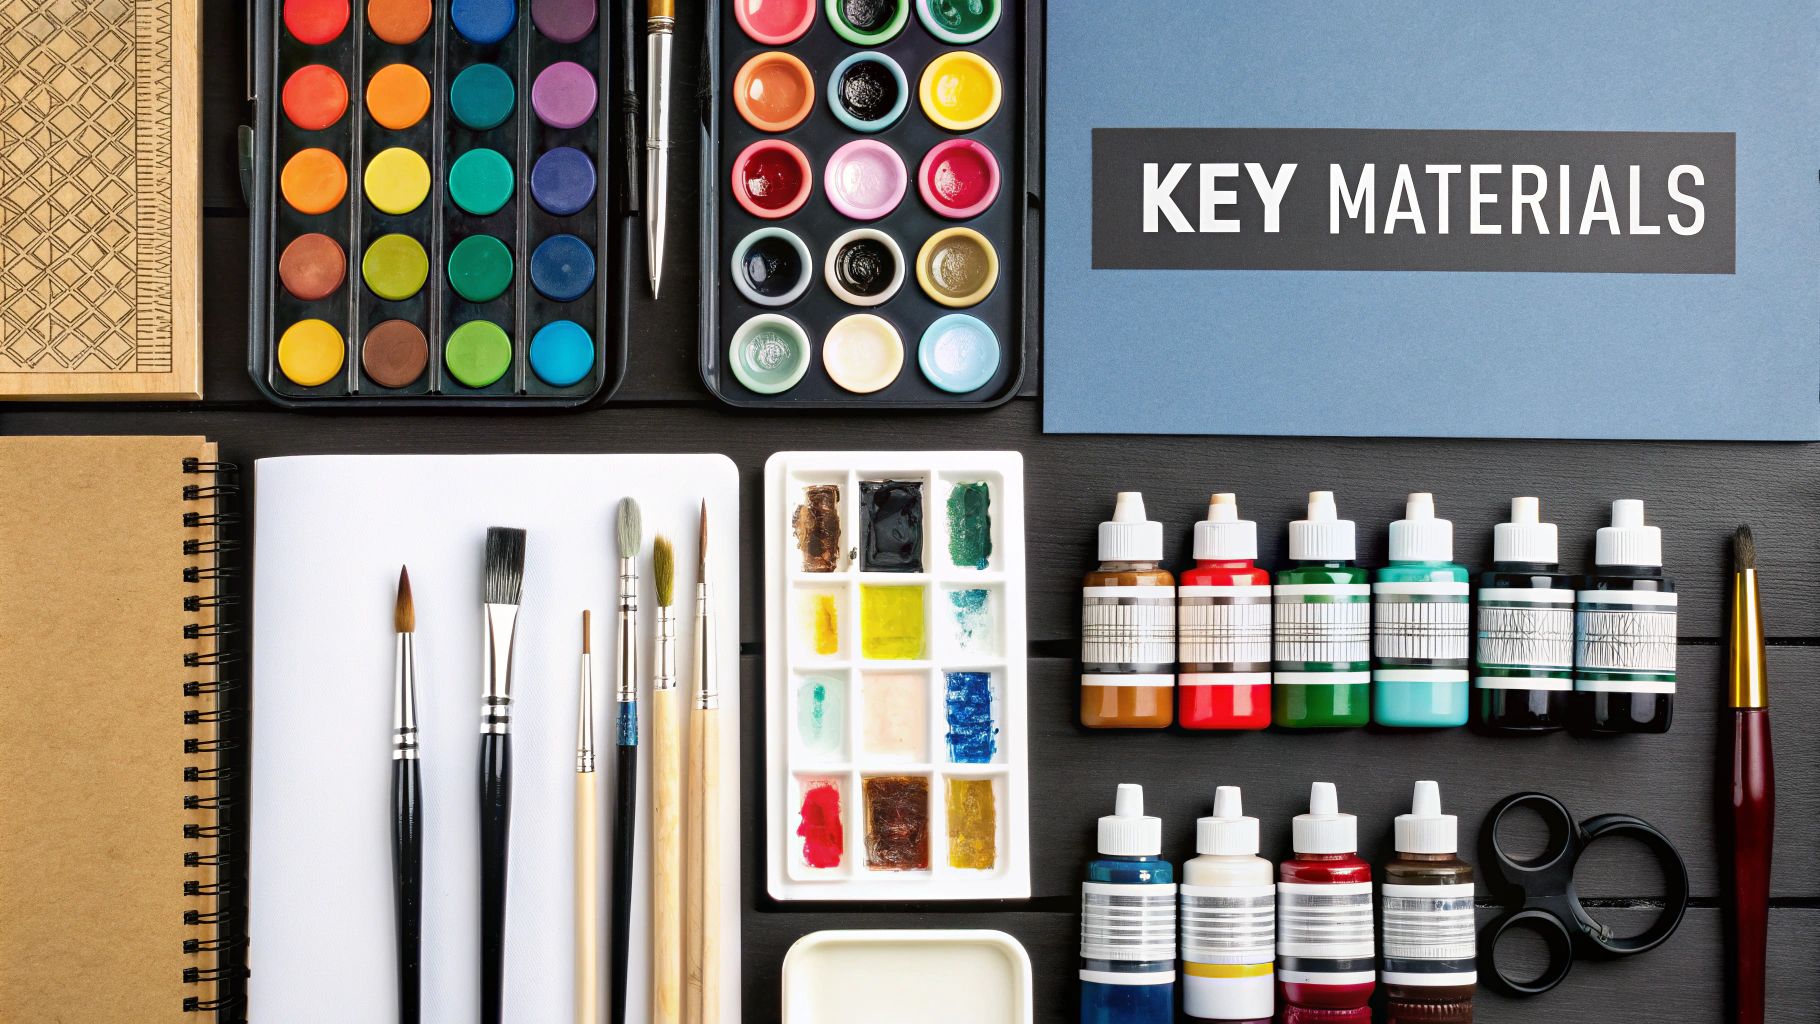
Making a professional-quality canvas print at home really comes down to the quality of your supplies. Cutting corners here is the quickest way to end up with a disappointing result.
The Core Components
First up, the heart of the project: the canvas and ink. You have a few options for canvas, usually between cotton and polyester. Cotton gives you that classic, slightly textured artist canvas feel, while polyester tends to produce sharper lines and more vivid colors.
For the ink, this is non-negotiable in my book: you have to use pigment-based inks. They're designed for archival quality, meaning they'll resist fading for decades. Cheaper dye-based inks might look good initially, but they'll fade much faster, especially in a sunny room.
The demand for this stuff is booming. The digital printing canvas market was worth around $1.5 billion back in 2025 and is expected to blow past $2.5 billion by 2033. That's a lot of people discovering the appeal of custom art for their homes and offices.
Essential Tools for Assembly
Okay, once your image is printed, it's time to turn that flat sheet into a finished piece of art. Here’s the hardware you'll need:
- Stretcher Bars: These are the wooden pieces that create the frame. Don't skimp here—cheap, poorly milled wood can warp over time, ruining your print.
- Staple Gun: Get yourself a good, heavy-duty staple gun. It’s your most important tool for getting a tight, clean stretch.
- Protective Varnish: This is the finishing touch. A good varnish or sealant protects the print from UV damage, dust, and moisture, and it can also make the colors pop.
Here's a pro tip: A properly stretched canvas should be as tight as a drum. If you tap the center, you should hear a deep, satisfying thud. That's the sound of a job well done.
Of course, knowing how to choose a custom canvas size is a huge part of the planning process. The dimensions you pick will affect everything from the image resolution you need to the amount of canvas you'll buy.
Choosing and Prepping the Perfect Image
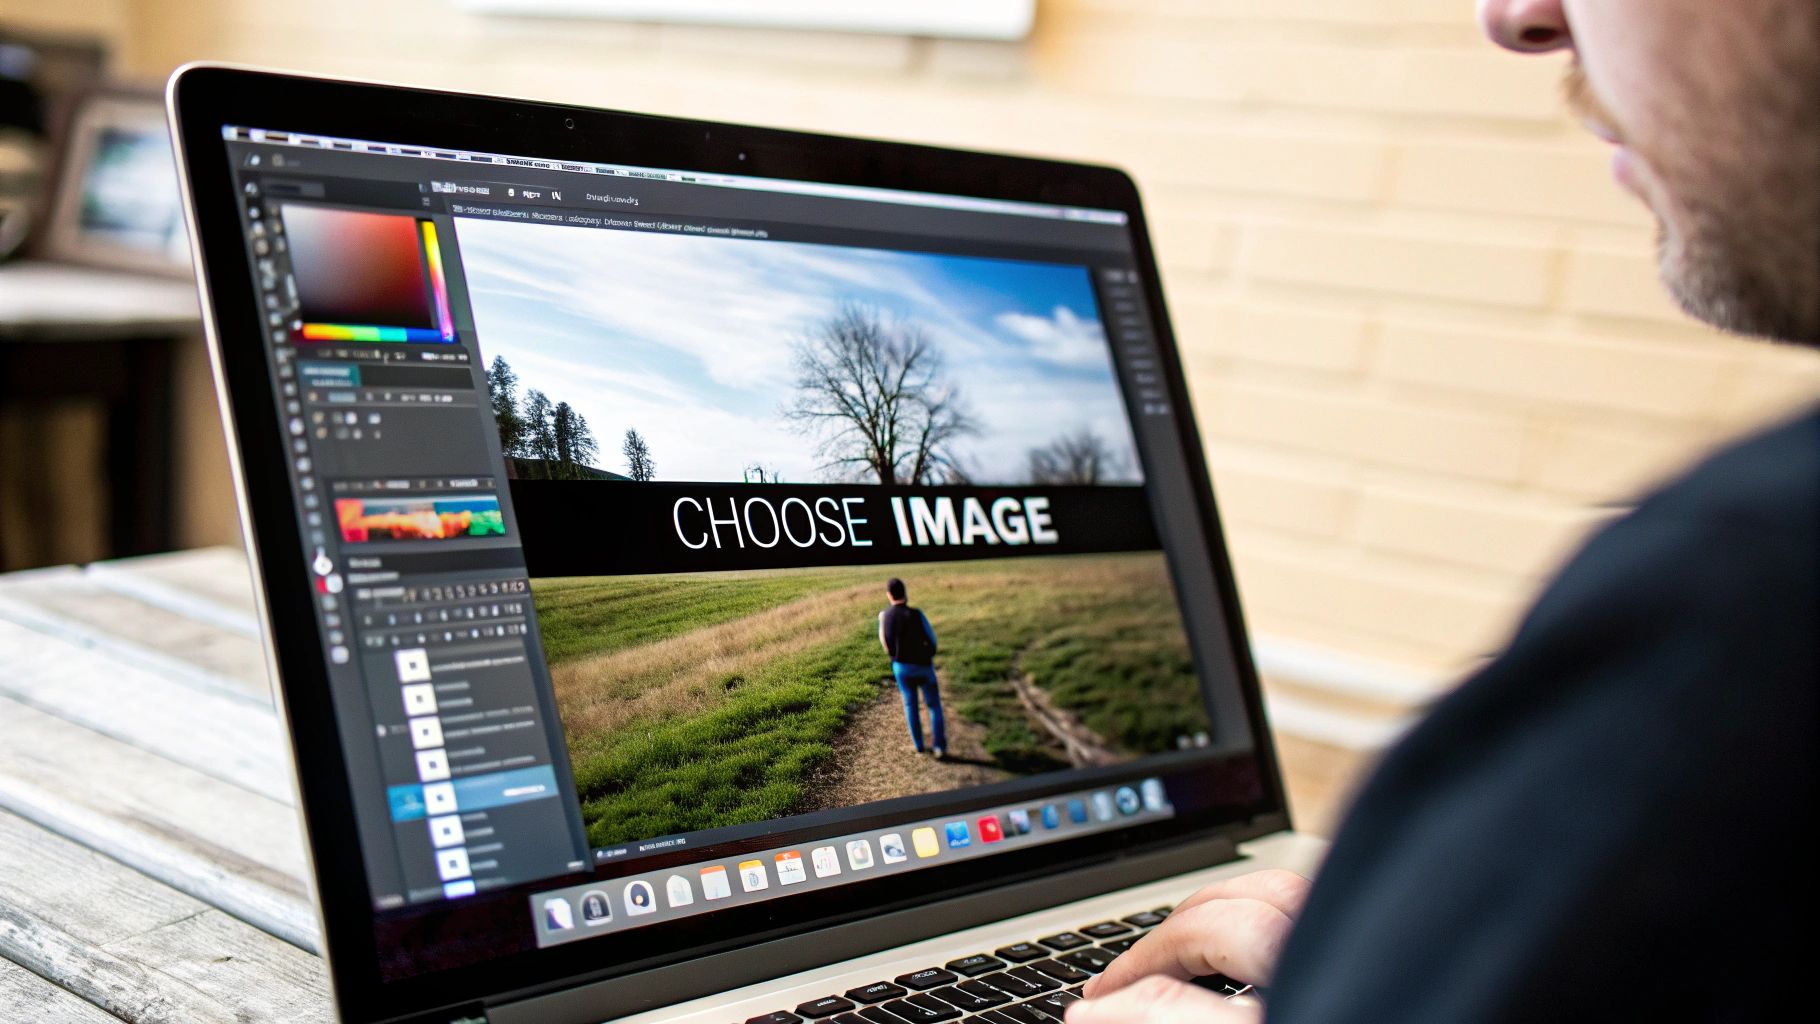
The secret to a stunning canvas print starts long before ink ever hits the fabric. It all comes down to the digital file you begin with. Honestly, picking the right image is the single most important decision you'll make in this entire process.
Not every photo is cut out for canvas printing. An image that looks sharp and vibrant on your small phone screen can quickly turn into a pixelated, blurry mess when blown up to a 16x20 inch canvas. The culprit? Resolution.
What You Need to Know About Image Resolution
In the world of printing, the gold standard is 300 DPI (dots per inch). This little number dictates the sharpness and detail of your final print. Think of it this way: a high-resolution photo simply has more data packed into every square inch, which translates directly into a crisp, professional-looking piece of art.
This is why a photo snapped on a DSLR camera is almost always a better choice than a compressed image you saved from a social media site. If you're curious about the specifics, we have a great guide on the challenges of printing photos from Instagram that gets into the nitty-gritty.
A high-resolution file is like having a huge, detailed map. You can zoom in on any section and still see all the street names clearly. A low-resolution file is like a blurry, zoomed-out map where all the fine details are lost.
To make this crystal clear, here’s a quick reference guide showing the minimum resolution you’ll need for common canvas sizes to get a great print at 300 DPI.
Minimum Image Resolution for Common Canvas Sizes
| Canvas Size (Inches) | Minimum Resolution (Pixels) |
|---|---|
| 8 x 10 | 2400 x 3000 |
| 11 x 14 | 3300 x 4200 |
| 16 x 20 | 4800 x 6000 |
| 20 x 24 | 6000 x 7200 |
| 24 x 36 | 7200 x 10800 |
Having this chart handy can save you a lot of guesswork and prevent the disappointment of a blurry final product. Always aim for these numbers or higher.
Quick Edits for a Perfect Print
After you've picked a high-resolution winner, a few simple tweaks can elevate your canvas from good to great. You don't need to be a pro with expensive software; free tools like Canva or GIMP work just fine for these basic, but crucial, adjustments.
I always focus on these three things before I print:
- Brightness & Contrast: I usually give the brightness a slight nudge upwards. Canvas tends to absorb light, which can make the final print a bit darker than what you see on your monitor.
- Color Correction: Screens are backlit, which often makes colors look more vivid than they really are. A small boost in saturation can make a world of difference, ensuring the colors on your canvas pop.
- Cropping and Bleed: Frame your subject just right for your chosen canvas size. Most importantly, add a "bleed" by extending your image an extra inch or two on all sides. This extra margin is what gets wrapped around the wooden frame, giving you that clean, gallery-wrap look without cutting off any of your actual image.
Printing Your Image Onto Canvas
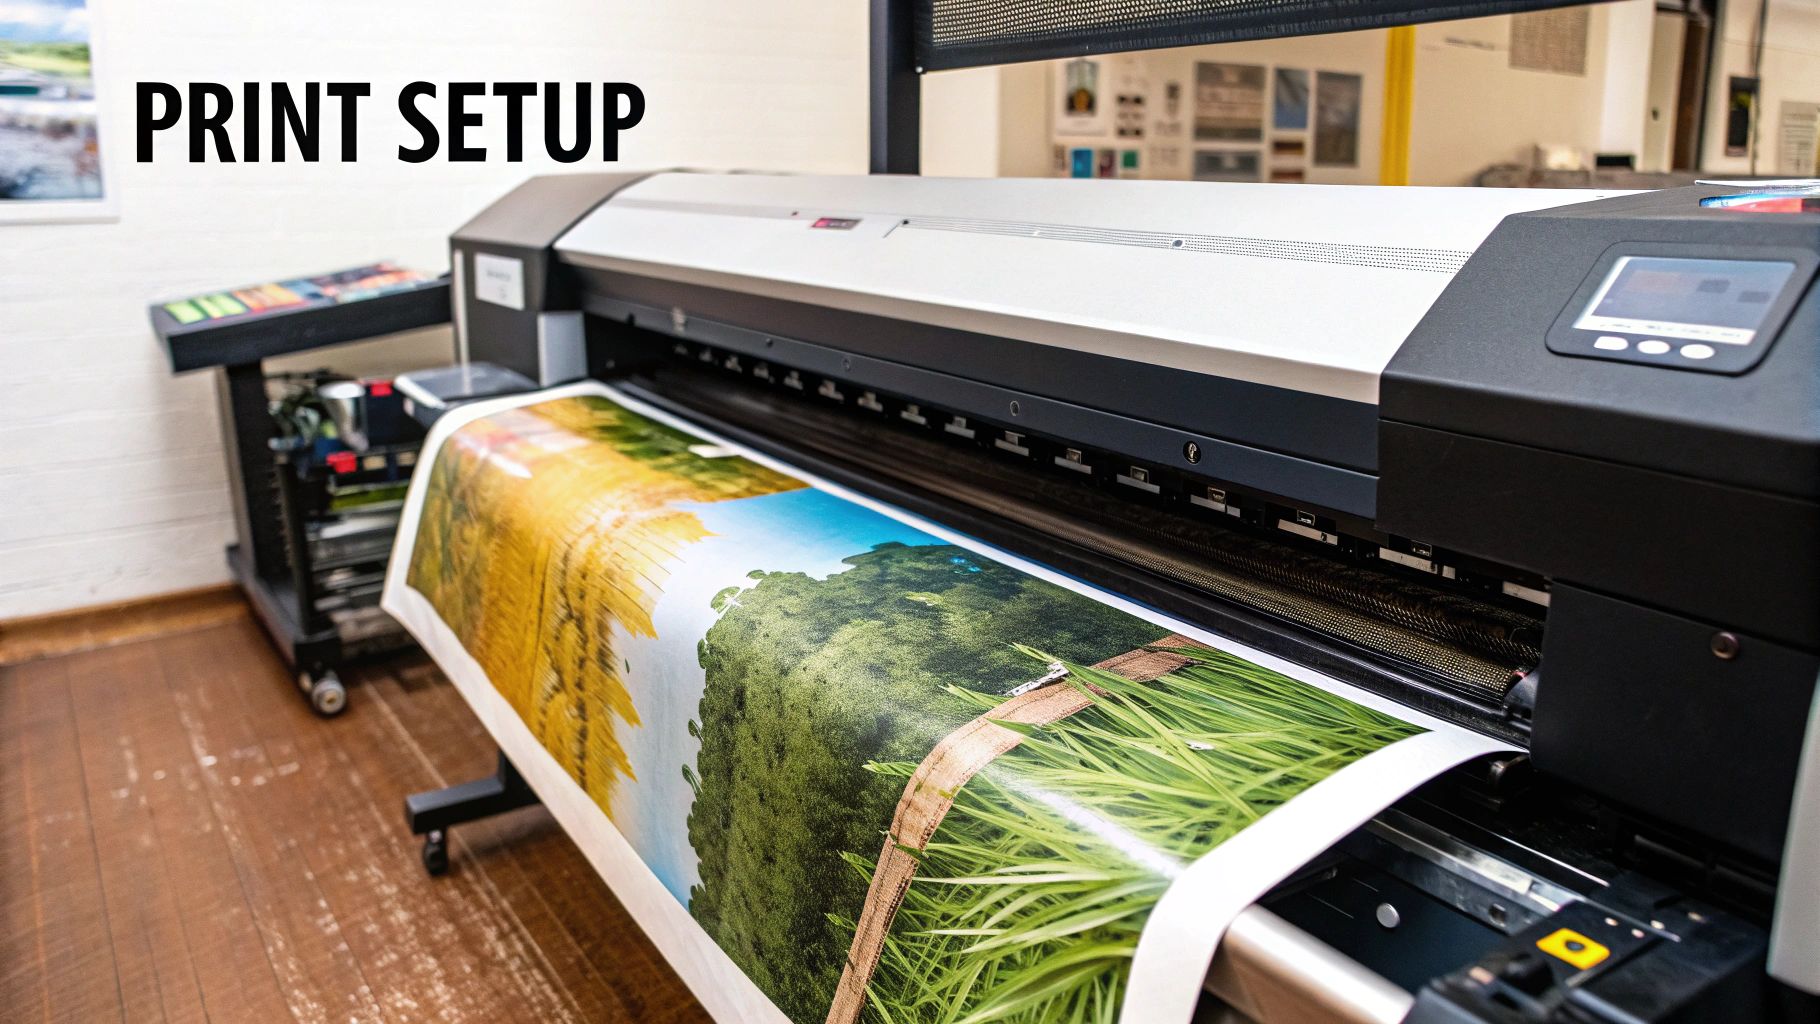
This is the moment of truth—where your digital file starts to become a real, physical piece of art. Whether you're lucky enough to have a large-format printer in your studio or you're working with a local shop, getting the settings just right is what makes or breaks the final product.
Think of your printer as a precision instrument. One wrong setting can completely derail the print, wasting a lot of expensive ink and canvas. Let’s get it right the first time.
Dialing in Your Printer Settings
First things first, you have to tell your printer what you're printing on. Dive into the printer’s software and find the media type setting. You're looking for an option like "canvas," "fine art paper," or another heavyweight profile. This single setting dictates how much ink is used and how the material is handled, which is key to avoiding smudges and oversaturation.
Next up is the color profile. If you spent time editing your photo in a specific color space like Adobe RGB, you need to make sure your printer settings are aligned. This is the secret to ensuring those deep, rich colors you see on your calibrated monitor actually show up on the canvas.
The goal here is simple: predictability. You want the print coming out of the machine to look exactly like the file you so carefully prepared. Getting the media and color settings right is what makes that happen.
Once you’ve double-checked everything, hit print. A large canvas can take a good while, so this is a great time to grab a coffee and be patient.
Handling Your Freshly Printed Canvas
When the printer finally goes silent, the job's not over. The ink on that canvas is incredibly fragile right after printing. Fight the temptation to touch the surface—even a light fingerprint can leave a permanent smudge.
Always handle the print by its clean, unprinted edges. Find a safe, dust-free spot where it can lie completely flat to dry. This is a step you absolutely cannot rush.
Give the ink a full 24 hours to cure. This isn't just about it being "dry to the touch." The curing process allows all the solvents in the ink to evaporate, which does two crucial things:
- It hardens the ink, making the surface far more durable and resistant to scratches down the line.
- It stabilizes the color, locking in the tones and preventing any weird shifts as it fully dries.
So many people get impatient here and ruin a perfectly good print. Give it the time it needs. Once it's fully cured, your canvas is ready for the fun part: stretching and finishing.
How to Stretch Your Canvas for a Gallery Finish
Getting that perfectly stretched canvas is what makes your print look like it belongs in a gallery, not like a weekend craft project. This is where the magic happens—turning your flat print into a real, three-dimensional piece of art. It’s all about getting the tension just right.
First things first, find a clean, soft surface and lay your printed canvas face down. After you've assembled your wooden stretcher bars, place the frame squarely onto the back of the print. Don't rush this part. An image that's even slightly off-center will stick out like a sore thumb on the wall. I always get my tape measure out and check the borders on all four sides to make sure they're identical before I even touch my staple gun.
This visual guide breaks down the core steps to getting it right.
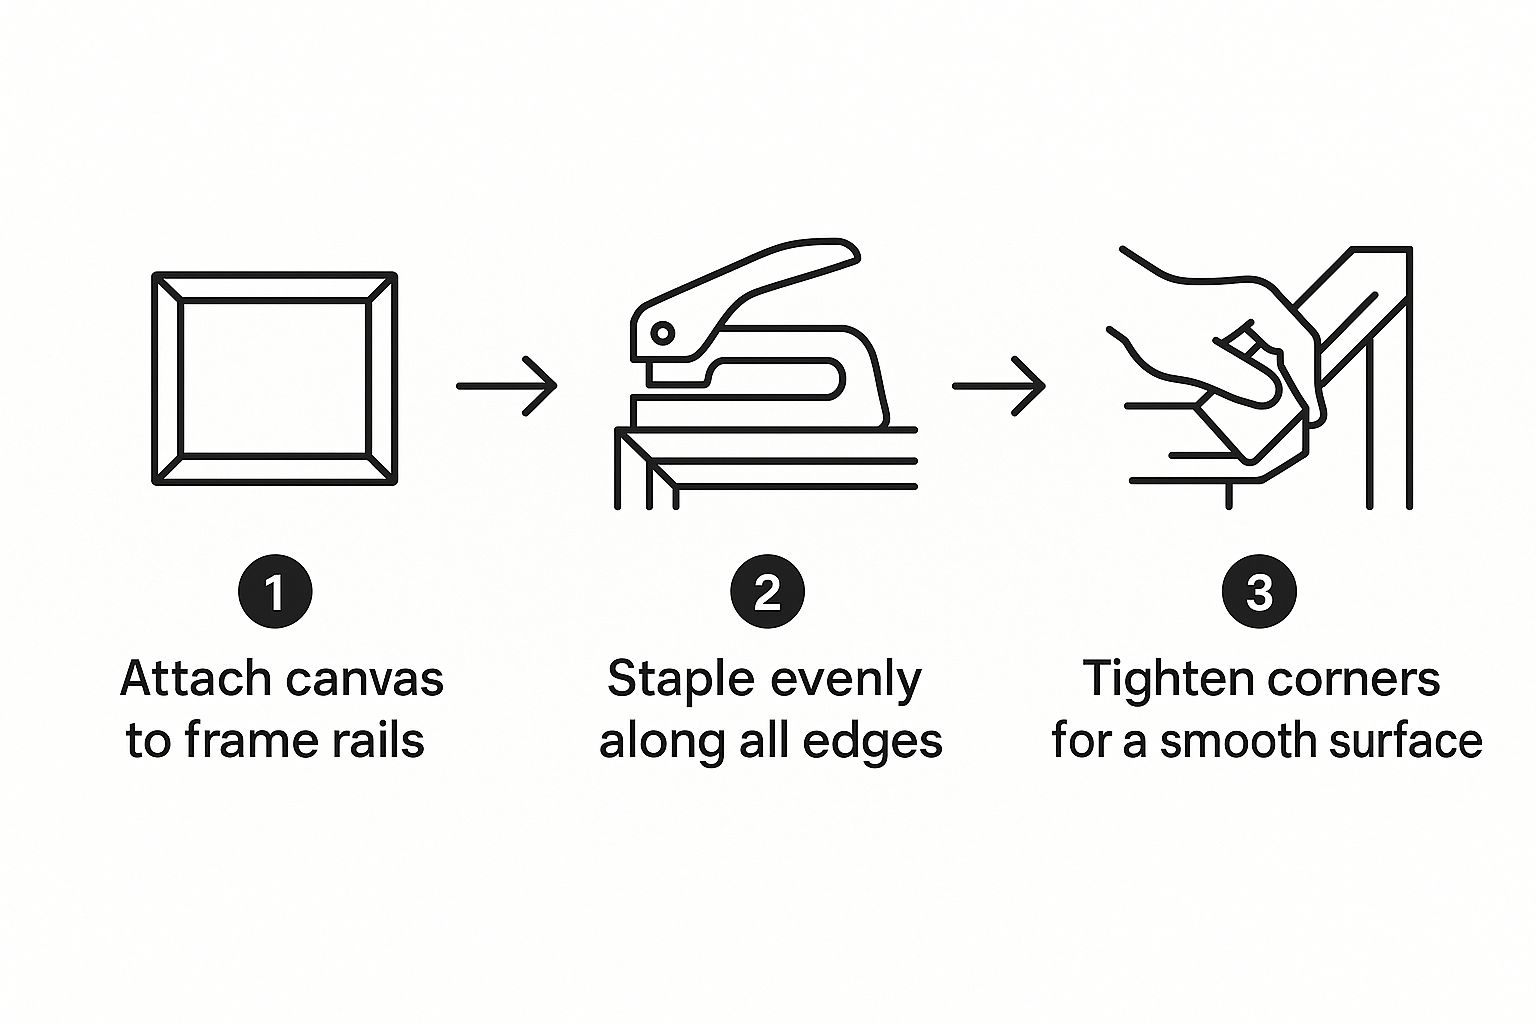
As you can see, the key is moving from that initial center staple to securing the sides, and finally, getting those tight, clean corners. That's what gives it a professional look.
The Art of the Gallery Wrap
The end goal is what’s known as a gallery wrap, where your image flows seamlessly around the edges of the frame. It gives the art a clean, modern look that doesn't need a traditional frame to feel complete. To pull this off, you'll absolutely need a good pair of canvas pliers to grip the fabric and pull it taut.
Your stapling pattern is everything. Don't just start in one corner and work your way around—that’s a one-way ticket to a saggy, wrinkled mess.
Instead, here’s the method I’ve sworn by for years:
- Begin in the middle of one of the long sides. Pull the canvas tight and pop in a single staple.
- Go directly to the opposite side. Pull with the same amount of tension and place a staple right across from the first one.
- Do the same thing for the two shorter sides, again starting right in the middle.
The secret to a drum-tight surface is to work from the center outwards. This method evenly distributes tension across the canvas, preventing any sagging or ripples from forming as you secure the edges.
From there, just keep adding staples, working from your center points out toward the corners on all four sides. I usually place them every two to three inches, always pulling the canvas with consistent force.
If you want to skip this step entirely, you can always find high-quality stretched canvas that comes ready to hang.
Finally, tackle the corners. You'll fold them neatly—think of it like wrapping a present—and secure them with a couple of staples. That’s how you get that polished, gallery-ready finish.
Applying Finishing Touches to Protect Your Art
https://www.youtube.com/embed/SOEFXDOrcV4
Your print is stretched and looking sharp, but we're not quite done. These final steps are what really elevate a DIY print into a professional, long-lasting piece of art. The most important part is applying a protective coating to shield all your hard work from UV rays, dust, and moisture.
This protective layer, usually a liquid varnish or a spray, is your print’s best defense. It does more than just preserve the ink; it also lets you control the final visual texture of the piece.
Choosing Your Sheen
The finish you pick can completely change the vibe of your canvas. Each one plays with light in a unique way, so think about your image and where it's going to hang before you decide.
-
Matte Finish: I love using a matte finish for brightly lit rooms. It has a flat, non-reflective look that kills glare and gives the art a soft, contemporary feel.
-
Satin Finish: This is the go-to for most projects. Satin offers a subtle sheen that makes colors look richer without creating harsh reflections. It’s incredibly versatile.
-
Gloss Finish: If you want your colors to seriously pop, go with gloss. It creates a vibrant, almost wet-looking surface that brings out every little detail and adds a ton of contrast.
The durability and visual appeal of canvas are a big deal. It's why the broader canvas products market was valued at $12.5 billion in 2024, a number that's only expected to grow. You can learn more about the expanding canvas market on verifiedmarketreports.com.
Final Assembly
After the varnish has fully cured (and be patient here!), it's time to add the hanging hardware.
A simple sawtooth hanger is usually fine for smaller canvases. For anything larger or heavier, I always recommend using D-rings and picture wire to make sure it’s secure on the wall.
Just be sure to measure carefully and center the hardware on the back of the wooden frame. Once that’s screwed in, your custom canvas print is officially ready to hang and become the centerpiece of any room.
Answering Your Top Questions About Making Canvas Prints
Jumping into your first canvas printing project? It’s completely normal to have a few questions. Getting the right answers upfront is the best way to feel confident and create something you'll be proud to hang on your wall. Let's walk through some of the things people ask most often.
How Long Will My Canvas Print Actually Last?
This is a big one, and for good reason! When you put time and effort into creating art, you want it to stick around.
A properly made canvas print can easily last for 75 to 100 years without any noticeable fading. The key is using quality materials like archival pigment inks and finishing it with a UV-protective varnish. Think of it less as a print and more as a long-term keepsake.
Which Varnish Should I Choose: Matte, Satin, or Gloss?
The finish you choose can completely change the look and feel of your print, so it's worth thinking about where the canvas will hang.
- Matte: Go with matte if your print will be in a brightly lit room. It’s fantastic for eliminating glare and reflections.
- Satin: This is a great all-arounder. It offers a subtle sheen that adds a little richness to the colors without being overly reflective.
- Gloss: If you want your colors to scream vibrancy, gloss is the way to go. It delivers maximum contrast and makes the image pop.
Is This a Popular Hobby or Niche?
It's way more than just a hobby—it's a huge industry. The global market for wall art and canvas prints hit about $65.81 billion in 2025 and is still growing. That number shows just how much people love personalizing their spaces with meaningful images. You can dive deeper into the growth of the canvas print market on businessresearchinsights.com.
Can I Just Use My Regular Printer at Home?
I get this question all the time, and unfortunately, the answer is no—at least not if you want professional results. Your standard desktop printer uses dye-based inks and simply can't handle the thickness and texture of canvas. The result is usually a faded, low-quality image that won't last.
If there's one thing to remember, it's this: preparation is everything. Your final piece is a direct result of the small details—from picking a high-resolution photo to giving the ink enough time to dry.
What’s the Hardest Part of the Process?
Ask anyone who does this regularly, and they'll probably tell you the same thing: stretching the canvas. It’s a skill that takes patience and a bit of muscle to get a perfectly taut, ripple-free surface. But once you get the hang of it, that's when your prints start to look truly professional.
At everone, we turn your favorite memories into beautiful, lasting art. Create your own custom canvas print today. https://everone.shop