

Turn Photos Into Canvas Prints Your Complete Guide
Turning your favorite photo into a canvas print is a surprisingly simple way to create a beautiful, ready-to-hang piece of art for your home. You just upload a digital picture to a printing service, pick your size and a few custom touches, and they handle the rest. It’s a fantastic way to take a fleeting digital memory and turn it into something tangible you can enjoy every single day.
Why Turn Your Photos Into Canvas Prints?
Let’s be honest, turning a digital photo into a canvas print is about so much more than just filling an empty spot on your wall. It's about giving your memories a physical presence and elevating them into a piece of personal art.
Unlike a standard paper print trapped behind glass, a canvas has a unique texture and depth. This adds a warm, almost painterly quality to your photo, making any room feel cozier and more personal. The popular gallery-wrapped style, where the image extends around the sides, also offers a clean, modern look that just works with almost any decor.
You’re not just printing a picture; you’re creating a focal point. This is your chance to tell a story with an image that truly means something to you—maybe it's that breathtaking sunset from your last vacation, a candid shot of your family laughing, or the goofy grin of your beloved pet. The entire process of how we turn your photos into art is designed to make sure every one of those important details shines through.
Key Takeaway: Choosing to create a canvas print is about celebrating your most cherished moments. It’s a format that feels both high-end and deeply personal, making your house feel more like your home.
It’s no surprise that this creative outlet is booming. The global photo printing market is actually projected to grow from USD 26.25 billion in 2025 to roughly USD 46.17 billion by 2032.
That massive jump is being driven by people just like you and me who want personalized products that bring our digital photos out of our phones and into our lives. If you're curious, you can find more market insights on this trend from sources like Coherent Market Insights. It really just shows a shared desire we all have to connect with our memories in a more lasting, meaningful way.
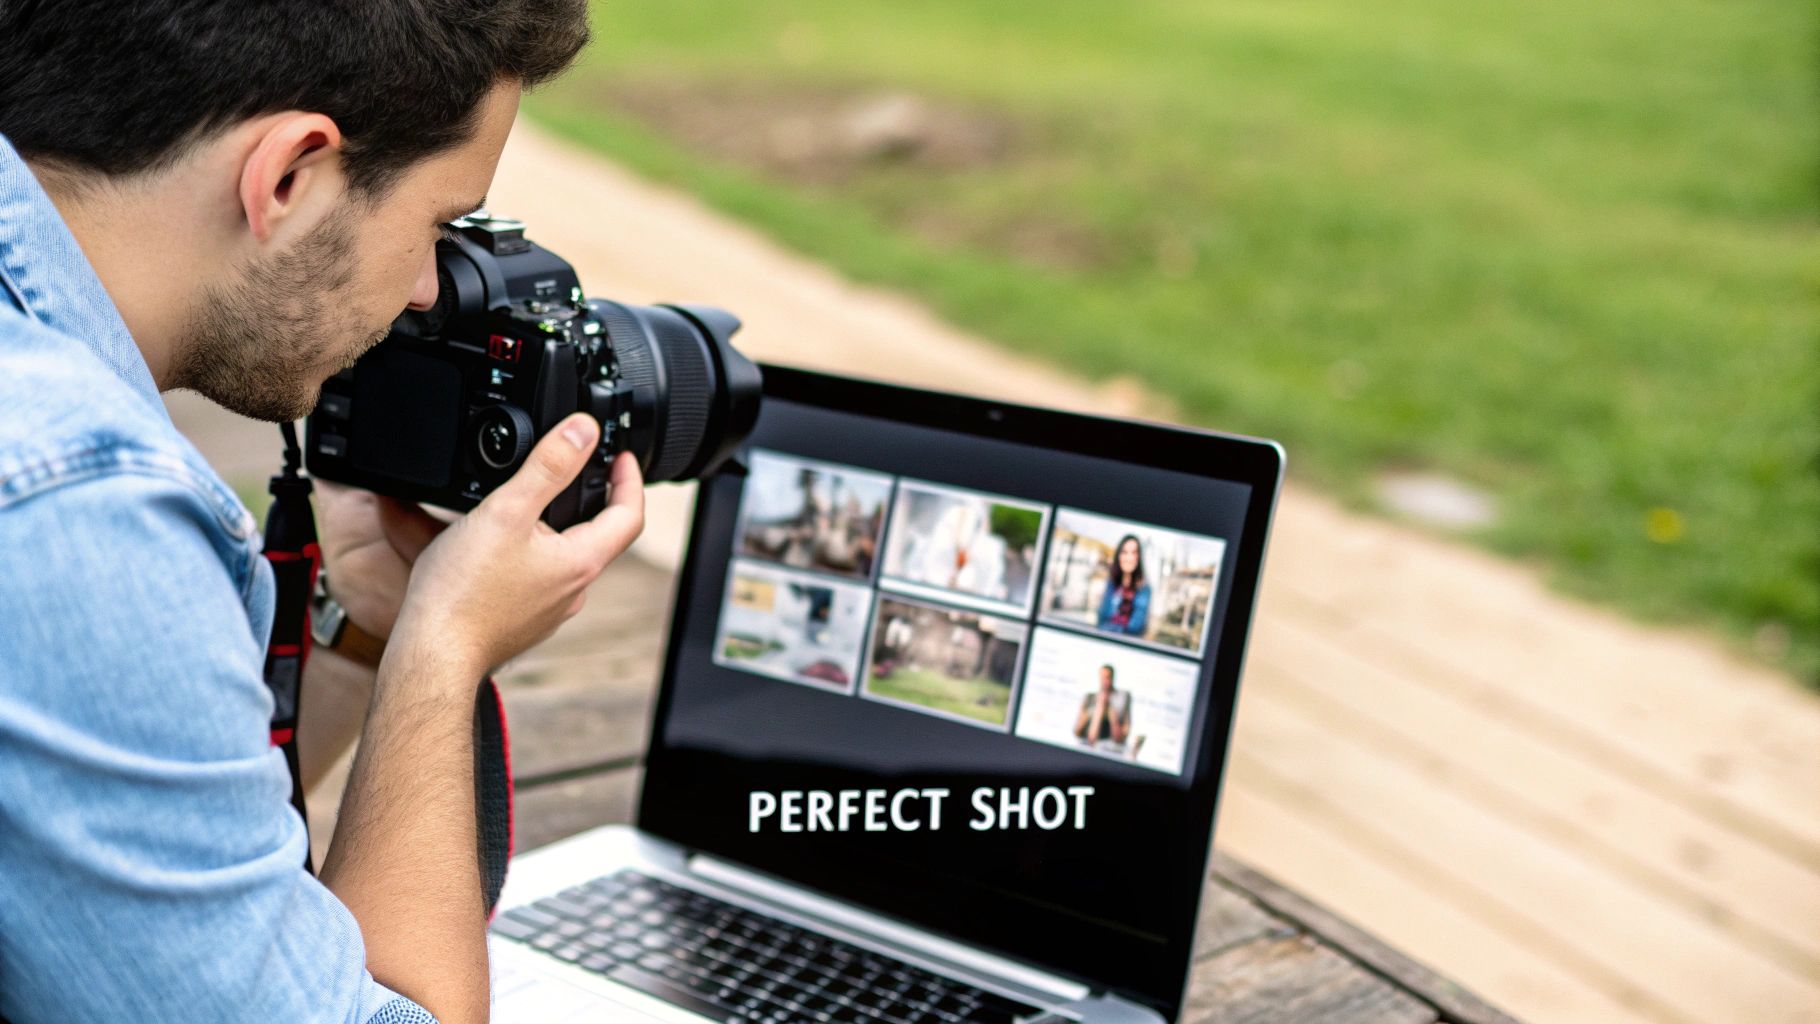
Choosing the Perfect Photo for Your Canvas
It all starts with the photo. This is the single most important decision you'll make in the whole process because a great canvas print begins with a great image. It's about more than just picking a favorite memory; you have to put on your curator hat and think about what will actually look good enlarged and hanging on your wall.
The biggest mistake I see people make is choosing a photo with low resolution. A picture that looks perfectly clear on your phone screen can quickly turn into a blurry, pixelated mess when stretched to an 8x10 canvas, let alone a big 24x36 statement piece.
Focus on Resolution and Lighting
Before you get too attached to a photo, do a quick check on the file size. A good rule of thumb is that an image file around 2-3 MB can work for smaller prints. But if you’re dreaming of a large, dramatic canvas, you’ll want to look for files that are 5 MB or even larger. This gives the printer enough digital information to work with, ensuring your final print has sharp lines and beautiful detail.
Lighting is the other half of the technical puzzle. Photos taken in bright, natural light almost always translate beautifully to canvas. Good lighting brings out textures, creates a sense of depth, and makes colors pop. Even a photo shot on a cloudy day can be a winner—the soft, even light is fantastic for portraits because it avoids those harsh, unflattering shadows.
Pro Tip: Watch out for photos with "blown out" highlights (bright spots that are just pure white) or "crushed" blacks (dark areas that are solid black with no detail). A printer can't create detail that isn't in the original file to begin with.
Photo Resolution Guide for Common Canvas Sizes
To make things easier, I've put together this quick reference table. It's designed to help you match your photo's resolution (measured in pixels) to the canvas size you have in mind, so you can feel confident you'll get a high-quality print.
| Canvas Size (Inches) | Minimum Recommended Resolution (Pixels) | Good for Photos From |
|---|---|---|
| 8 x 10 | 1200 x 1500 | Most modern smartphones, point-and-shoot cameras |
| 11 x 14 | 1650 x 2100 | High-end smartphones, entry-level DSLR cameras |
| 16 x 20 | 2400 x 3000 | High-end smartphones (in good light), DSLR/mirrorless cameras |
| 24 x 36 | 3600 x 5400 | DSLR/mirrorless cameras, professional photoshoots |
Just remember, these are minimums. When it comes to resolution, more is almost always better!
Consider the Subject and Composition
Okay, now for the creative part—what’s the photo actually of? Think about the vibe you want to create in the room.
- For high-energy spaces like a living room: A dynamic landscape, a bustling city scene, or a candid group shot filled with laughter can really inject life and movement into the space.
- For calm, personal areas like a bedroom or office: A serene nature photo, a close-up of a sleeping pet, or a quiet portrait can help create a more peaceful and intimate atmosphere.
Composition makes a huge difference. Does the photo have a clear focal point that your eye is naturally drawn to? Images with leading lines—like a winding road, a pier, or a fence line—are fantastic for canvas because they guide the viewer's gaze right through the picture. The classic "rule of thirds," where the main subject is slightly off-center, also works wonders for creating a balanced and engaging piece of art.
This is a big reason why people are turning to canvas prints more and more—it's all about the visual appeal.
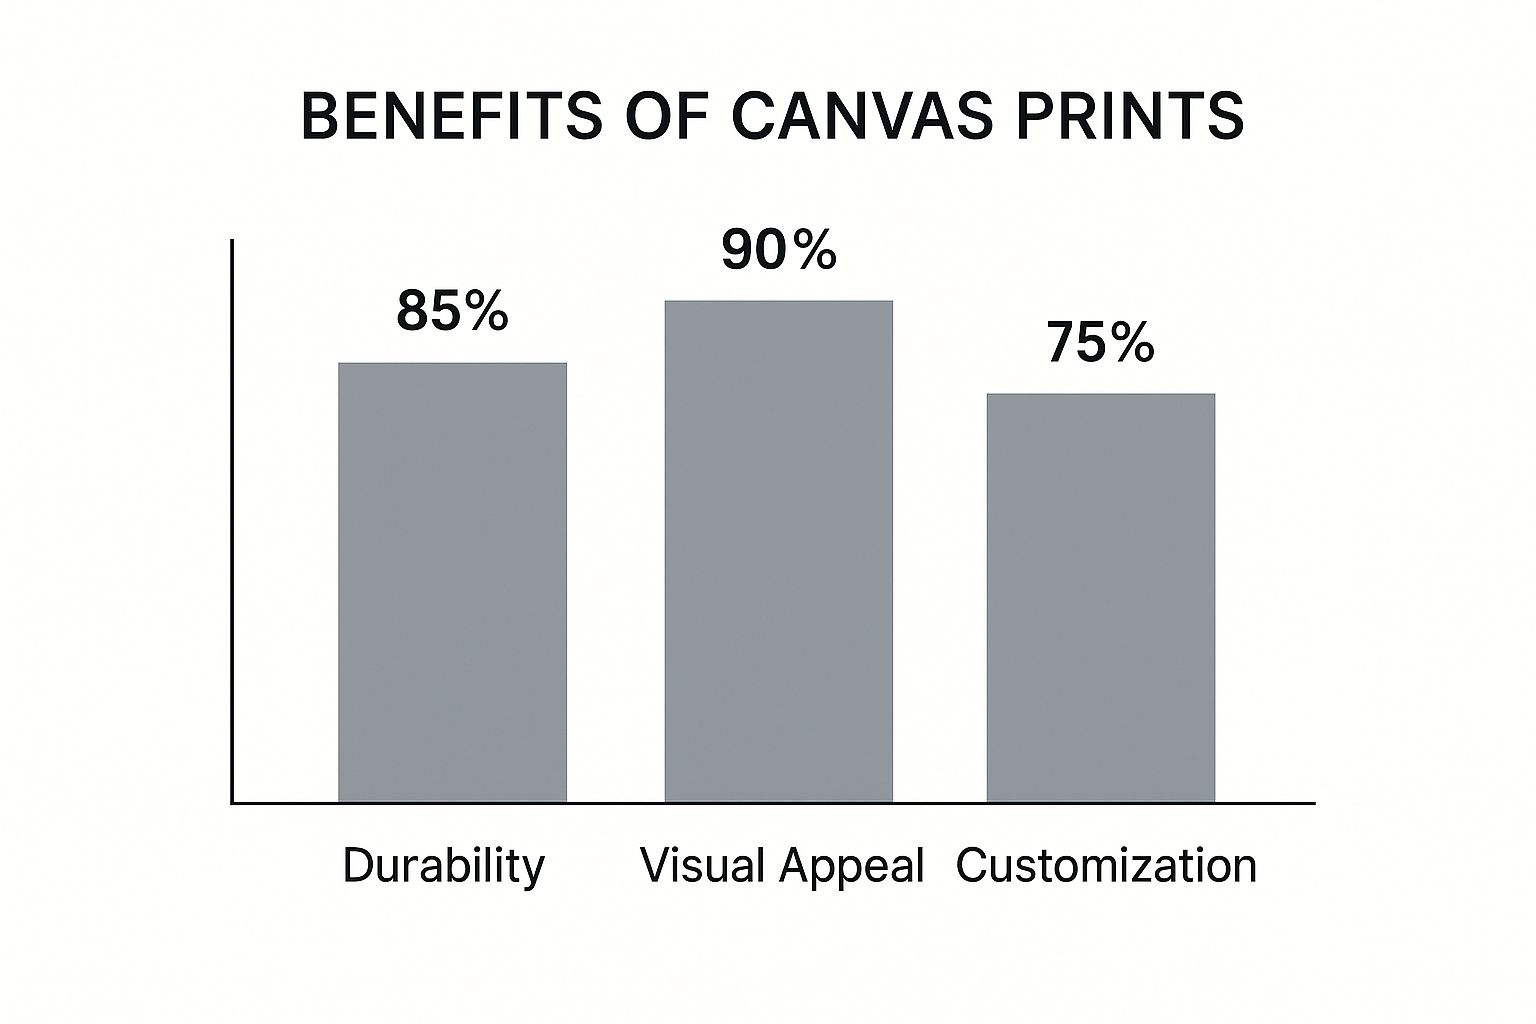
The data here really backs it up. The aesthetic quality is a huge driver, which is why taking the time to pick the right photo is so critical to getting a result you’ll love.
Match the Photo to Your Space
Finally, take a moment to picture where this canvas will actually hang. The colors in your photo should feel at home with the rest of the room's decor. A timeless black-and-white print, for example, can add a touch of class to a modern, minimalist room. On the flip side, a photo bursting with vibrant color—like a field of wildflowers or a fiery sunset—can be the perfect accent piece to liven up a space with neutral-colored walls.
Imagine a stunning beach photo with bright blues and sandy beiges hanging in a coastal-themed bathroom. Or a warm, rustic photo of an autumn forest complementing a living room filled with wood furniture and cozy textures. When you choose a photo that fits its environment, your canvas print goes from being just a picture on the wall to an intentional, integrated piece of home decor.
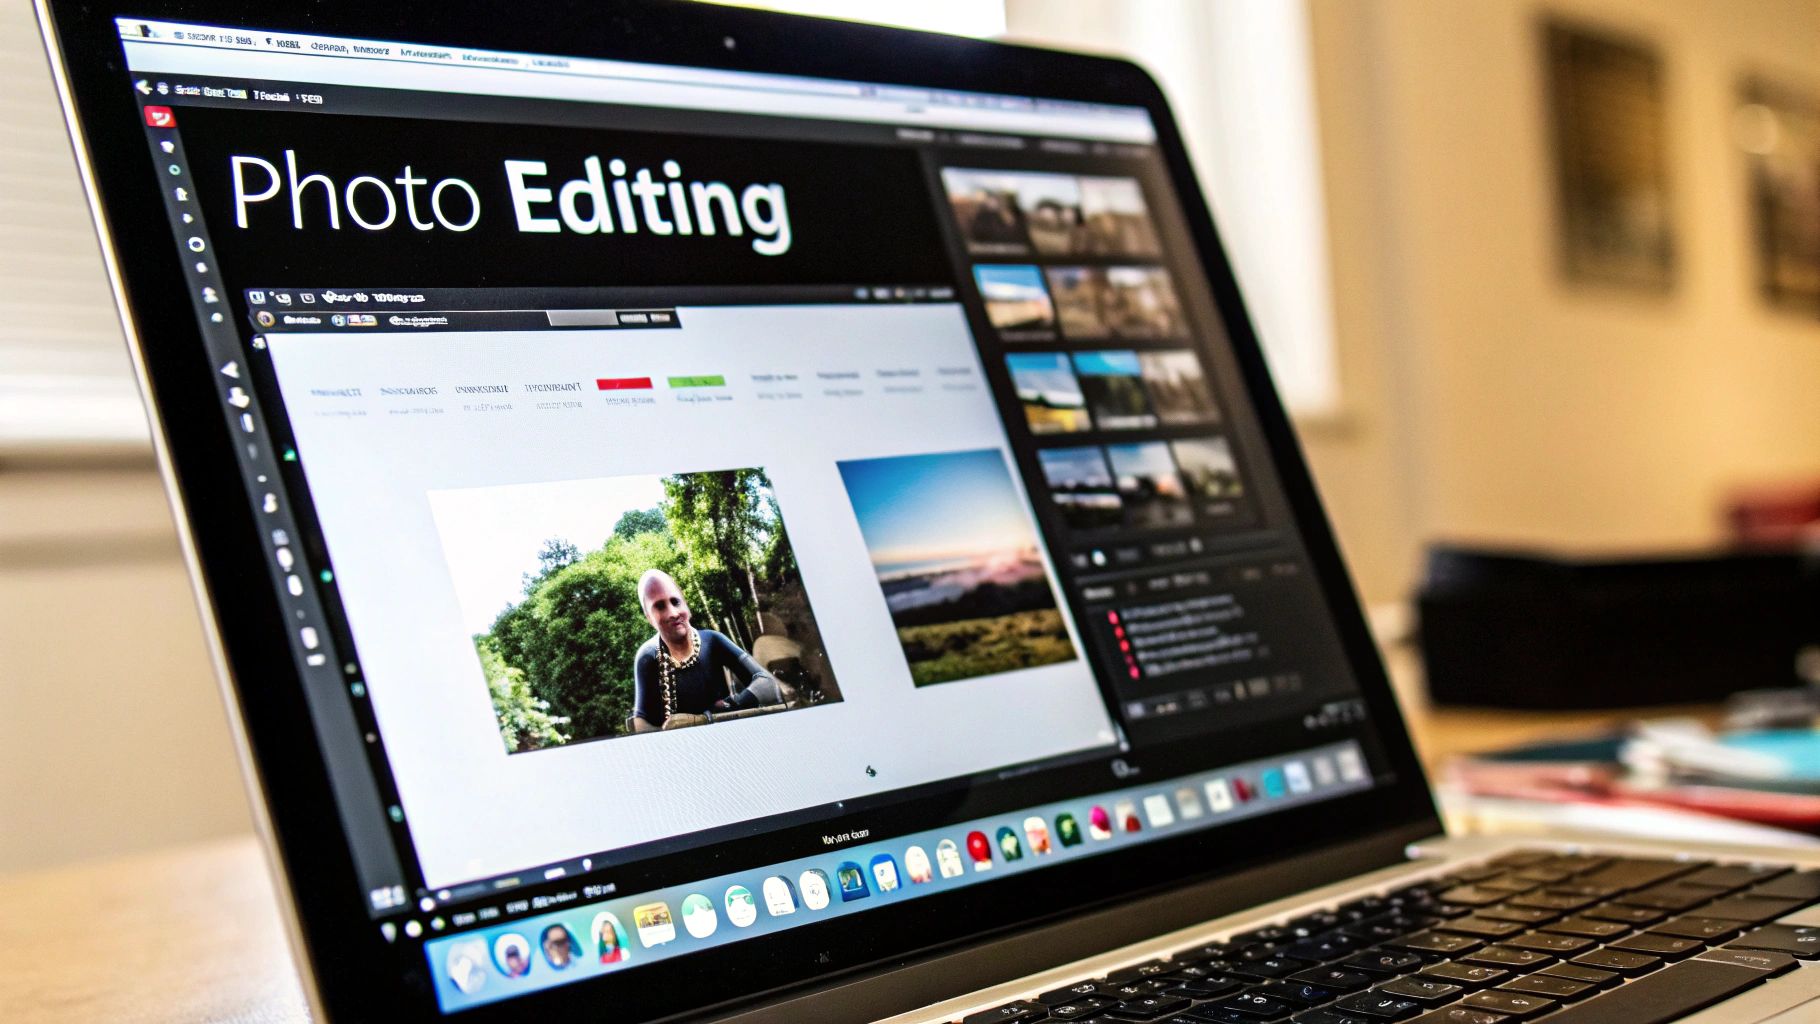
Getting Your Image Ready for a Flawless Print
Alright, you’ve picked a winner. Now, let’s talk about a few quick edits that can take your photo from good to absolutely stunning on canvas. Don't worry, you don’t need to be a professional photographer with expensive software. The basic editing tools built into your phone or computer are more than enough for these simple, yet powerful, adjustments.
The idea here isn't to reinvent the photo, but to polish it. We want to enhance what's already great. A little bump in brightness can bring a dimly lit memory to life, while a touch of contrast can make your subject leap off the canvas. Think of it as prepping your photo for its big debut, making sure it looks just as good on a textured surface as it does on your backlit screen.
Fine-Tuning Your Shot with a Good Crop
Cropping is your secret weapon. Seriously. A thoughtful crop can completely transform a photo, getting rid of distracting background clutter and zeroing in on what truly matters. Got a fantastic family photo ruined by a random trash can in the corner? Crop it out. It's that simple.
This is also your chance to play with the composition. A classic trick is the "rule of thirds"—just imagine a tic-tac-toe grid over your photo. By placing your subject along one of the lines or where they intersect, you often get a much more dynamic and engaging image than one with the subject plunked right in the middle.
My Two Cents: Cropping isn't about losing part of your picture; it's about focusing the story. Use it to guide the viewer’s eye and make your photo’s message crystal clear.
Making Your Colors Pop (Without Going Overboard)
Now for the fun part: color. It’s so tempting to crank that saturation slider all the way up, but trust me on this—don’t do it. That often leads to a garish, cartoonish look once printed on canvas. The key is to aim for subtle, natural-looking enhancements.
Here are a few sliders to play with:
- Brightness: Give this a gentle nudge to lighten up the whole image. It’s a lifesaver for photos taken indoors or on overcast days.
- Contrast: A little boost here makes the dark parts darker and the light parts lighter, giving your photo a real sense of depth.
- Saturation/Vibrance: Use a light hand. I usually prefer the vibrance tool because it’s smarter—it boosts the more muted colors while leaving skin tones and already-vibrant colors alone. This helps avoid that unnatural, oversaturated look.
If you're pulling a photo from social media, it might need a little extra love to get it print-ready. For more on that, check out our guide on printing photos from Instagram for some specific tricks. At the end of the day, you want the edits to feel authentic to the moment you captured.
This desire for personalization is a huge driver behind the home décor market, which was valued at a whopping USD 62.62 billion in 2024. People are craving unique art that tells their story, and a beautifully edited canvas print does just that. If you're curious about this trend, you can read the full research on the wall art market.
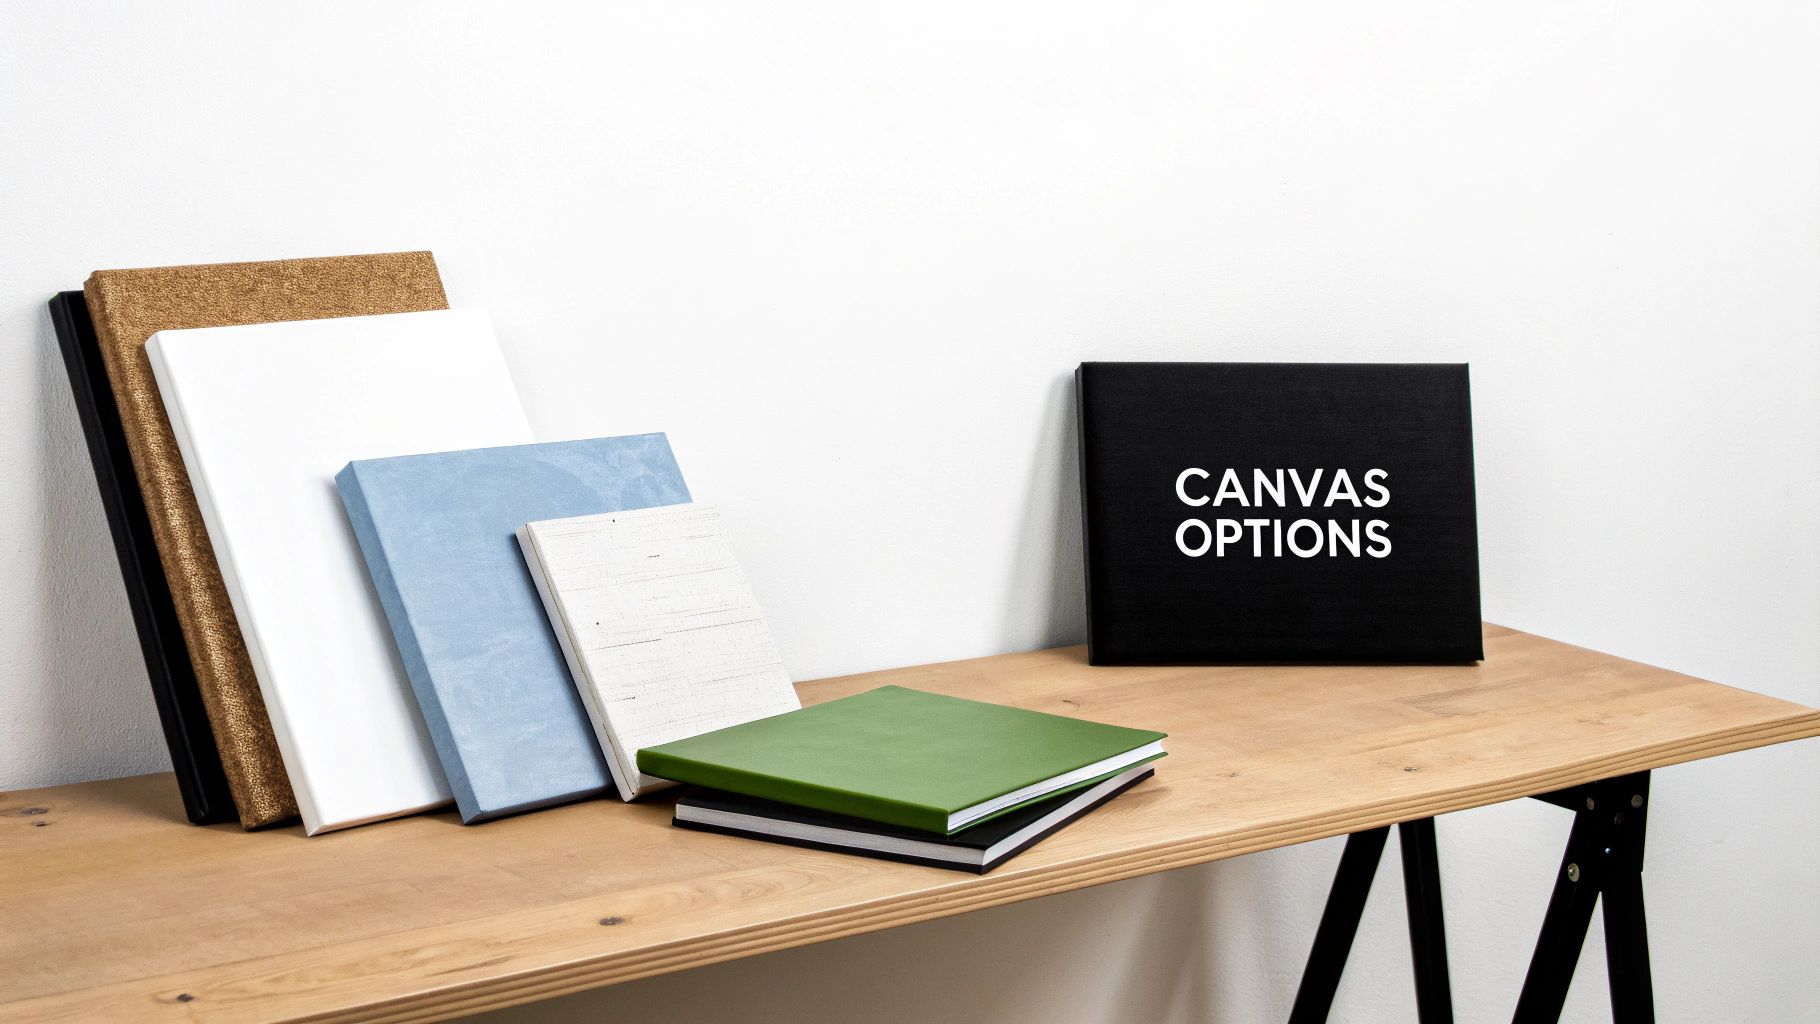
Getting the Details Just Right: Customizing Your Canvas
This is where the real fun begins. Once your photo is uploaded, you get to step into the role of a designer, making the small choices that turn a simple picture into a genuine piece of art. The options you select here will totally define the final look and feel of your canvas, so let's walk through the most important ones.
First up is deciding on the canvas depth, which really affects how substantial your artwork feels hanging on the wall.
Standard vs. Gallery Wrap: It's All About Depth
You'll usually run into two main choices for canvas depth: the standard wrap and the gallery wrap. Neither one is better than the other; they just create completely different visual effects.
-
Standard Wrap (usually 0.75 inches): This is the thinner option. It’s a great fit for smaller prints or if you’re thinking about popping the canvas into a decorative frame later on. It's a classic, understated look.
-
Gallery Wrap (usually 1.5 inches): This is my personal go-to for most projects. The thicker profile gives the art more presence and a modern, three-dimensional look that really stands out. It's designed to be hung as-is, no frame needed, making for a bold statement piece.
Think about where the canvas will live. A single, large gallery-wrapped print can anchor an entire room, whereas a collection of smaller, standard-wrapped photos might look fantastic arranged down a hallway.
Choosing the Perfect Edge Style
Next, let’s talk about the edges—what will you see when you look at the canvas from the side? This might seem like a minor detail, but it has a huge impact on the overall presentation when you turn photos into canvas prints.
You’ll typically see three common styles, and each has its own vibe:
-
Image Wrap: With this style, your photo continues seamlessly around the sides of the canvas frame. It's a fantastic choice for sprawling landscapes or abstract images where losing a little bit of the picture's edge doesn't crop out anything critical.
-
Mirrored Edge: This is a pretty clever solution. The outer inch or so of your photo's border is digitally duplicated and "mirrored" to cover the edges. The result is a continuous look just like the image wrap, but without sacrificing any part of your original composition. This is the perfect option for portraits where you definitely don't want to lose an arm or the top of someone's head.
-
Solid Color Edge: You can also pick a solid color for the sides—black and white are common, but you can often choose a complementary color pulled directly from the photo. A black edge creates a sharp, dramatic border that makes the colors in your photo pop. A white edge gives off a clean, contemporary feel.
My Takeaway: For most photos, especially portraits or shots with important details near the perimeter, the mirrored wrap is the safest and most professional-looking bet. It gives you that high-end gallery feel without compromising your original shot.
This kind of high-quality personalization is exactly what's driving growth in the photo printing market. In the United States, even as total print volumes decline, revenues are set to grow by about 3.3% annually through 2029. Why? Because people are happy to invest in premium, custom products like gallery-wrapped canvas art.
As you explore these options, it can be super helpful to see how these elements come together on a finished piece. For instance, checking out a product like the Blanche Wall Art Canvas with Wood can spark some great ideas for your own project. And of course, getting the size right is crucial, so don't forget to look over our complete guide on picking a custom canvas size to make sure your final piece is a perfect fit for your space.
Hanging and Caring for Your New Artwork
The moment of truth has arrived—your custom canvas print is finally here! All that's left is finding the perfect spot for it to shine. Getting your new artwork on the wall so it looks great and stays secure is the final, most rewarding part of the process when you turn photos into canvas prints.
Before you reach for a hammer, though, let’s talk placement. A great rule of thumb I always follow is to hang art so its center is right at eye level, which is usually about 57 to 60 inches off the floor. This gives it a really natural and comfortable viewing height for just about everyone.
Getting It Straight and Secure
The good news is that most canvases arrive ready to hang with hardware already attached, like a simple sawtooth hanger or a wire. For a sawtooth hanger, one nail or screw is all it takes.
If you’re worried about getting it perfectly level on the first try, here’s a little trick I've used for years: put a tiny dab of toothpaste on the hanger. Gently press the canvas against the wall where you want it to go, and pull it back. Voilà! You've got a perfect mark for your nail. No more guessing games.
For bigger, heavier canvases that come with a wire, I strongly recommend using two hooks spaced several inches apart. This not only keeps the canvas from tilting over time but also makes it way more secure on the wall.
Key Takeaway: Proper placement can make or break the impact of your art. Always aim for eye level, and don't be afraid to map things out with a bit of painter's tape before you make any holes. Once your custom canvas print is ready to adorn your walls, learn how to arrange wall art like a pro to create truly impactful displays.
Long-Term Care for Lasting Vibrancy
Your beautiful print is built to last, but a little bit of care goes a long way in keeping it looking brand new. The two biggest culprits that can ruin a canvas print are dust and direct sunlight.
When it comes to cleaning, a light dusting with a soft, dry, lint-free cloth is all you need. Seriously, never use water or any cleaning solutions. Moisture is the enemy here—it can damage the ink and the canvas material itself.
To keep your print looking its best for years, just remember these two things:
- Avoid Direct Sunlight: UV rays are notorious for fading vibrant colors. Try to find a spot for your canvas that doesn't get blasted with intense, direct sunlight for hours every day.
- Steer Clear of Humidity: High-humidity spots like bathrooms or unventilated kitchens are a no-go. Moisture in the air can cause the wooden frame of a stretched canvas to warp and the canvas fabric to sag over time.
By following these simple tips, you’ll make sure that cherished memory remains a stunning centerpiece in your home for a very long time.
Got Questions? We've Got Answers
Even after going through all the steps, it's totally normal to have a few lingering questions. When you're turning a cherished photo into a piece of art, you want every detail to be just right!
Let's tackle some of the most common questions we get. Think of this as the final chat to clear up any doubts before you confidently click that "order" button.
Can Any Photo Be Turned into a Canvas?
In theory, yes. You can print just about any digital photo on canvas. But the real question is, should you? The make-or-break factor is almost always resolution. A tiny, grainy photo you saved from a text message just isn't going to look great when it's blown up on a canvas. As we talked about earlier, high resolution is your best friend for a crisp, beautiful print.
Something else to consider is the photo itself. Very dark or "moody" photos can sometimes lose some of their subtle shadow details on the textured surface of a canvas. My experience is that photos with bright, even lighting and a clear subject almost always pop the most.
What's This "Giclée" Thing I Keep Seeing?
You've probably stumbled across the term "giclée" (it’s a French word, pronounced zhee-KLAY) on some of the more premium printing sites. It sounds fancy, but it just means the print is made with a high-end inkjet printer using special, long-lasting archival inks.
So, is it worth it? If you care about longevity, absolutely. Here’s how it breaks down:
| Feature | Standard Inkjet Print | Giclée Print |
|---|---|---|
| Ink Type | Dye-based inks, which can fade more quickly. | Pigment-based archival inks designed for permanence. |
| Color Fidelity | Usually good, but might not be a perfect match. | Superior color accuracy and a richer range of tones. |
| Lifespan | Can start to show noticeable fading in 5-10 years. | Rated to last 100+ years without significant fading. |
Bottom line: If you're creating a family heirloom or a piece of art you want to pass down, springing for giclée is a smart move. For a fun piece to decorate a dorm room? A standard print will do the job just fine.
Will the Colors on My Canvas Match My Screen?
This is a fantastic question, and it's where a lot of confusion comes from. The honest answer is: the colors will be very close, but probably not a perfect 1:1 match.
Here's why: your phone or computer screen is lit from behind (it uses an RGB—Red, Green, Blue—color model), which makes images look incredibly bright and vibrant. A printer, on the other hand, applies physical ink to a surface (using a CMYK—Cyan, Magenta, Yellow, Black—model). Because of this fundamental difference, a printed image will naturally look a little less luminous than it does on your glowing screen.
Our Promise: Any good printing company invests a ton of time and effort into calibrating their equipment to get the colors as accurate as possible. While a perfect screen-to-print match is technically impossible, a quality print will always be a stunning and faithful representation of your photo.
How Do I Keep My Canvas Looking Great?
You'll be happy to hear that caring for your canvas is incredibly easy. The number one rule is to never use water or any chemical cleaners. This is a fast track to ruining the ink and the protective coating.
A simple dusting with a soft, dry cloth is all it needs. If you get a small smudge, just gently dab it with a dry cloth. To keep it looking its best for years, try to hang it out of direct sunlight, which can cause fading over time. It's also wise to avoid super humid places like a bathroom, as the moisture can make the wooden frame warp. That’s it! With just a little care, your canvas will look fantastic for decades.
Ready to turn your favorite memories into lasting art? At everone prints, we make it easy to create beautiful, high-quality canvas prints that you'll cherish for a lifetime. Start designing your custom piece today at https://everone.shop.