

Best Resolution for Canvas Prints for Sharp Images
So, you've got a photo you love, and you're ready to turn it into a beautiful canvas print. But there's one little technical detail that makes all the difference: resolution. Getting this right is the secret to a sharp, stunning print versus a blurry, pixelated mess.
Let's cut to the chase. For a fantastic-looking canvas print, you'll want your image to be at least 150 DPI (Dots Per Inch). If you're aiming for that "wow" factor—a gallery-quality piece with crisp details that you can admire up close—then 300 DPI is the gold standard.
Your Quick Guide to Perfect Canvas Print Resolution
Think of it this way: a huge canvas hanging high on a living room wall doesn't need to be as razor-sharp as a smaller print you'll see every day on your desk. The ideal resolution really comes down to the size of your canvas and how close you'll be to it.
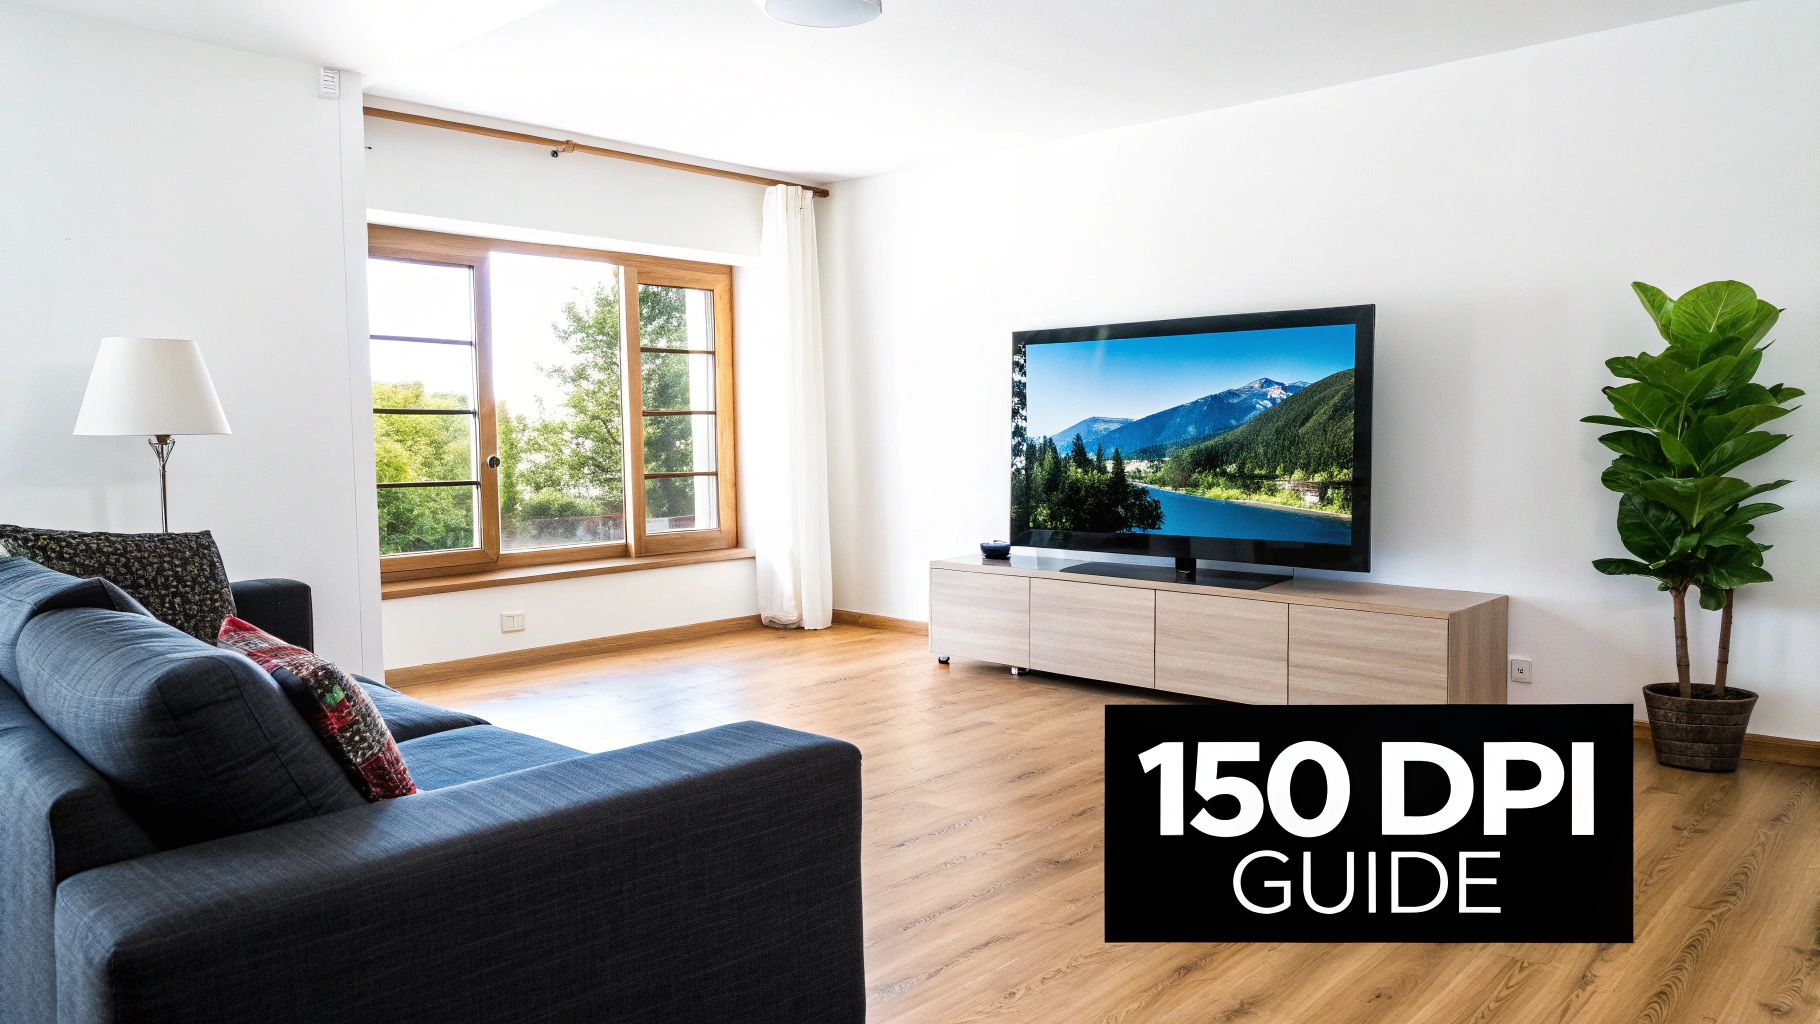
This simple visual breaks down the two most important quality benchmarks for canvas prints.

As you can see, 150 DPI is a great target for most prints, delivering clear and vibrant results. For those truly special photos where every detail matters, pushing to 300 DPI will give you that premium, professional finish.
Finding the Right Pixel Dimensions
Okay, what does DPI actually mean for the photo file sitting on your computer or phone? It's all about the pixels. The number of pixels in your image directly determines how large you can print it without losing quality.
For example, if you want to create a beautiful 16x20 inch canvas, your image file needs to be at least 2400 x 3000 pixels to hit that solid 150 DPI mark. Want that same print to look absolutely flawless at 300 DPI? You'll need a much larger file, around 4800 x 6000 pixels.
Key Takeaway: Always check your image's pixel dimensions before you upload it for printing. More pixels give you more freedom to go big! Luckily, most modern smartphones capture photos with plenty of resolution for even large-format prints.
Here's a handy reference to help you match your canvas size to the right pixel dimensions.
Recommended Pixels for Common Canvas Sizes
| Canvas Size (Inches) | Good Quality (150 DPI) | Best Quality (300 DPI) |
|---|---|---|
| 8 x 10 | 1200 x 1500 pixels | 2400 x 3000 pixels |
| 11 x 14 | 1650 x 2100 pixels | 3300 x 4200 pixels |
| 16 x 20 | 2400 x 3000 pixels | 4800 x 6000 pixels |
| 20 x 24 | 3000 x 3600 pixels | 6000 x 7200 pixels |
| 24 x 36 | 3600 x 5400 pixels | 7200 x 10800 pixels |
| 30 x 40 | 4500 x 6000 pixels | 9000 x 12000 pixels |
This table makes it easy to see if your file is ready for printing at your desired size.
Taking a moment to understand these numbers is the most important step when you create your own canvas print. This quick check is your best insurance against the disappointment of a fuzzy print, ensuring the final piece of art looks just as incredible as you imagined it.
Getting to Grips with Pixels, DPI, and PPI
So, what’s the secret to a stunning canvas print? It all starts with understanding a few key terms that can seem a little techy at first, but are actually quite simple. Let’s break it down.
Think of any digital photo on your phone or computer as a giant mosaic. This mosaic is made up of thousands, sometimes millions, of tiny, single-colored squares. These little squares are called pixels, and the total number of them is what we call the image's "resolution."
Now, how do we get that digital mosaic onto a physical canvas? That's where DPI, or Dots Per Inch, enters the picture. DPI tells us how many tiny ink dots a printer will place on every inch of the canvas.
When the DPI is high, the printer squeezes a ton of dots into each inch. The result? A crisp, vibrant image where you can't see the individual dots. But if the DPI is too low, those dots get spread out, and your print can look blurry or "pixelated"—kind of like standing so close to that mosaic that you only see the separate tiles instead of the whole picture.
Pixels vs. Dots: What's the Real Difference?
You’ll often hear another term, PPI (Pixels Per Inch), thrown around with DPI. People tend to use them interchangeably, and for our purposes, they describe the same core concept of image density. But there is a technical difference.
- PPI (Pixels Per Inch) is all about the screen. It describes the number of pixels packed into one inch of a digital display, like your monitor or phone.
- DPI (Dots Per Inch) is all about the print. It refers to the physical ink dots a printer lays down on a surface like paper or canvas.
Your main job is just to make sure your original photo has enough pixels to hit your target DPI for the final print. The relationship between your image's pixel count and the final print size is everything. That’s why a photo with a high pixel count is so valuable—it gives you the freedom to print it in all sorts of sizes without losing quality. To see how this plays out with different dimensions, our guide on custom canvas sizes is a great resource.
And this concept isn't just for printing. If you've ever designed graphics for the web, you've dealt with pixel dimensions. For instance, creating social media images requires understanding how many pixels you need, as detailed in guides for things like Pinterest pin dimensions.
Finding the Sweet Spot for Canvas Prints
So, what's the magic number for canvas? For years, the gold standard in fine art printing has settled in a specific range. Back in the mid-2000s, as printing technology got seriously good, experts found that 150 to 300 PPI was the sweet spot for canvas. It was the perfect balance between incredible sharpness and a file size that wouldn’t crash your computer.
That standard is still a solid guideline today. For the absolute best, museum-quality prints—often called Giclée prints—artists will aim for 300 PPI or higher, especially when the art is meant to be viewed up close.
Key Insight: For most canvases you'd hang in your home, 150 DPI is more than enough to look fantastic. The natural, woven texture of the canvas is incredibly forgiving and does a wonderful job of blending the image together, especially when viewed from a few feet away. If you're printing something small or with intricate details that people will be inspecting closely, aiming for 300 DPI is a great idea.
How to Calculate the Perfect Print Resolution
Feeling a bit lost in the numbers? Let’s cut through the confusion. There’s some simple math that takes all the guesswork out of getting a great print, and once you get the hang of it, you’ll feel like a pro every time you order.
Calculating the perfect resolution for your canvas is surprisingly easy. It all comes down to one basic formula. You just need to know the canvas size you want (in inches) and your target DPI. For this, let's stick with our sweet spot of 150 DPI for fantastic quality.
The Simple Formula for a Flawless Print:
(Canvas Width in Inches x Target DPI) = Required Pixels for Width
(Canvas Height in Inches x Target DPI) = Required Pixels for Height
That's it! This quick calculation tells you the exact pixel dimensions your digital image needs to have for a sharp, beautiful print on canvas.
Putting the Formula into Action
Let's walk through a couple of real-world examples to see just how straightforward this is.
Imagine you're planning to print a popular 16x20 inch canvas—a perfect size for a family portrait or a stunning landscape photo.
Here’s how the math breaks down using our recommended 150 DPI:
- Calculate the Width: 16 inches x 150 DPI = 2400 pixels
- Calculate the Height: 20 inches x 150 DPI = 3000 pixels
So, for a gorgeous 16x20 canvas, you'll want an image file that's at least 2400 x 3000 pixels.
Now, what if you want to go big and bold with a statement piece, like a 30x40 inch canvas? The process is exactly the same.
- Calculate the Width: 30 inches x 150 DPI = 4500 pixels
- Calculate the Height: 40 inches x 150 DPI = 6000 pixels
For this much larger print, you’ll need an image that measures at least 4500 x 6000 pixels. This ensures your big print looks just as crisp and detailed as a smaller one. For even more help matching your photo to the right dimensions, check out our guide to custom canvas size options.
How to Check Your Image’s Pixel Dimensions
Okay, so you know the pixel dimensions you need, but how do you find out what you have? Checking your photo’s resolution is a breeze on any computer.
-
On Windows: Just right-click on your image file, select Properties, and then head to the Details tab. You'll see the dimensions listed right there in pixels.
-
On a Mac: Right-click the image file and choose Get Info. In the window that pops up, look under the More Info section to find the pixel dimensions.
Once you know your image's pixel count, you can even work backward to see the largest canvas you can print. Simply divide your image’s pixel dimensions by 150. For instance, a 4000x3000 pixel photo can be printed up to roughly 26x20 inches (4000 ÷ 150 = 26.6) while still looking fantastic. This simple check gives you the power to choose the perfect size with total confidence.
What Happens When Your Resolution Is Too Low
Printing a photo with too little resolution is a recipe for disappointment. Think of it like trying to stretch a small rubber band around a huge box—the further you stretch it, the thinner and more distorted it gets. The same thing happens to your photo's data.
When your image doesn't have enough pixels for the physical print size you want, the printer is forced to improvise and fill in the gaps. This improvisation leads to a couple of very obvious and frustrating problems.
The Tell-Tale Signs of Low Resolution
The most common issue you'll see is pixelation. This is when the smooth curves and soft color transitions in your picture turn into a blocky, jagged mess. You can literally see the individual square pixels that make up the image, which instantly makes a print look cheap and amateurish.
The other major problem is a general blurriness. All those crisp little details—the fine hairs of a pet’s fur, the intricate patterns on a leaf—just sort of melt away. The whole image loses its sharpness and ends up looking fuzzy and out of focus.
While the natural texture of canvas can sometimes hide minor resolution flaws, it will only amplify major ones. A heavily pixelated image will look even more distorted when printed on a textured surface.
Can You Fix a Low-Resolution Photo?
So, what do you do if your favorite photo is just a bit smaller than the recommended size? You might not have to abandon your project. Modern tech has a pretty neat trick up its sleeve.
If you find your original image is too small for the canvas you want, learning to use upscaling technology can be a total game-changer. These are smart, AI-powered tools that intelligently enlarge your photo, creating new pixels that blend seamlessly with the original data.
AI upscalers really shine in a few specific scenarios:
- Bridging a Small Gap: They work best when your image is already close to the right size and just needs a little nudge to get over the finish line.
- Enhancing Clear Originals: An AI can't invent details that were never there to begin with. The source image needs to be clear and sharp, just too small.
- Improving Old Scans: These tools are fantastic for taking digitized versions of old film photos and enlarging them with surprisingly great results.
It's best to think of AI upscaling as a powerful rescue tool, not a magic wand. It’s perfect for saving a beloved photo that's slightly undersized, but it can never truly replace the quality you get from starting with a high-resolution file in the first place.
Pro Tips for Optimizing Your Photos Before You Print
Getting the resolution right is the biggest hurdle, but a few simple tweaks before you hit "print" can take your canvas from good to absolutely stunning. I like to think of it like this: your high-resolution file is the perfect slab of marble, and these pro tips are the final polishes that make your sculpture shine.
These little adjustments are all about bridging the gap between how your image looks on a bright, glowing screen and how it will actually look as ink on a textured canvas. Taking just a few extra minutes here ensures the final piece of art is something you're truly proud of.
Brightness and Contrast
One of the most common surprises people get with canvas prints is that they often turn out a little darker than they looked on the screen. It makes sense when you think about it—your monitor is backlit, actively shining light through the image. A canvas, on the other hand, just reflects the light in the room off its surface.
Pro Tip: Try gently bumping up the brightness of your photo by about 5-10% before sending it to the printer. This small boost is usually enough to compensate for the ink soaking into the canvas, making sure your shadows have detail and don't just look like dark blobs. A slight increase in contrast can also make the colors pop a bit more.
A Touch of Sharpening
Canvas has a lovely, soft, woven texture, but that same texture can slightly soften the fine details in your image. A little bit of sharpening is the secret weapon to counteract this. It helps define the edges and crisp up the details, making them stand out beautifully on the fabric.
Just be careful not to go overboard. Too much sharpening creates a harsh, digital-looking effect with strange halos around objects. The goal here is a subtle enhancement, not a dramatic filter. You can find a "Sharpen" or "Unsharp Mask" tool in just about any photo editing software to get this done.
It's no surprise that people want high-quality prints. The global canvas printing market was valued at around $3.2 billion in 2024, and with 38% of that market right here in North America, expectations for sharp, vibrant home décor are higher than ever. It's what pushes professional printers to perfect their craft. If you're curious, you can learn more about the industry in this printable canvas market report.
Save Your File the Right Way
Last but not least, how you save your file really matters. After you've made your final tweaks, you need to use a format that doesn't throw away all your hard work.
- JPEG (or JPG): This is the go-to for most people. The key is to always select the highest possible quality setting when you save (usually a 10 or 12, or 100%). This keeps the file size manageable while minimizing compression, preserving as much detail as possible.
- TIFF: This is the format the pros use. It's "lossless," which is just a fancy way of saying it saves your image without any loss in quality. The file sizes are much larger, but if you want the absolute best result, TIFF is the way to go.
Following these steps is a huge part of the process. For a closer look at the entire journey from digital file to finished artwork, you might find our guide on how to print photos on canvas helpful.
Common Questions About Canvas Print Resolution
Even after you get the hang of the basics, a few specific questions always seem to pop up right when you’re ready to order a print. Let's walk through some of the most common ones with clear, straightforward answers.
My goal here is to make sure you feel completely confident about your image quality before you click that "buy" button. We’ll cover everything from using your phone for a huge print to whether 300 DPI is really necessary.
Can I Use a Smartphone Photo for a Large Canvas?
Yes, you absolutely can! It’s one of the biggest myths in printing that you need a big, fancy DSLR camera to create a beautiful, large canvas.
Modern phone cameras are incredible. A typical photo from a newer smartphone packs around 12 megapixels or more (that’s about 4000x3000 pixels). That’s more than enough resolution to produce a stunning 26x20 inch canvas at 150 DPI with zero loss in quality.
The secret? Always use the original, full-quality file from your phone. Don’t use pictures you’ve saved from social media or that have been sent through messaging apps. Those services crush the file size, stripping away the precious data you need for a sharp print.
Is 300 DPI Always Better Than 150 DPI for Canvas?
Not at all, and understanding this will save you a lot of unnecessary stress. While 300 DPI is the gold standard for things like glossy photo prints that you hold in your hand, it’s usually overkill for canvas.
Think about it—canvas has its own beautiful, woven texture and is almost always hung on a wall to be viewed from a few feet away. From that distance, your eyes genuinely can't tell the difference between a 150 DPI print and a 300 DPI one.
For most canvas sizes, especially larger pieces meant to be wall art, 150 DPI is the sweet spot. It delivers fantastic sharpness and detail while keeping the file size manageable.
The only time you might consider 300 DPI is for a very small canvas with super-fine details that you expect people to lean in and inspect up close.
Should I Use AI Upscaling to Increase Resolution?
AI upscaling tools can be a lifesaver, especially when you have a photo you love that's just a little too small for the canvas size you want. These programs intelligently add new pixels to your image, helping you avoid that blocky, pixelated mess you get with old-school resizing.
But it’s not magic. The results depend entirely on the quality of your original image.
- When it works best: Upscaling is fantastic for clear, well-focused photos that are just shy of the pixel count you need. It can often double the dimensions with impressive results.
- Where it struggles: If your photo is already blurry, grainy, or out of focus, an AI tool can't invent details that were never there. In fact, it might just make those flaws more obvious.
Think of AI upscaling as a great rescue tool for a beloved photo, not a substitute for starting with a good, high-resolution image in the first place.
Does Canvas Finish Affect Resolution Needs?
The finish you pick—like matte or glossy—doesn't change the number of pixels your file needs, but it can subtly change how those details look on the final print.
A glossy finish tends to make details pop and colors look more vibrant because it reflects more light. On the other hand, a matte finish gives a softer, non-reflective look that is very forgiving of minor imperfections in a photo.
Ultimately, your starting point is the same. You still need to provide a file with enough resolution, aiming for that 150 DPI target for any finish. The quality of your original image is the foundation, no matter how it’s finished.
Ready to turn your favorite photos into timeless art? At everone prints, we make it simple to create high-quality, custom canvas prints that you'll cherish for a lifetime. Upload your photo and start designing your masterpiece today!