
Create Your Own Canvas Print A Simple Guide
Bringing a favorite snapshot off your phone and onto your wall is easier than you might expect. Last summer, I turned a sunset shot of my golden retriever into a warm, 16×20 canvas—and it became the conversation piece of our living room. I’ll show you how to create your own Canvas Print, guiding you from selecting the right image to hanging that perfect piece.
Turn Your Photos Into Timeless Wall Art
Custom prints add personality in a way store-bought posters simply can’t. You’re not just slapping up a photo—you’re showcasing a moment that speaks to you. In fact, the custom printing industry has swelled to $42 billion, driven by folks craving truly unique decor.
Curious about more creative tips? Dive into our full walkthrough on turning photos into wall art for extra inspiration.
“A single photograph can become the heart of your home—choose wisely.”
Guide Highlights
-
Photo Selection
Pick a crisp, high-resolution image with good lighting. Think about contrast and subject placement—remember how a well-framed shot of your child’s first laugh feels intimate and engaging. -
Simple Edits
A quick crop or slight color boost can make a world of difference. I often tweak brightness to bring out details in shadows. -
Customization Options
Decide on dimensions, edge wraps, and finish (matte or glossy). For example, a gallery-wrap edge looks stunning floating off the wall. -
Order & Installation
Review your proof, select your preferred delivery speed, and use included hardware for stress-free hanging. Soon, you’ll step back and admire your own masterpiece.
Choosing the Right Photo for Your Canvas
The secret to a canvas print that truly takes your breath away? It all starts with the photo you choose. Let's dig into what makes an image genuinely shine when it's blown up on canvas, moving beyond just picking a picture you like.
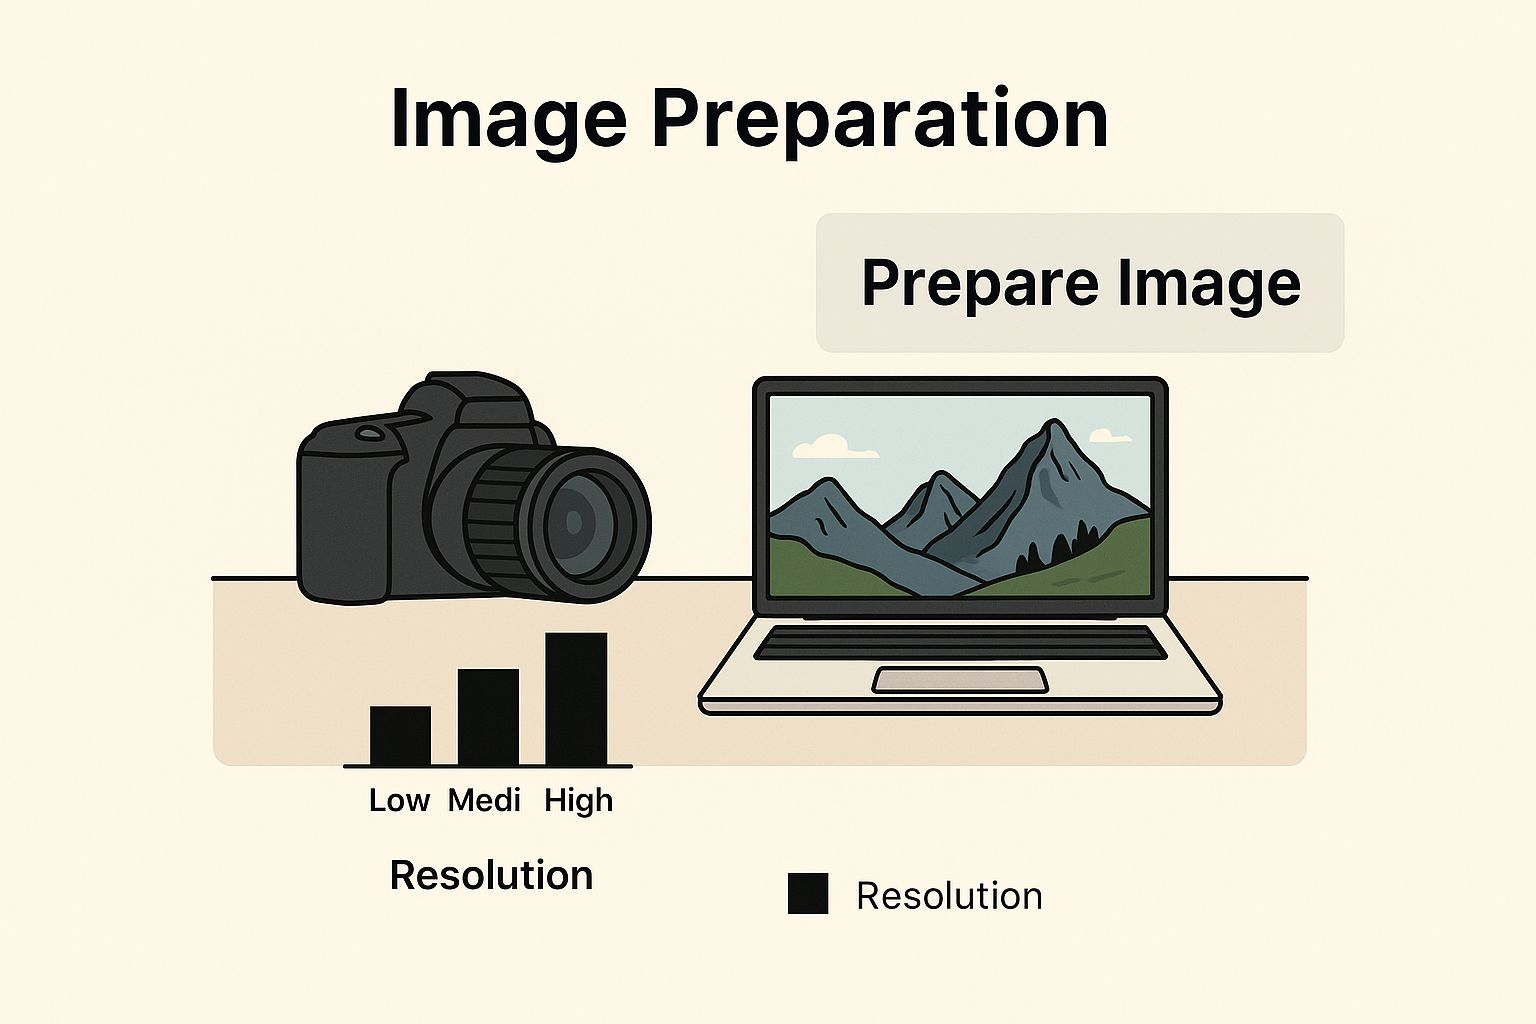
First Things First: Image Quality is King
High resolution isn't just a suggestion; it's the golden rule for a sharp, professional-looking print. A photo that looks great on your phone can sometimes turn into a blurry mess on a large canvas. I always recommend zooming in on your digital photo to 200% to hunt for any hidden graininess or blur you might not see otherwise.
Think about the composition, too. Photos with a clear subject and a less-cluttered background tend to have a much bigger impact. That stunning portrait where the background is softly out of focus? Perfect. That epic landscape shot with the sharp mountain peak? Also a fantastic choice.
A Quick Guide to Photo Resolution
Not sure if your photo has enough pixels for the canvas size you want? It’s a common question. Here’s a simple table I put together to help you match your image resolution to your desired print size, ensuring you get that crisp finish every time.
Photo Resolution Guide for Canvas Prints
| Canvas Size (Inches) | Minimum Image Resolution (Pixels) | Good For |
|---|---|---|
| 8x10 | 1200 x 1500 | Small spaces, gallery wall fillers |
| 16x20 | 2400 x 3000 | Standard wall art, popular gift size |
| 24x36 | 3600 x 5400 | Statement pieces, above a couch or bed |
| 30x40 | 4500 x 6000 | Large, high-impact focal points |
Think of this as your cheat sheet. Sticking to these minimums helps guarantee your final canvas looks just as good as you imagined, if not better.
A Few More Pointers from Experience
Over the years, I've seen what works and what doesn't. Here are a few extra tips:
- Social Media Photos: Photos saved directly from social media are often compressed and low-resolution. If you're printing something from your Instagram feed, it's always best to find the original, full-size file. For more on this, check out our guide on printing photos from Instagram.
- Scanning Old Photos: Want to turn a vintage family photo into a canvas? Make sure you scan it at a high resolution—at least 300 DPI (dots per inch), but 600 DPI is even better for enlargements.
- Art Reproductions: If you're an artist looking to print your work, lighting is everything. Photographing your art in natural, indirect light will prevent glare and capture the true colors. For a deep dive, this guide on how to photograph artwork for prints is a fantastic resource.
Making Simple Edits for a Professional Look
You don't need to be a professional photographer or a Photoshop guru to make your photo look incredible on canvas. I've found that just a few simple tweaks, which you can do with free and easy-to-use tools, can make all the difference. This is especially true when you create your own canvas print and want it to look its best.
A Few Quick Edits Go a Long Way
First, let's talk about cropping. This is probably the most important step. Make sure you crop the photo to match the dimensions of the canvas you've chosen. This way, you control exactly what gets printed, and you won't lose any key details off the sides.
Next up are the small adjustments that bring your image to life. Is the photo a bit dark or was it taken on an overcast day? A little bump in brightness can work wonders. To make the colors really sing, try increasing the contrast. It’s amazing how a hazy sunset can transform into a vibrant, fiery spectacle with just a couple of clicks.
If you really want to get into the nitty-gritty of what makes colors work well together, a basic understanding of color theory for designers can be a game-changer for your final print.
These practical little steps are my go-to for elevating any image from "good" to "wall-worthy." For an even deeper dive, our guide on how to print photos on canvas has a ton more helpful tips.
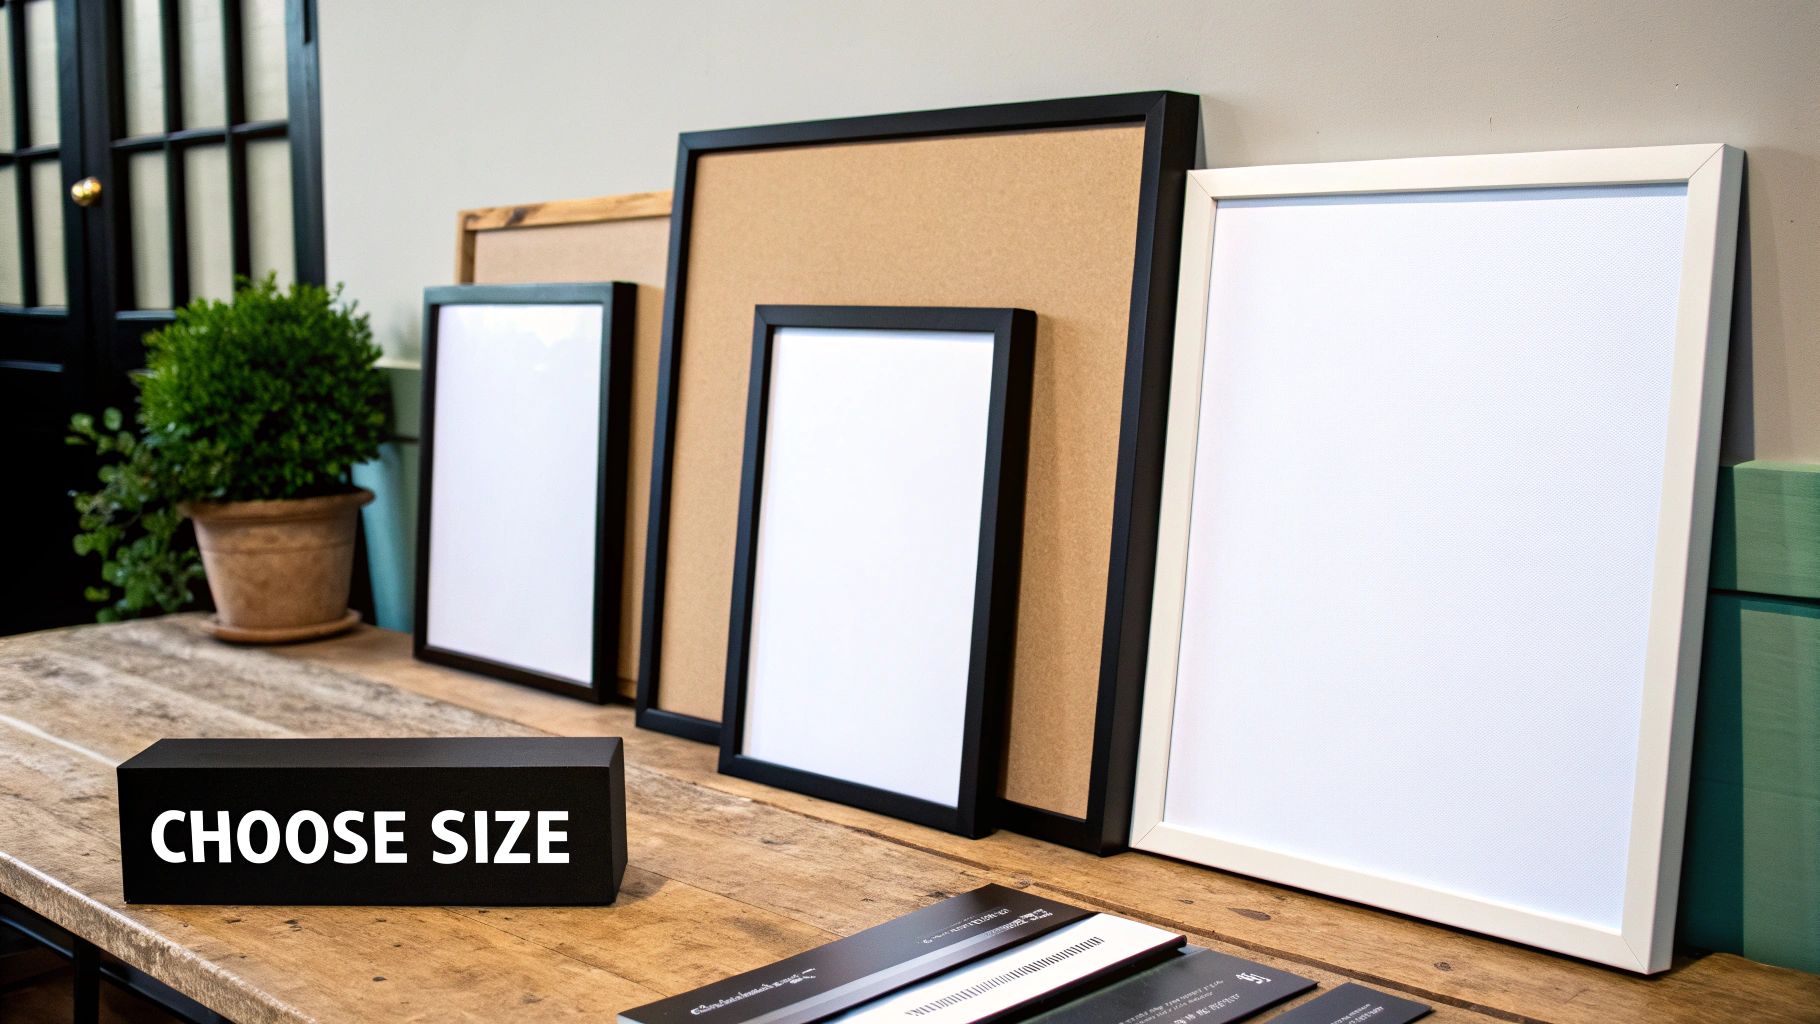
Time to Make It Your Own
Okay, your photo is uploaded and ready to go. This is where the real fun begins, and you get to fine-tune all the little details that will make your canvas print uniquely yours. We'll walk through sizing, orientation, and those all-important canvas edges.
First up, let's talk about the wrap style. This is how the image looks on the sides of the canvas frame, and it makes a surprisingly big difference to the final piece.
You've got a couple of great choices here. You can go for an image wrap, which is where your photo continues right around the sides of the frame. This creates a really modern, seamless look that feels like it belongs in a gallery. The alternative is a solid color border—usually black or white—which acts like a built-in frame, making the image pop. The best choice really comes down to what's in your photo.
A Quick Tip from Experience: If you're printing a portrait or a shot where your subject is close to the edge of the frame, a solid color wrap is your best friend. It keeps you from accidentally wrapping a crucial part of the photo—like an ear or a hand—around the side.
Of course, the quality of the material itself is a huge deal. A well-made, durable canvas is what gives your art that lasting power. It’s no wonder the global canvas market is valued at nearly USD 4 billion; it's a textile with a long history of being a premium choice for art.
If you're feeling a bit stuck on what dimensions to pick, don't worry. We put together a handy guide to custom canvas sizes to help you figure out the perfect fit for your space.
The Finishing Touches: Placing Your Order and Hanging Your Masterpiece
Alright, this is the final hurdle before your art is on its way. Take a moment to give the preview one last, careful look. Does the cropping look exactly how you envisioned it? Are there any pesky low-resolution warnings? It's always better to double-check now than be disappointed later.
Next up, you get to choose the finish. I find that a matte finish gives off a really classic, gallery-like feel. It's fantastic for rooms with lots of natural light because you won't get any glare. On the other hand, if you want your colors to seriously pop, a glossy finish will give them a vibrant, almost liquid-like depth.
Once you’ve locked in your choices, you're all set to order. It's pretty amazing how simple it is to create custom art these days. You're joining a huge wave of people doing the same—the custom canvas market is valued at a whopping USD 1.2 billion in 2024. If you're curious, you can read more about the trends in canvas wrap printing.
A Quick Tip from Experience: When that box arrives, open it right away and check for any damage from the trip. When you're ready to hang it, aim for the center of the canvas to be at eye level. For most people, that sweet spot is somewhere between 57 and 60 inches from the floor. It makes a world of difference in how the art feels in the room.
Got Questions? Let’s Talk Canvas Care and Display
It’s totally normal to have a few questions buzzing around before you commit to your new piece of art. Getting the little details right is what turns a good print into a great one. Let's tackle some of the things I get asked about all the time.
How Do I Keep My Canvas Looking New?
This one’s easy! You don't need any special sprays or chemical cleaners—in fact, you should avoid them. A gentle wipe with a soft, dry cloth is all it takes to keep dust at bay and your print looking vibrant.
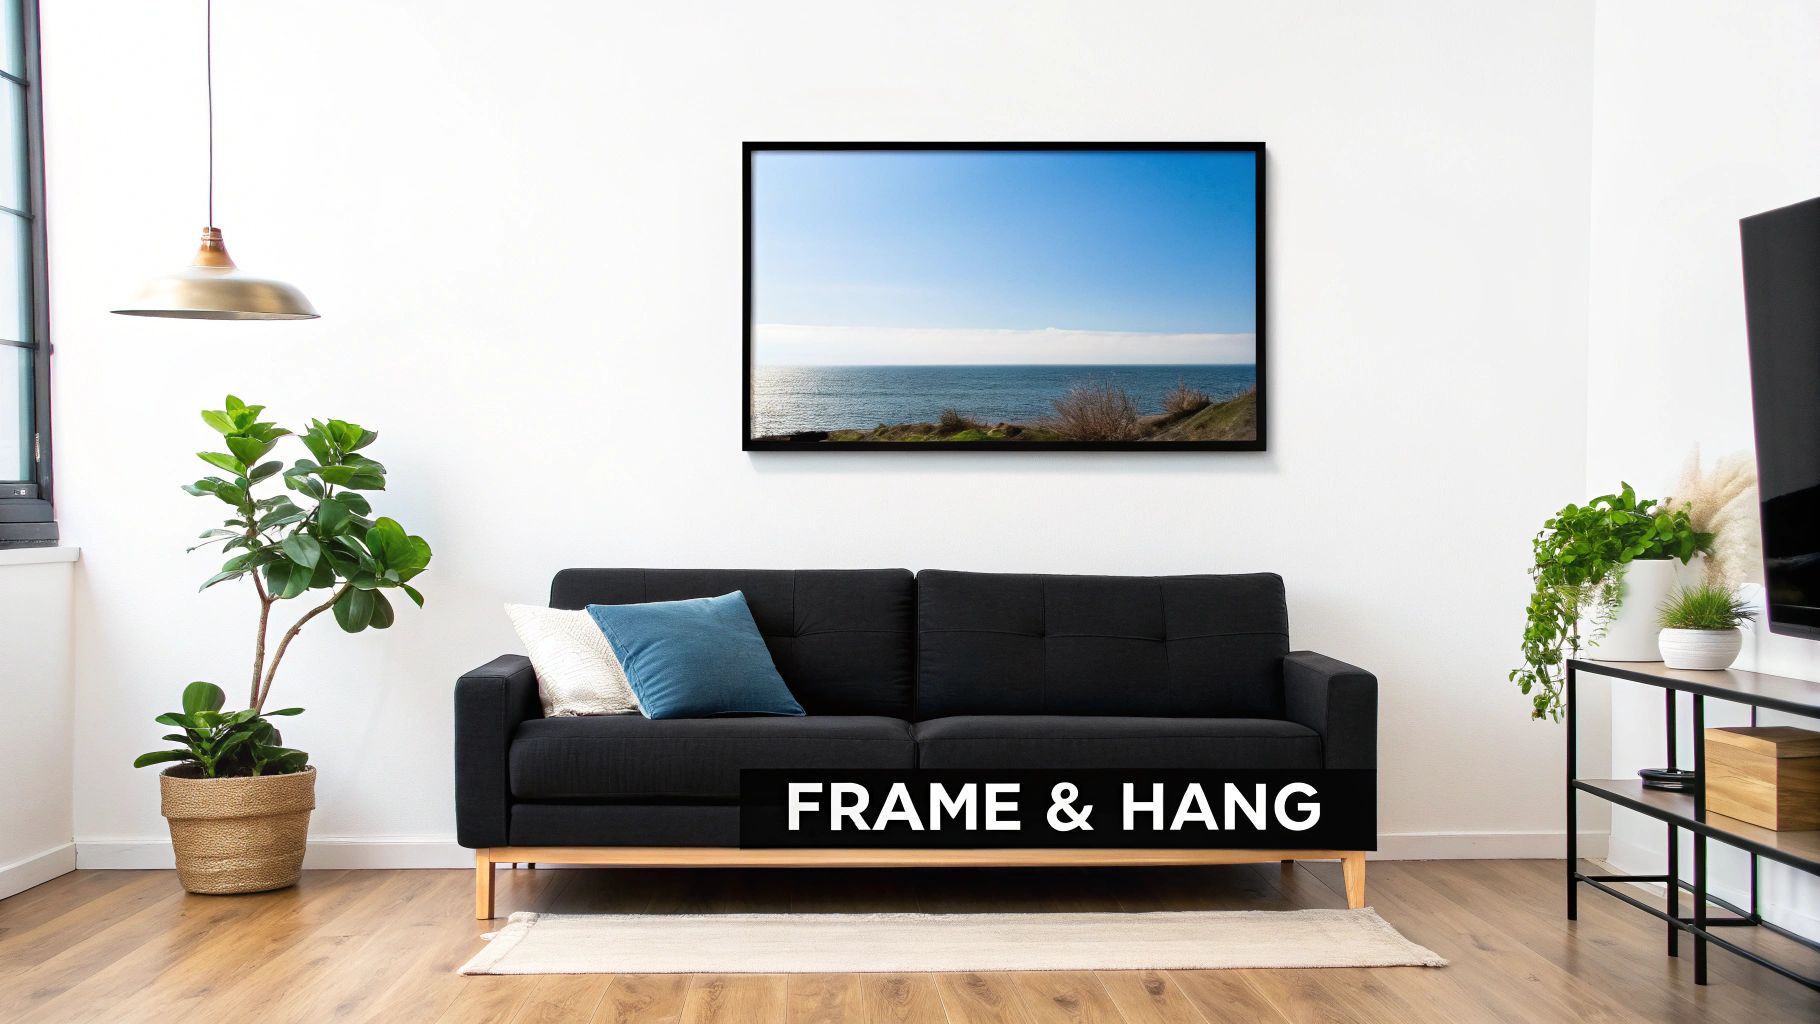
What's the Best Way to Hang My Print?
Ah, the million-dollar question. Here's a pro tip straight from gallery curators: hang your art so its center is at eye level. For most homes, that sweet spot is somewhere between 57 and 60 inches from the floor. This simple guideline makes a huge difference and ensures your canvas feels like it’s right where it belongs.
How Long Will My Canvas Print Actually Last?
We build our canvases to be a part of your family for generations. By using high-quality, archival-grade materials, we ensure your print is designed to last a lifetime without fading. Your memory will look just as beautiful decades from now as it does the day it arrives.
Ready to turn that favorite photo into a masterpiece you can actually touch? At Everone Prints, we're obsessed with helping you create stunning canvas art that brings your memories to life.