
How to Print Photos on Canvas Like a Pro
So, you have a killer photo sitting on your phone or computer, and you're wondering how to give it the spotlight it deserves. Canvas printing is your answer. It's all about taking those digital moments—the ones you love—and turning them into tangible, beautiful art for your walls.
Let's walk through why so many people are falling in love with canvas prints for their homes.
Why Print Your Photos on Canvas
It’s one thing to see a great photo on a screen, but it’s a whole different experience to see it hanging in your living room. Canvas gives your photos a classic, artistic feel that simple paper prints just can't match.
This isn't about buying generic art from a big box store; it's about making your own memories the centerpiece. The unique texture and impressive durability of canvas make it a standout choice that feels both personal and high-end. If you want to explore more creative ideas, check out our guide on https://everone.shop/blogs/news/turning-photos-into-wall-art.
And this isn't just a niche hobby. The global photo printing market is on track to hit a massive USD 46.17 billion by 2032. That number tells you one thing: people are rediscovering the joy of bringing their own photos to life.
Beyond your own home, a custom canvas is a truly heartfelt gift. Think about it—they are often considered among the best personalized wedding gifts because they capture a specific, cherished moment in a way that nothing else can.
Choosing the Right Photo for Your Canvas
The secret to a stunning canvas print actually starts long before you even think about ordering—it all comes down to picking the perfect photo. Let’s be honest, not every picture is going to look amazing blown up on a wall. Knowing what to look for is what separates a good canvas from a truly breathtaking one.
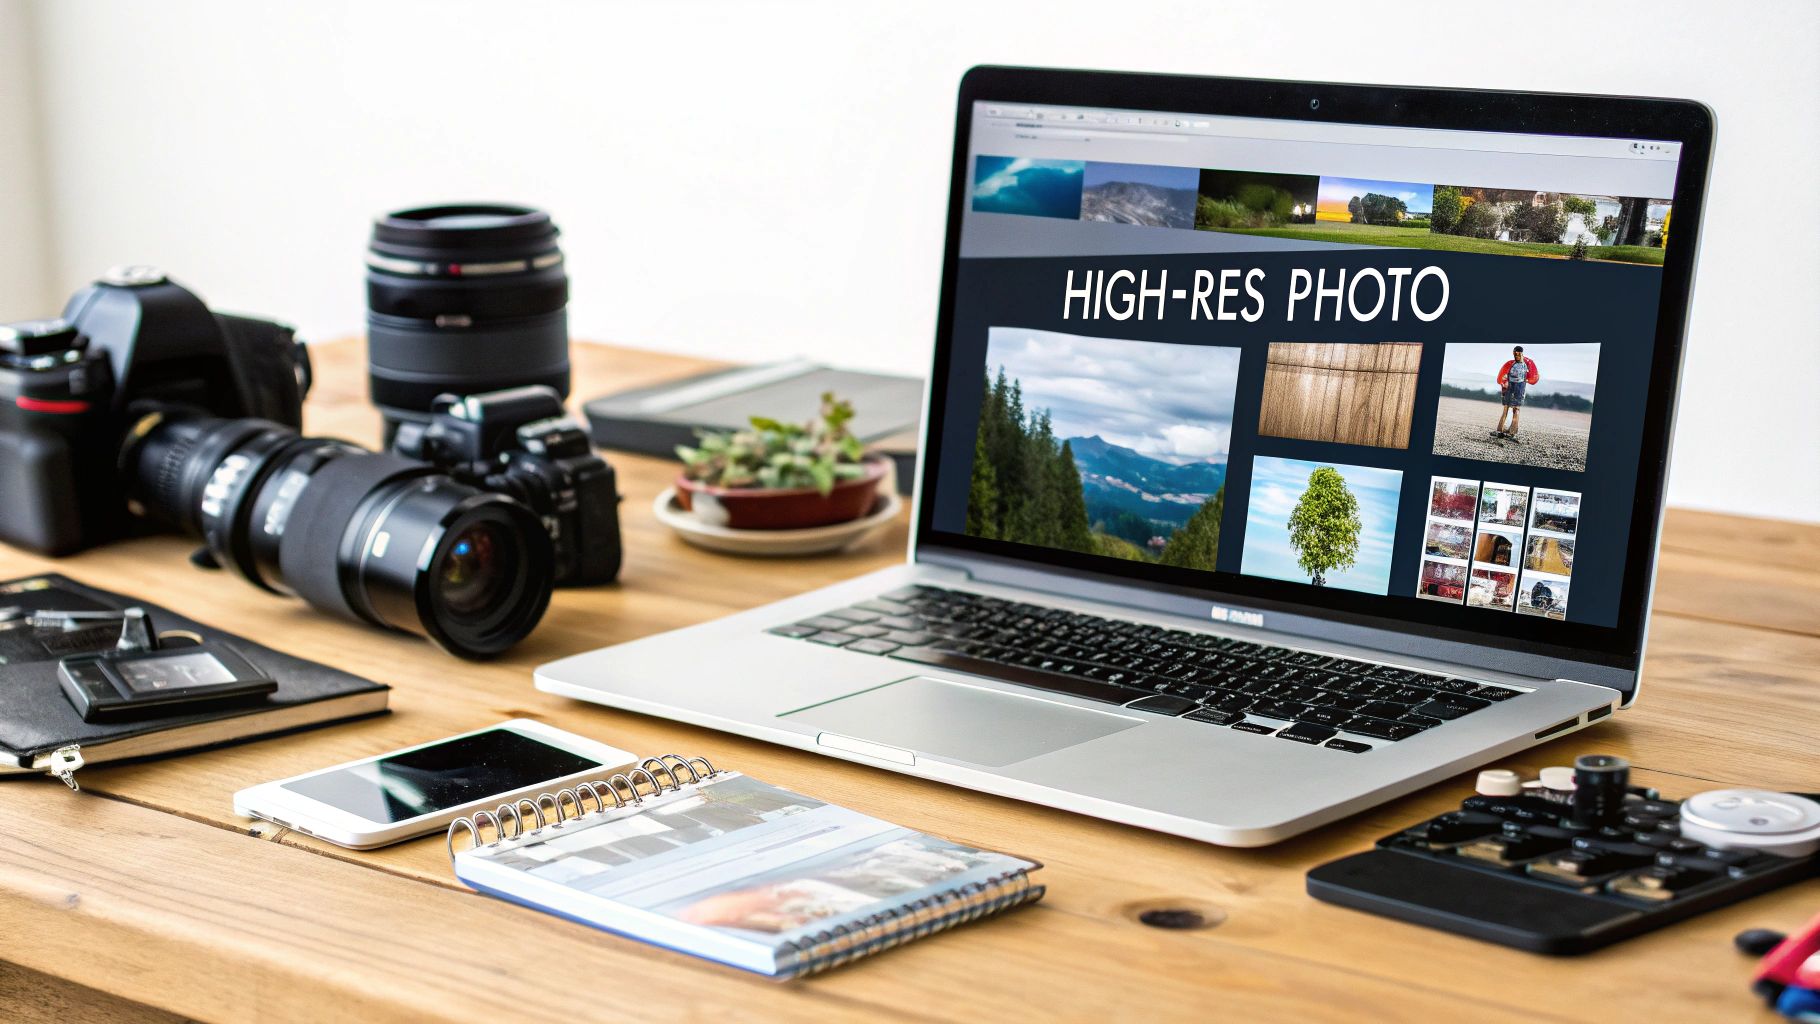
Think of high resolution as your non-negotiable starting point. It’s the single most important factor for getting that crisp, professional look without any fuzziness or pixelation. A low-res image is like stretching a small drawing; the bigger it gets, the blurrier the lines become. A high-res photo, on the other hand, is packed with detail that stays sharp and clear.
This is exactly why that bright, sunny portrait from your vacation will translate beautifully to canvas, while that grainy, low-light shot from a concert might not. The more light and detail your camera captured, the better your final print will be.
What Makes a Photo Truly Canvas-Worthy?
So, what’s the magic formula? The best photos for canvas prints aren't just sentimental favorites; they're technically sound.
Here’s my checklist for a photo that will really shine:
- Great Lighting: Look for photos taken in natural daylight or in a well-lit room. Good light means less digital "noise" and colors that truly pop.
- Sharp Focus: Zoom in on your photo! Is your main subject sharp and clear? What looks fine on a tiny phone screen can look disappointingly soft when printed large.
- Clean Composition: Simple is often best. A photo with a clear focal point and an uncluttered background naturally draws the eye and feels like a genuine piece of art.
If you’re looking for more ideas, learning how to create custom art from your photos can spark some fantastic inspiration.
The demand for personalized home decor is exploding. In fact, the global wall art market is on track to hit USD 93.18 billion by 2033. It just goes to show how much we all love turning our personal memories into beautiful art. You can read more about the growing interest in decorative photo applications and see just how big this trend is.
One final pro-tip: always, always use the original, full-size file from your camera or phone. Photos you’ve sent through text messages or downloaded from social media are almost always compressed, which guts their quality. Start with the best, and you’ll end with the best.
Photo Resolution Guide for Canvas Prints
Use this quick reference to match your photo's resolution to the canvas size for a crisp, high-quality print.
| Canvas Size (Inches) | Minimum Recommended Resolution (Pixels) | Best For This Type of Photo |
|---|---|---|
| 8 x 10 | 1200 x 1500 | Smartphone photos, professional headshots, cropped images. |
| 16 x 20 | 2400 x 3000 | Most modern smartphone photos, DSLR portraits, family photos. |
| 24 x 36 | 3600 x 5400 | High-quality DSLR images, professional landscape photography. |
| 30 x 40 | 4500 x 6000 | Top-tier DSLR or mirrorless camera shots, panoramic images. |
This table is a great starting point, but when in doubt, a bigger file is always a safer bet
Alright, you've picked the perfect photo. Awesome! Now, let's get it ready for its big debut on canvas. Don't worry, you don't need to be a pro editor for this. A few simple tweaks are all it takes to make sure your image looks absolutely stunning when printed.
Think of it like this: a little bit of prep work now saves a lot of disappointment later. Adjusting the brightness and contrast can make the colors leap off the canvas. A quick crop can instantly improve the composition, turning a good photo into a great one. You can do all of this with tons of free, easy-to-use online tools—no complex software needed.
This quick visual guide breaks down the process, from a quick edit to the final upload.
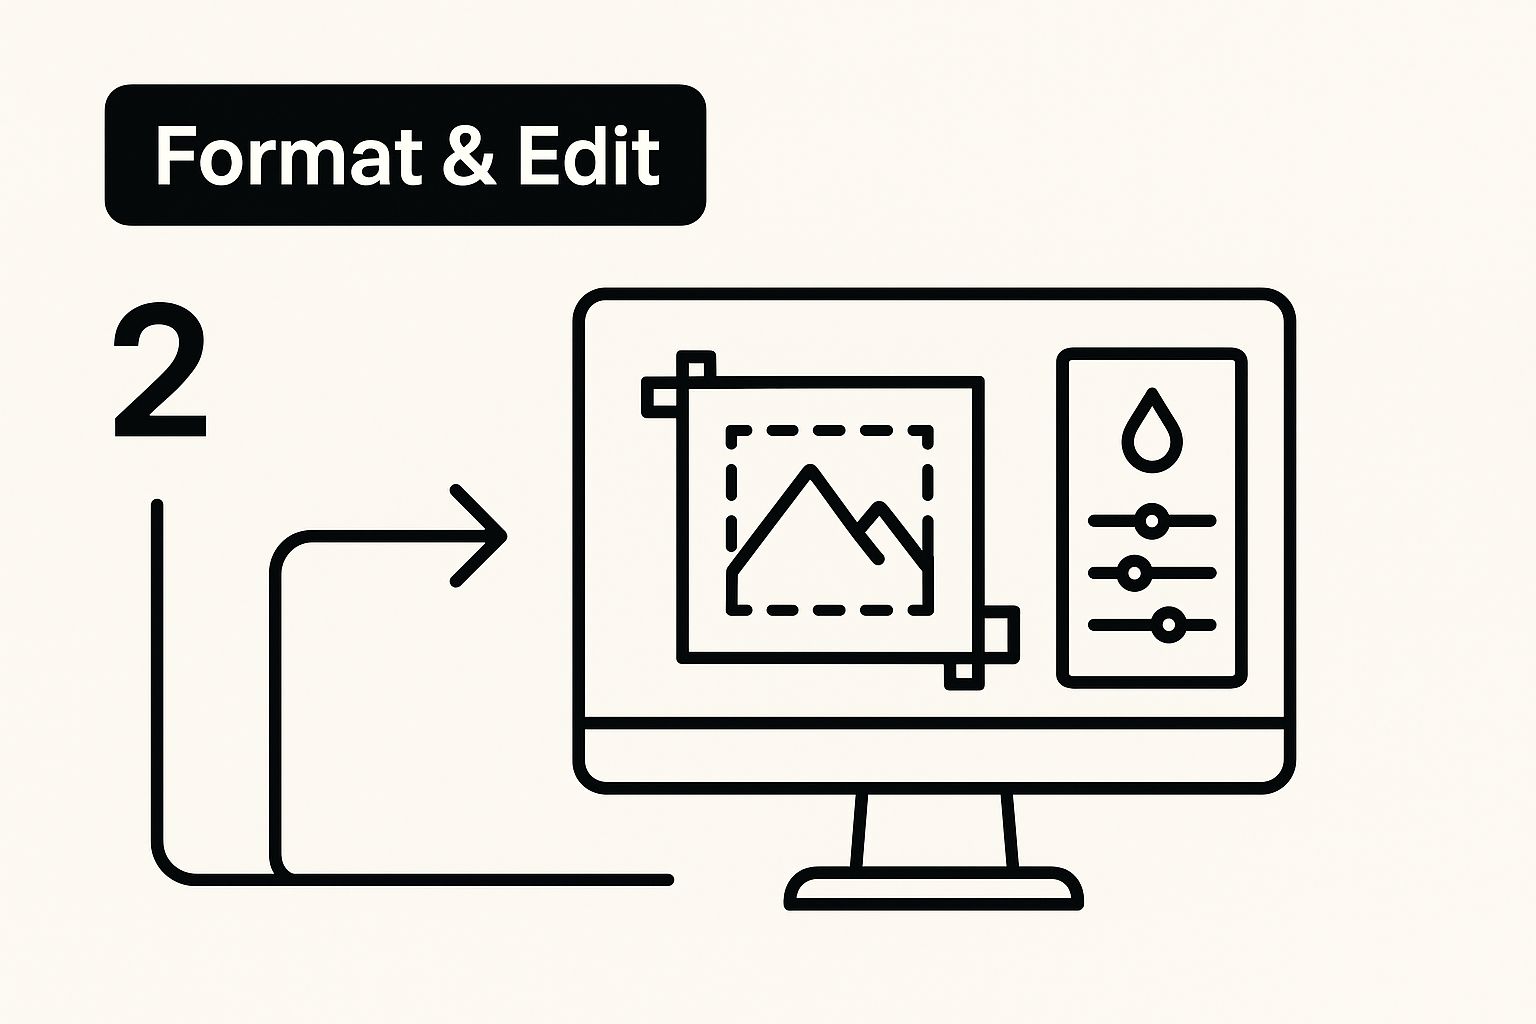
Honestly, spending just five minutes on these details can be the difference between a print you like and a print you love.
Choosing the Right File Format
The type of file you use really matters for printing. My advice? Stick with JPEG (or JPG). It’s the gold standard for photo printing for a reason—it hits that sweet spot between fantastic image quality and a manageable file size, which makes uploading a breeze.
You might see PNG as an option, but it’s usually overkill for photos. PNGs are great for graphics that need a transparent background, but for a standard photograph, they just create a massive file without any real benefit to the final print. To keep your file ready for a smooth upload, it's helpful to know how to compress images without losing quality. This way, you keep all that gorgeous detail without the headache of a slow upload.
Quick Tip: Always, always edit a copy of your photo, not the original. This is my number one rule. It gives you the freedom to experiment and play around without the fear of messing up your original, high-resolution shot.
Even those snaps from your phone or social media can look incredible on canvas. If you're pulling a favorite from your feed, check out our guide on https://everone.shop/blogs/news/printing-photos-from-instagram for some extra tips to get the best possible result.
How to Order Your Custom Canvas Print
Alright, you’ve got your photo prepped and ready to go. Now for the fun part: turning that digital file into a beautiful piece of art for your wall. Let's walk through the ordering process, which is way more straightforward than it might seem at first glance.
Once you upload your image to the site, you'll be greeted with a few creative choices. This is where you get to dial in the details and make the canvas truly yours.
The first decision you’ll need to make is about the wrap style. Most modern canvases use a "gallery wrap," where the image is stretched over a wooden frame, creating a clean, frameless look. The question is, what goes on the edges of that frame?
You typically have two main options:
- Image Wrap: This is where your photo continues around the sides of the canvas. It's a fantastic choice for landscapes or abstract shots where losing a little bit of the edge doesn't matter.
- Solid Color Wrap: Here, the sides are a solid color—often black, white, or a complementary color pulled from your photo. I always recommend this for portraits or any image where a key subject is near the edge. You wouldn't want half of someone's face wrapped around the side!
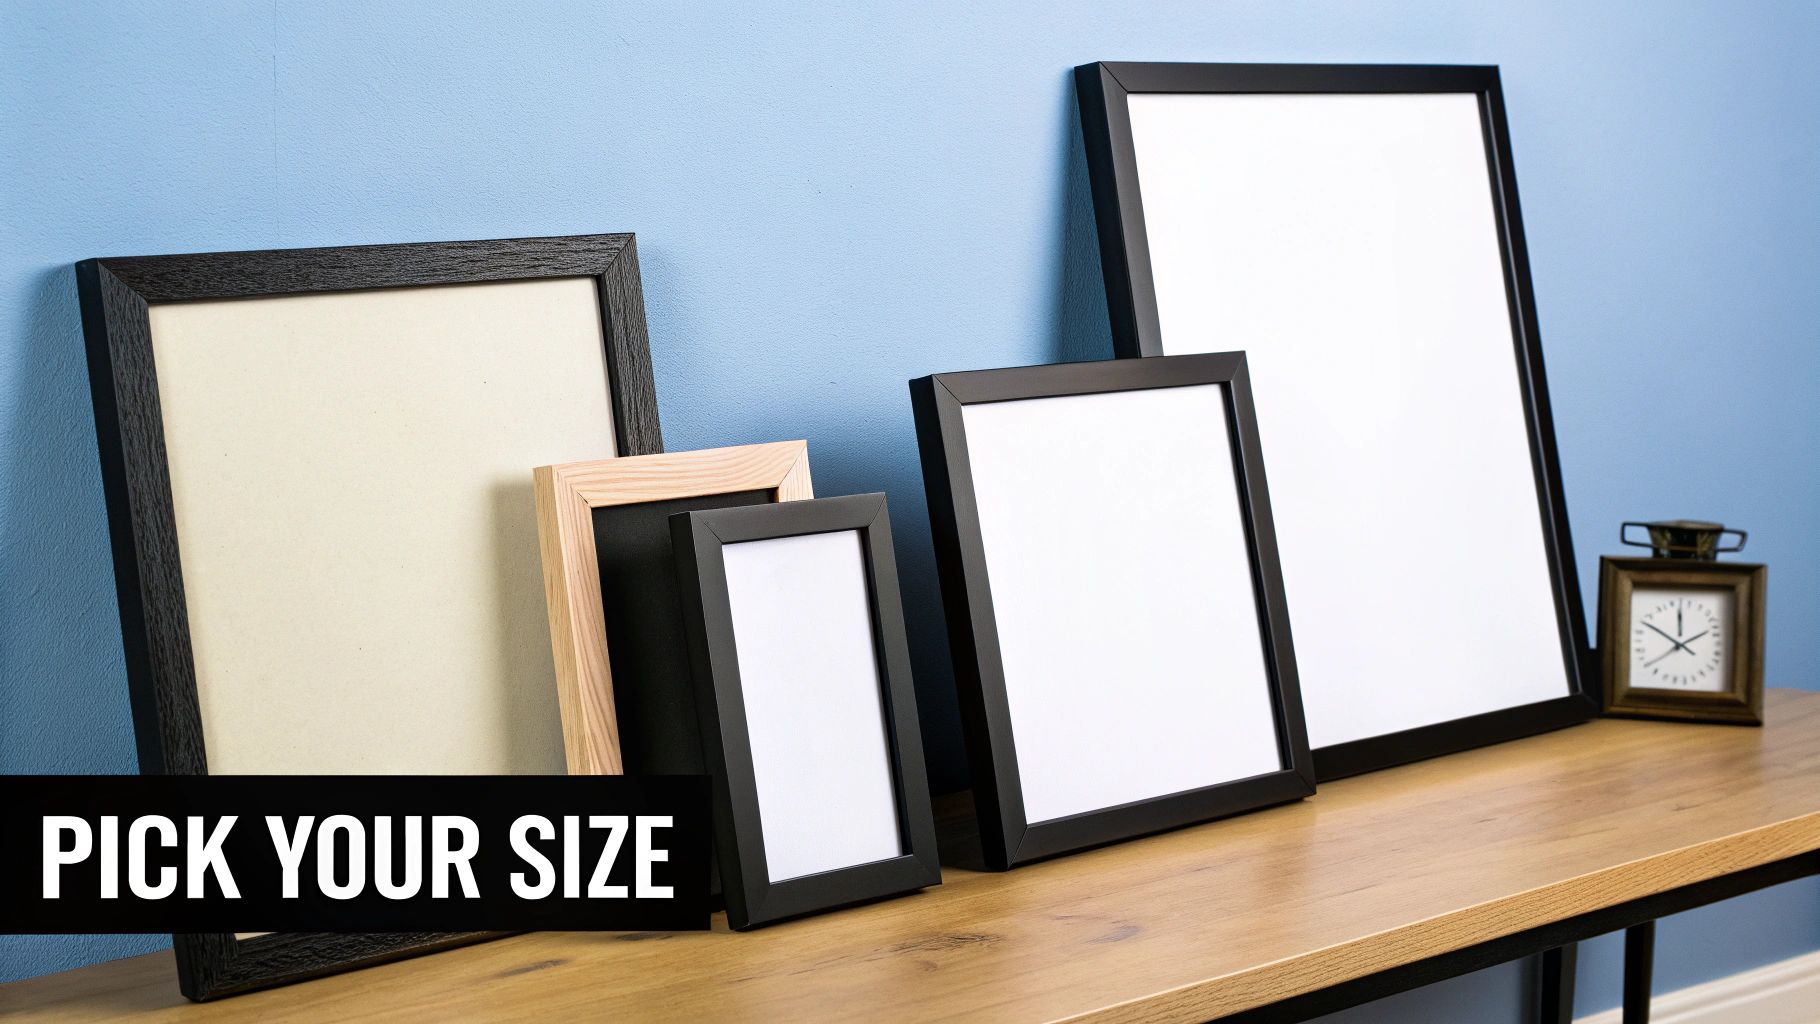
Selecting the Perfect Size and Finish
Next, you'll pick the dimensions for your print. It’s so important to think about the space you're filling. An 8x10 canvas can look lonely and lost on a big, empty wall, while a huge 24x36 piece might just overwhelm a small hallway.
If you need a hand figuring this out, we've put together a full breakdown on how to pick the right custom canvas size for any room.
My personal tip? If you're on the fence, I almost always suggest going a little bigger than your first instinct. A canvas with a real presence on the wall tends to make a much stronger statement than one that feels undersized.
With the size locked in, you’ll choose the frame depth. This is simply how far the canvas will stick out from the wall. A 0.75" depth is classic and works well for smaller pieces. A thicker 1.5" depth gives the canvas a more substantial, gallery-quality presence that I personally love for larger prints.
Most printers also offer a protective coating. It’s usually a small add-on, but I highly recommend it. It helps guard against UV rays that can cause fading over time and makes it much easier to dust off your canvas without worrying about damage.
It’s no surprise that bringing our photos to life this way is more popular than ever. The entire personalized photo merchandise market is expected to hit nearly $48.84 billion by 2030. We all have a deep desire to turn our favorite digital memories into something tangible we can enjoy every day. You can see just how quickly this industry is growing by checking out this report on the evolution of the photo printing market.
Getting Your New Artwork on the Wall
Alright, the moment you've been waiting for is here—your custom canvas has arrived! Now for the fun part: finding the perfect spot for it and getting it on the wall.
Hanging it Straight and Secure
Hanging a canvas so it's perfectly level can feel like a bit of a challenge, but I've got a simple trick that makes all the difference. For any canvas wider than a foot or so, I always recommend using two nails or screws instead of just one.
Why two? Because it creates a much more stable base and prevents that annoying tilt that always seems to happen over time with a single nail. Just grab a level, mark your two spots a few inches apart, and you're good to go. Your artwork will hang straight and stay that way.
Creative Ways to Display and Care for Your Print
Once your main piece is up, don't be afraid to get creative. Grouping multiple canvases together is a fantastic way to tell a bigger story or make a statement.
- Create a Triptych: Splitting one stunning image across three panels gives you a dramatic, high-end look that really commands a room.
- Build a Gallery Wall: Mix and match different sizes and photos to build a personal gallery that can grow with your family and your memories.
My single most important tip for keeping your canvas looking vibrant is to hang it away from direct sunlight. UV rays are the biggest enemy of printed color, causing it to fade over time. A spot with indirect light will keep your memory looking its best for decades.
Finally, keeping your canvas clean couldn't be easier. A gentle dusting with a soft, dry cloth or a feather duster every now and then is all it takes. Just remember to never use water or chemical cleaners, as moisture can easily damage both the ink and the canvas material.
With just a tiny bit of care, your custom print will be a cherished part of your home for years to come.
Got Questions About Printing Photos on Canvas? We've Got Answers.
Jumping into the world of canvas printing for the first time can bring up a few questions. That's totally normal! Getting a handle on the basics will make the whole experience smoother and ensure you end up with a piece of art you’re proud to hang on your wall.
Let's walk through some of the things people ask most often.
Can I Really Use a Photo from My Phone for a Big Canvas?
You bet! But here's the catch: the quality of the original file is everything. Most new smartphones take incredible, high-resolution photos that are more than good enough for a large canvas print, even something as big as a 24x36 inch piece.
The secret is to always work with the original photo file from your camera roll. Steer clear of pictures you've saved from social media or that were sent to you through a messaging app. Those platforms compress images to save space, which strips out the detail you need for a sharp print. Before you hit "order," always use the printing service's built-in quality checker. It’s a lifesaver that will tell you if your photo's resolution is good enough to avoid a blurry, pixelated mess.
What's a Gallery Wrap, and Which Edge Style is Best for My Photo?
A "gallery wrap" is that classic, modern look where the canvas is stretched around the wooden frame, so your image continues around the sides. It gives the art a clean, three-dimensional feel that looks great without needing a separate frame.
When you're choosing the edge style, you've got a couple of choices:
- Image Wrap: This is where your actual photo wraps around the sides. It's fantastic for landscapes, cityscapes, or abstract art where the important stuff isn't right up against the edge.
- Solid Color Edge: Usually black or white, this is the go-to option for portraits or group photos. It keeps your entire image on the front surface, so you don't have to worry about someone's arm or ear getting wrapped around the side.
My personal rule of thumb is simple: if there’s a person or pet near the edge, I always choose a solid color wrap. It guarantees the focus stays exactly where it should be—on the front of the canvas.
How Do I Keep My Canvas Print Clean?
Taking care of your canvas is surprisingly easy. For routine dusting, a soft, dry cloth or a feather duster is all you'll ever need. The most important thing to remember is to never use chemical cleaners or even water. Moisture and chemicals can wreck the protective varnish and make the inks bleed or fade.
To keep your art looking its best for decades, try to hang it out of direct, harsh sunlight, which is the number one cause of fading. It's also a good idea to avoid super humid spots, like a bathroom, as the moisture can cause the wooden frame to warp over time. A little bit of care goes a very long way.
Ready to turn your favorite memories into beautiful art? At everone prints, we make it easy to create high-quality, custom canvas prints that will last a lifetime. Start your project today!