

How to Arrange Photos on Walls Like a Pro
Before you even think about reaching for a hammer, the real work of creating a beautiful photo display begins. The secret to a stunning gallery wall isn't just about hanging pictures; it's about telling a story. It all starts with a little planning—choosing a central theme, picking the perfect wall, and carefully selecting the photos and frames that will bring your vision to life. This initial step is what transforms a random collection of pictures into a truly intentional, eye-catching feature in your home.
First Nail Nerves? Start with a Vision Instead
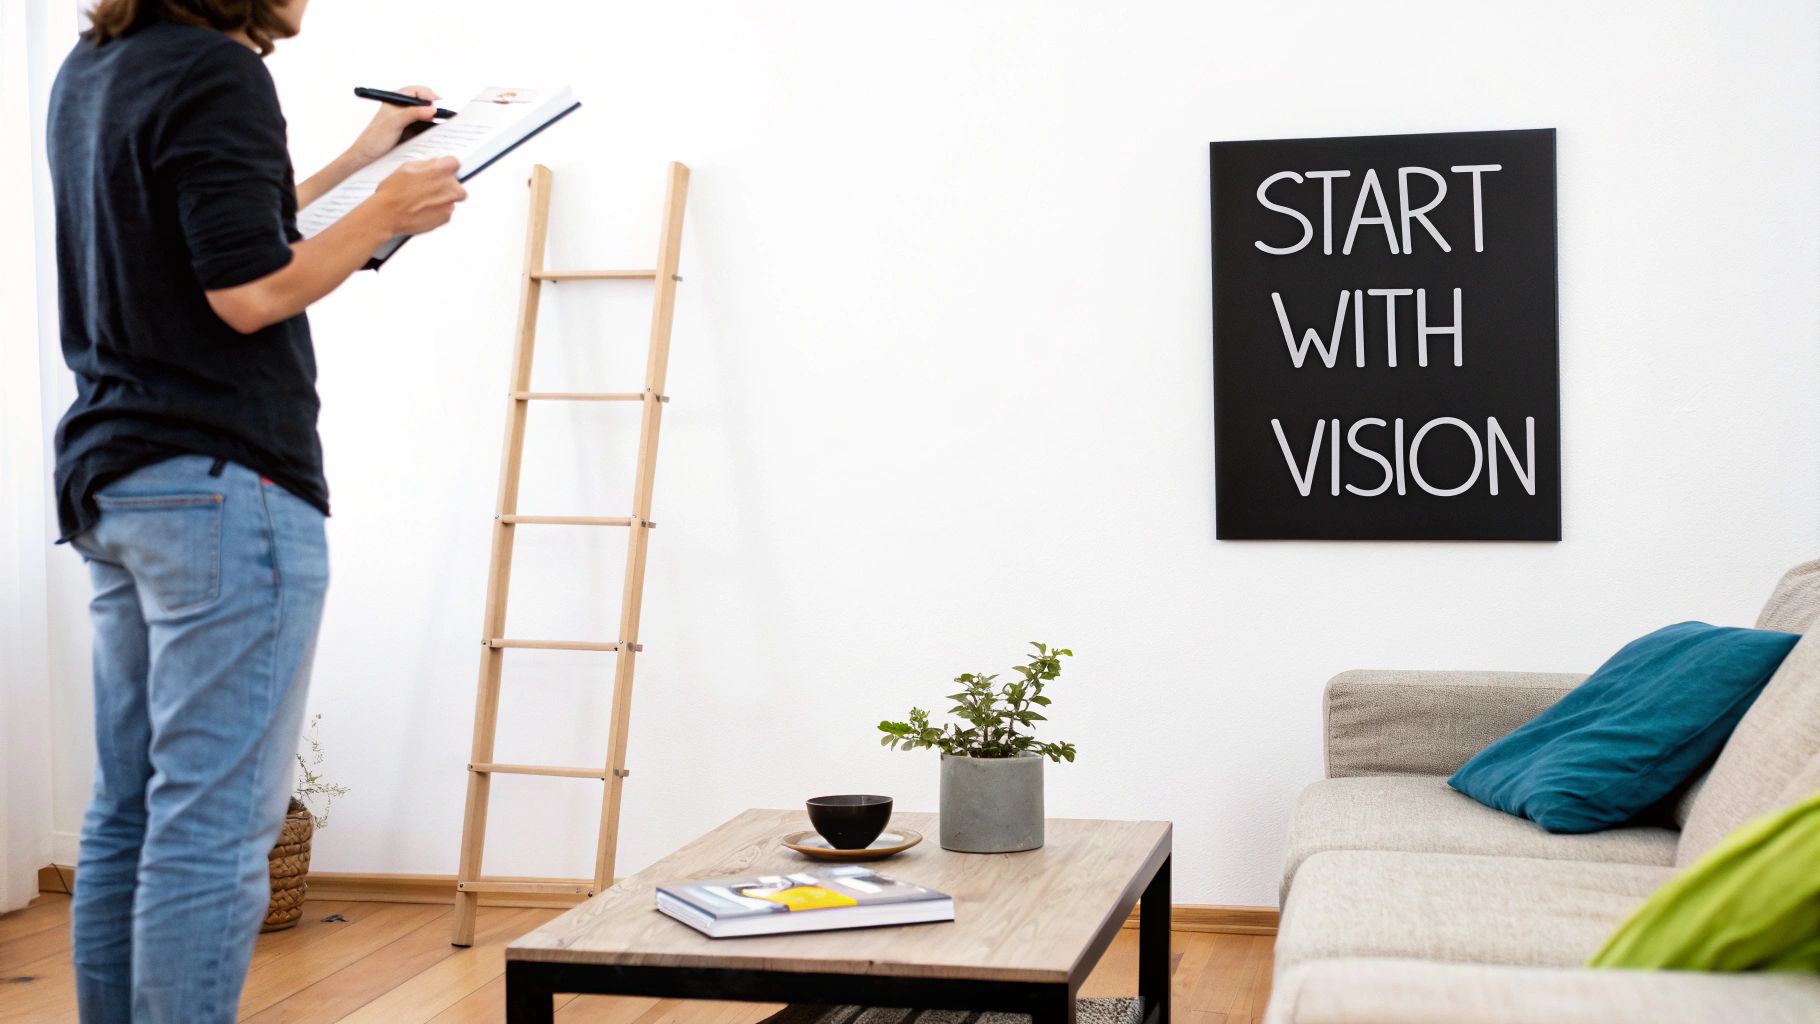
I know the temptation to just start hanging frames is real, but trust me on this—the most incredible photo walls come from thoughtful preparation. If you can resist that urge and focus on a clear vision first, you’ll save yourself a lot of frustration (and spackle!). The goal here is to create a display that doesn't just look good, but also feels deeply personal and tells a part of your story.
Finding the Perfect Canvas
First things first: where is this gallery wall going to live? Not every wall is the perfect backdrop. Here’s what I look for when scouting a location:
- Good Lighting: A wall that gets soft, indirect sunlight is your best friend. Harsh, direct sun can create a nasty glare on glass frames and, worse, fade your cherished photos over time.
- High Visibility: Why not show off your favorite memories? High-traffic areas like a main hallway, entryway, or the living room are fantastic spots. A well-designed gallery wall can make a powerful first impression.
- A Solid Anchor: Look for a blank space above a major piece of furniture like your sofa, a console table, or a headboard. Arranging your photos in relation to furniture helps ground the entire display, making it feel like a cohesive part of the room's design.
Curate a Cohesive Story
Once you've picked your spot, it's time for the fun part: deciding on a theme. Think of the theme as the narrative thread that pulls everything together. It’s what keeps your wall from looking like a chaotic jumble and turns it into a meaningful piece of art.
You could create a visual timeline of your family's history, a vibrant collage from your travel adventures, or a sophisticated collection of your favorite black-and-white prints. There’s a reason the wall art market is projected to hit nearly USD 118.79 billion by 2032—people are more passionate than ever about creating spaces that reflect who they are.
A great gallery wall tells a story. Whether it’s family history, a travel log, or a collection of abstract art, having a clear theme is the secret to a display that feels both personal and polished.
Don't be afraid to mix up frame styles, colors, and sizes! This is what adds personality and visual interest. The trick is to have at least one unifying element to tie it all together. Maybe you use all-white mats, or stick to a single frame color like black or gold. You could even unify the display through the photos themselves by sticking to a consistent color palette. For more tips on pulling it all together, you can find more inspiration right here: https://everone.shop/blogs/news/family-gallery-wall. This simple strategy allows you to blend different memories and styles into one seamless, expressive feature wall.
Choose Frames That Tell Your Story
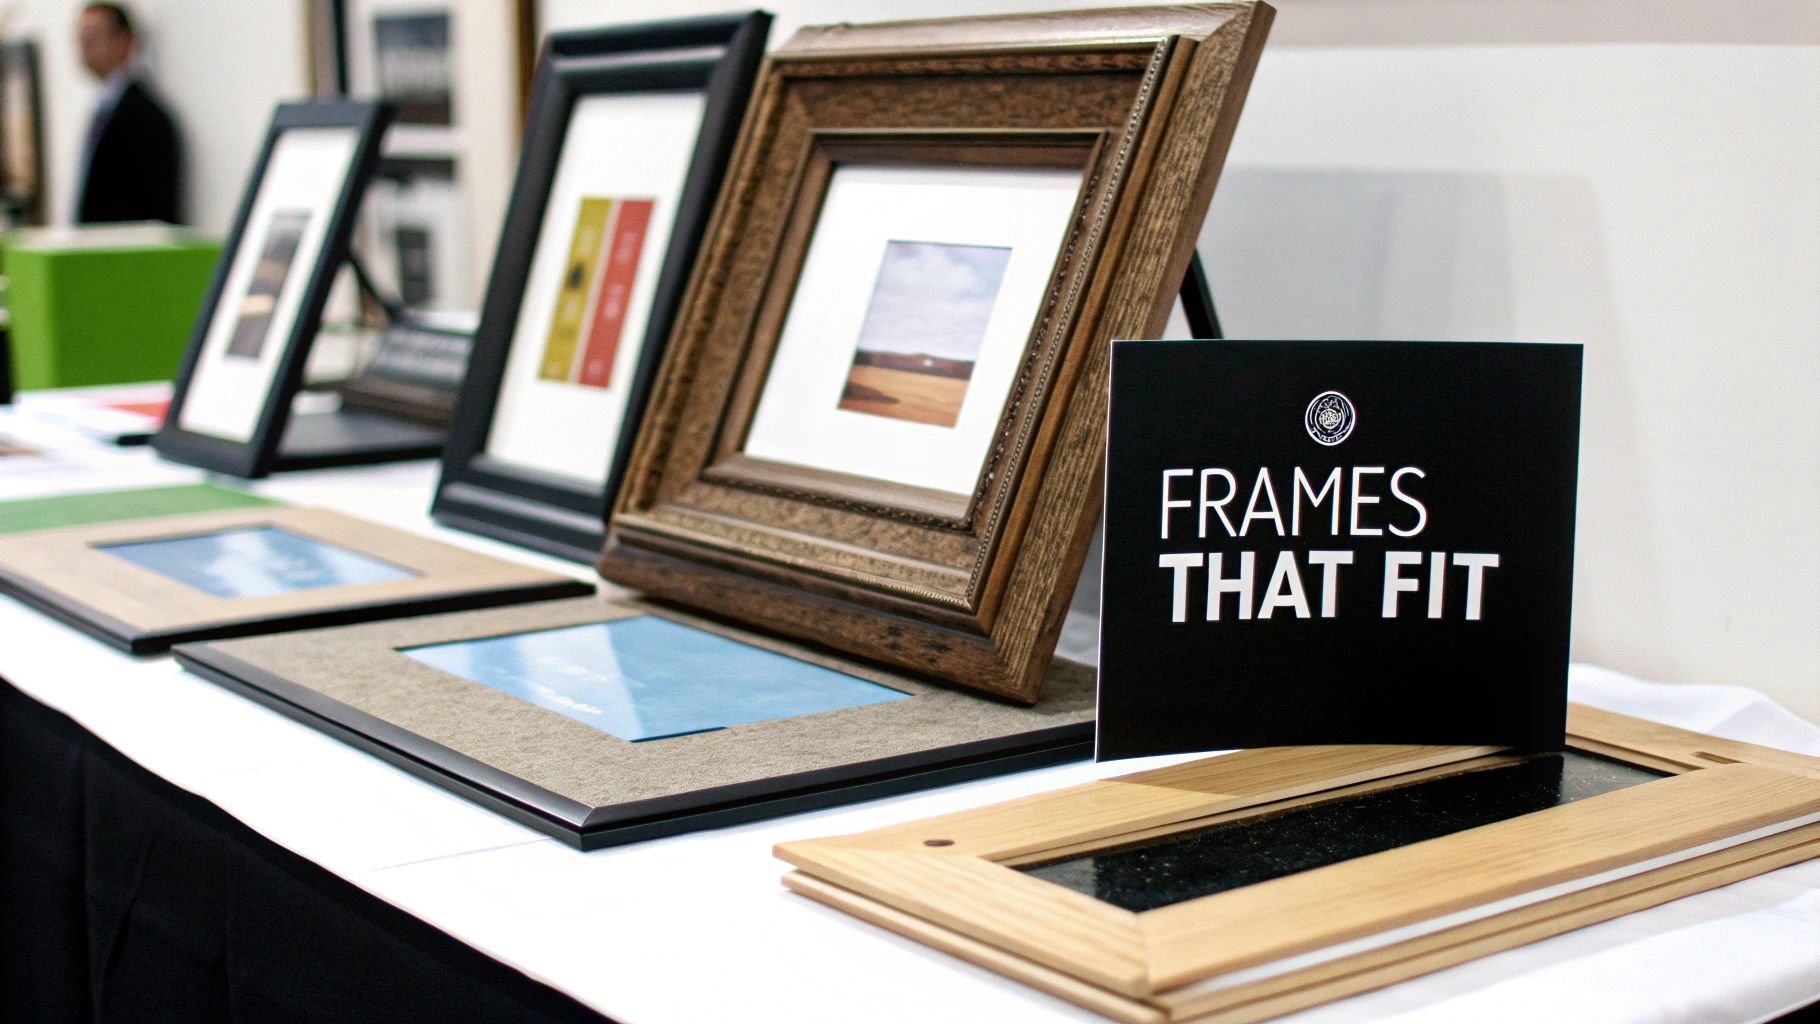
The frames you choose are the secret sauce that turns a bunch of photos into a stunning gallery wall. They’re so much more than just a border; they’re the thread that ties your entire visual story together, giving it structure, personality, and a real sense of style.
Think of it this way: frames are the wardrobe for your memories. Each one should not only complement the photo inside but also fit the overall vibe of your room.
A great starting point is deciding if you want a look that's clean and uniform or something more eclectic and personal. Sticking with identical frames gives you a classic, orderly feel that’s perfect for a tight, symmetrical grid. But if you mix up different styles, materials, and colors, you get a dynamic, bohemian vibe that’s ideal for a more free-flowing, salon-style hangout.
Matching Frames to Your Home's Style
To make sure your gallery wall feels like it belongs, let your home's current decor be your guide. The frames you pick should feel like a natural extension of the room, not an afterthought.
- For a Modern Vibe: Go for sleek metal frames in black, silver, or brass. Their thin, clean profiles keep the focus right where it should be—on your photos.
- For a Rustic or Traditional Feel: You can never go wrong with warm wood frames. They're timeless. Don't be shy about mixing different wood tones like oak, walnut, and pine to add a little depth and character.
- For a Playful, Eclectic Space: This is your chance to have some real fun! Pair an ornate vintage find with a simple modern frame, or bring in pops of color that echo your throw pillows or a favorite rug.
The material of your frames can also add another layer to your story. For a more intentional and sustainable display, you could even explore eco-friendly home accents, including reclaimed wood frames.
The Power of Matting and Photo Size
Never, ever underestimate the power of a mat! That simple cardboard border gives your photo crucial breathing room, drawing the eye inward and making the whole thing look more polished and professional. A crisp white mat is a classic for a reason—it makes colors pop and can instantly unify a collection of mismatched frames.
When it comes to the photos themselves, variety is your best friend. Learning how to arrange photos on walls is all about mixing different dimensions. While standard prints are the backbone of any gallery, a single large statement piece can anchor the entire display.
If you have one photo you absolutely love, don't be afraid to give it the spotlight. Our guide on selecting a custom canvas size can walk you through finding the perfect dimensions for that standout focal point. https://everone.shop/blogs/news/custom-canvas-size
Don't just fill your wall; compose it. The magic happens in the interplay between different frame materials, the smart use of mats, and a thoughtful mix of photo sizes. That's what turns a simple picture display into a genuine work of art.
It's fascinating to see that people are naturally drawn to these kinds of grouped displays. Search interest for "collage photo frames" is consistently high across the globe, which tells us that we love arrangements that tell a bigger story with multiple images. It’s a great reminder that your gallery wall is a collection, and the frames are what pull it all together.
Here’s a quick rundown of some popular frame styles to help you find the perfect fit for your vision.
Photo Frame Style Comparison
| Frame Style | Best For | Design Vibe | Pro Tip |
|---|---|---|---|
| Thin Metal | Modern, minimalist, or industrial spaces. | Clean, sleek, sophisticated. | Use a black metal frame to create sharp contrast and make your photos pop. |
| Natural Wood | Rustic, traditional, or Scandinavian decor. | Warm, organic, timeless. | Mix different wood finishes (like oak and walnut) in the same display for added texture. |
| Ornate/Vintage | Eclectic, bohemian, or maximalist rooms. | Artistic, detailed, full of character. | Pair a single ornate frame with several simple ones to create an interesting focal point. |
| Floating | Showcasing photos with unique edges or art on paper. | Airy, contemporary, modern. | Ideal for making smaller photos feel more substantial and museum-quality. |
Choosing the right frame is less about rules and more about what feels right for your photos and your home. Trust your gut, have fun with it, and create a wall that’s uniquely you.
Finding the Perfect Wall Layout
Alright, you’ve got your frames picked out. Now for the fun part: becoming the conductor of your own wall symphony. This is where we move past thinking about individual pictures and start focusing on composition—how all the pieces play together to create one big, beautiful statement.
There’s no single "right" way to hang photos, but a few tried-and-true layouts are great places to start. Each one has its own personality, so let's figure out which style feels most like you.
The Modern Grid Layout
If you crave a clean, contemporary vibe, a grid layout is your best friend. This is all about hanging frames of the same size and orientation in a super-tight, geometric pattern. Think of it as creating a single, unified piece of art from many smaller ones. The result is orderly and calm, making it a perfect fit for a modern living room or a more formal entryway.
Precision is the name of the game here. The real magic happens when you keep exactly the same distance between every frame, usually somewhere between 2-3 inches. That crisp, uniform spacing is what gives the grid its powerful, cohesive punch. It looks especially stunning with black-and-white photos or a series of pictures that share a similar color scheme.
The Eclectic Salon Style
Does a perfect grid feel a little too buttoned-up for your taste? Then you’ll probably love the salon-style hang. This approach is all about creating a free-flowing, floor-to-ceiling display by mixing different frame sizes, styles, and even orientations. It feels personal, a bit bohemian, and tells a much richer, more layered story.
The secret to pulling off a salon wall without it looking like total chaos is to find an underlying balance.
- Find Your Anchor: Start by placing your largest or most meaningful piece slightly off-center. This will be the focal point that grounds the whole arrangement.
- Build Outward: From there, start adding your smaller frames, letting the collection grow organically around your anchor piece.
- Watch Your Spacing: Even though the frames are all different, try to keep the gaps between them relatively consistent. This creates a visual rhythm that ties everything together.
- Mix in Other Objects: Don't be afraid to throw in a small mirror, a cool textile piece, or a decorative plate. These non-photo items add amazing texture and personality.
The real charm of a salon-style wall is that it looks like it was collected over time. It’s a living, breathing visual diary that can grow and change right along with you.
This style gives you so much creative freedom to turn a blank wall into a true reflection of your life. For more inspiration, check out our guide to stunning photo wall displays—it's packed with ideas.
The Classic Linear Hang
Sometimes, the simplest approach is the most elegant. A linear arrangement is just what it sounds like: a straight line of photos, hung either horizontally or vertically. A horizontal row looks fantastic floating above a long piece of furniture, like your sofa, a headboard, or a console table in the hallway.
A vertical line, on the other hand, is a brilliant designer trick for making your ceilings feel taller. It’s a great solution for those narrow walls or the awkward little spaces between two windows. Just make sure the centerline of each frame is perfectly aligned to keep the look sharp and intentional.
Tackling Tricky Spaces
Let’s be real, not every wall is a perfect, empty rectangle. For a staircase, the key is to follow the angle of the stairs themselves. A pro tip is to measure so the center of each photo hangs at a consistent height—say, 60 inches—from the tread of each step. This creates a clean, ascending line.
Got an awkward corner? Don’t ignore it! Turn it into a design feature with a wrap-around gallery wall that flows from one wall to the next.
If you're a visual person, it can be a huge help to map things out digitally before you grab a hammer. Using an online room layout planner can let you play with different arrangements to see what feels right in your space.
The No-Regret Guide to Hanging
Ready for the secret weapon to get your arrangement from the floor to the wall without a single misplaced nail? It's the paper template method. This is my absolute go-to trick for a perfect hang on the very first try, saving your walls from becoming a sad, pockmarked mess.
This little hack takes all the guesswork out of the final step, especially when you're wrangling a more complex layout.
The idea itself is brilliantly simple. Just trace each of your frames onto some paper—craft paper, old wrapping paper, or even newspaper works great. Cut out the shapes, and voilà, you have a life-sized paper version of your entire gallery wall.
These paper cutouts are your risk-free placeholders. Grab some painter's tape (it won't mess up your paint) and stick them right onto the wall. This lets you see the actual scale and spacing of your arrangement in its intended spot. You can move things around, step back, squint, and live with it for a day or two before making any commitments.
From Template to Perfect Placement
Once you've got those paper templates looking just right, it's time for the real magic. This is how you translate that perfect paper layout into a perfectly hung gallery wall.
Before you even think about taking the paper down, you need to mark where the nail will go on each template. Here’s the foolproof way I do it:
- Find the Hanger Spot: Flip over one of your actual frames. Measure from the top edge of the frame down to the hanger (whether it's a hook, wire, or sawtooth). Let's say it's 2 inches.
- Mark Your Template: Now, go to the matching paper template on your wall. Measure that same distance—2 inches—down from the top edge and make a clear X with a pencil. That's exactly where your nail belongs.
- Time to Hang: Hammer your nail directly through that pencil mark on the paper. Once the nail is secure, just rip the paper template away from the wall. Easy as that.
This little infographic gives you a great visual for some of the most popular layouts you can plan using this technique.
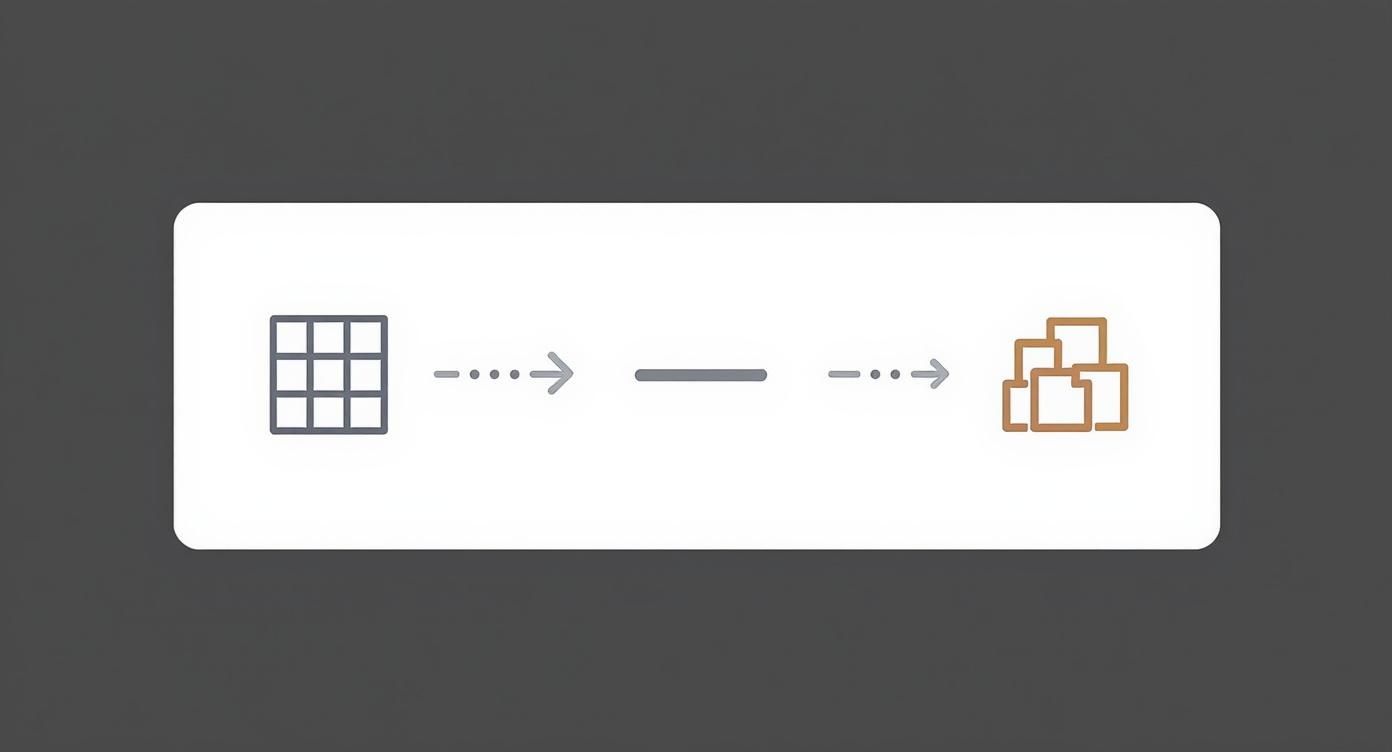
You can see how different arrangements, like a clean Grid or a more eclectic Salon style, can be mapped out flawlessly before you commit.
By marking the nail placement directly on your paper templates, you eliminate any chance of measurement errors. Your frames will land exactly where you planned, with zero "oops" holes to patch later.
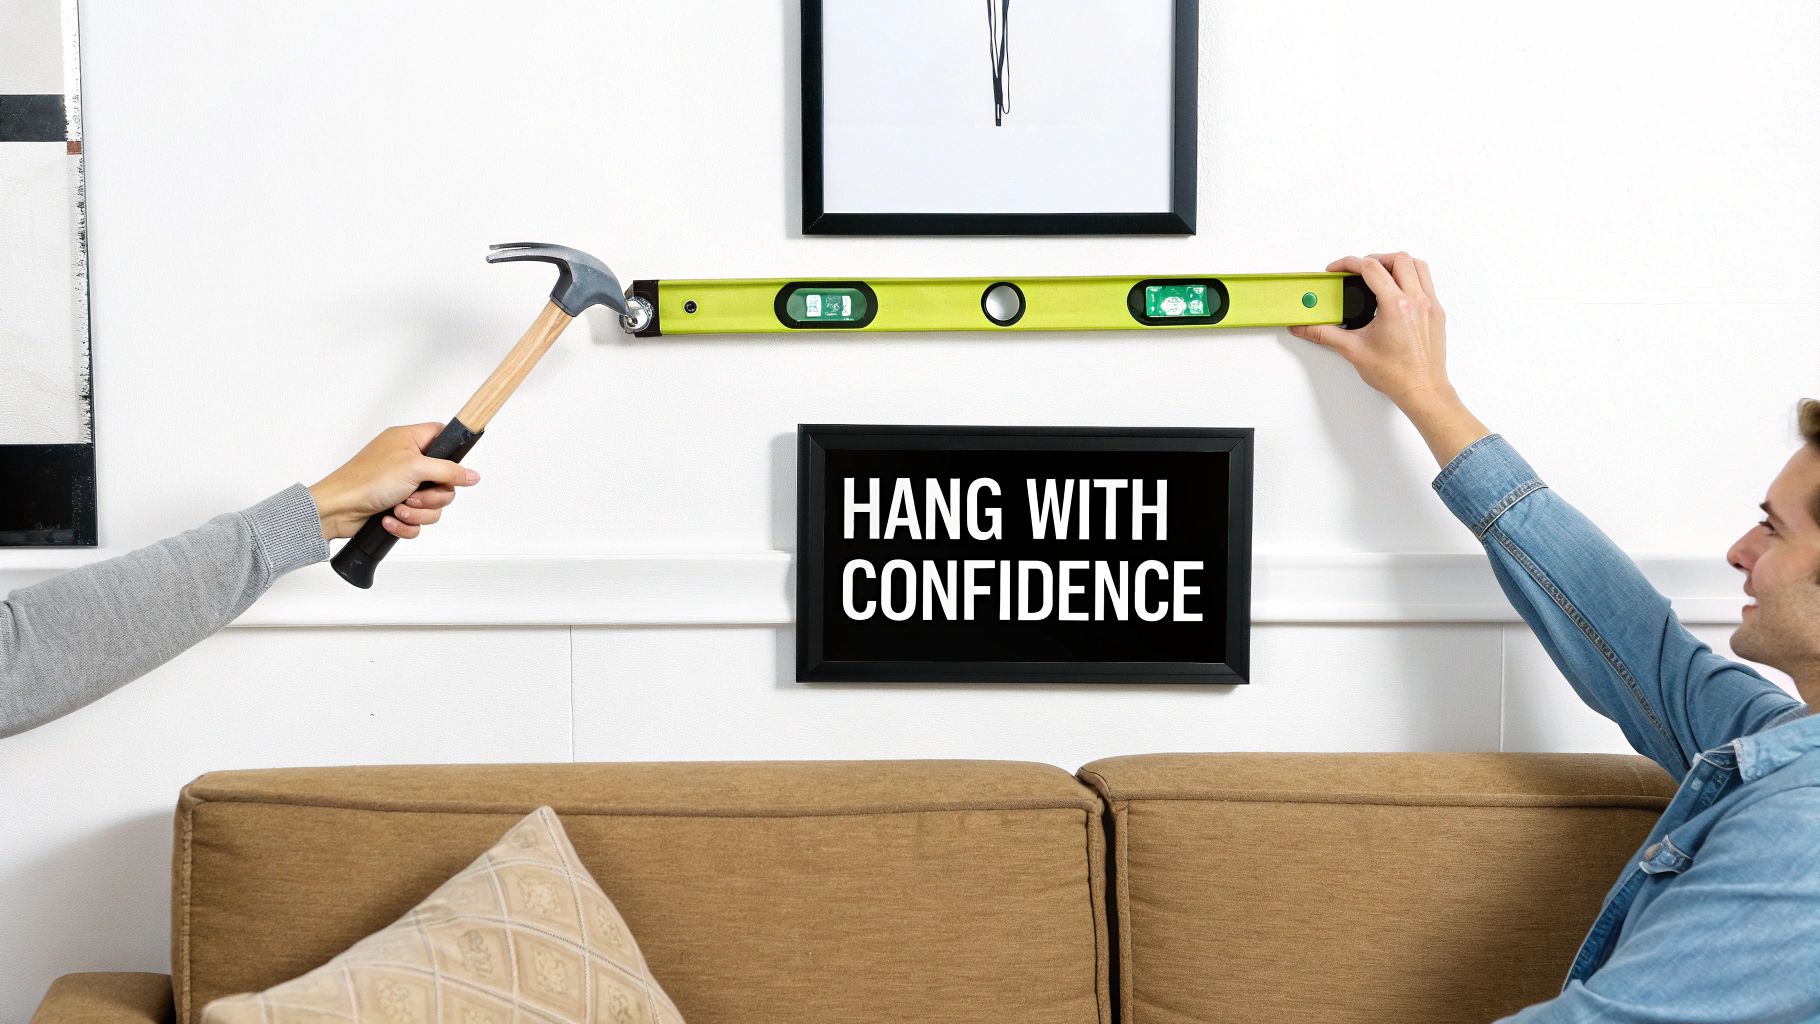
Honestly, this technique is a total game-changer. It gives you the confidence to bring your vision to life perfectly, whether you're hanging one huge piece or an intricate, multi-frame gallery.
For more damage-free ideas, especially when you're working with different kinds of decor, check out our guide on how to put posters on walls. Now, your photos are ready for their forever home
Bring Your Photo Wall to Life
Alright, you've planned your layout and you're happy with how the templates look on the floor. Now comes the really satisfying part: getting those beautiful photos up on the wall and making your vision permanent.
The first thing to tackle is the hardware. It’s easy to just grab any old nail, but choosing the right hanger makes a huge difference in security and longevity. Your wall type and frame weight are the two key factors here.
For most people with standard drywall, a simple picture hook and nail will work perfectly for smaller, lighter frames. But if you're hanging something with some real heft, you'll want to step it up to a screw and a drywall anchor. This gives you much more holding power. Renting or just hate making holes? Damage-free adhesive strips are your best friend—just double-check the weight limits on the package before you commit.
Getting the Placement Just Right
With your hardware sorted, it's time to hang. If you made those paper templates, you've done most of the hard work already. Simply drive your nail right through the marked spot on the paper, then gently tear the template away. It's a surprisingly simple and effective trick for getting the placement perfect on the first try.
No templates? No problem. Just measure carefully from your reference points and use a pencil to make a tiny, light mark where the nail will go. When you hammer it in, try to do so at a slight downward angle. I've found this gives the wire or hook a more secure seat.
Your level is your most important tool at this stage. Check each frame as you hang it, and then step back to check the alignment of the entire group. A slightly crooked frame can throw off the balance of the whole display.
This final attention to detail is what really separates a good gallery wall from a great one. It’s no surprise that the picture frame market was valued at a whopping USD 10.5 billion in 2023. We all want our homes to look amazing and feel personal, and getting these details right is key. You can actually read more about the growth of the picture frame market on Straits Research if you're curious.
The Finishing Touches
Once every piece is on the wall, take a microfiber cloth and give each frame a final polish to wipe away any fingerprints or dust from the process.
Now for the best part: step back and take it all in. Look at your new display from different spots in the room. Don't be shy about making tiny tweaks to the spacing or straightening a frame. Sometimes a half-inch nudge is all it takes to make everything click into place.
And that's it! You've successfully gone from a blank wall to a beautiful, meaningful display that tells your story.
Got Questions? Let's Get Them Answered
Even with the best-laid plans, a few last-minute questions always seem to pop up right as you're about to grab the hammer. Trust me, you're not alone! Nailing these final details is what separates a good gallery wall from a great one.
Think of this as a quick-fire round to tackle those common "what ifs" so you can get your project over the finish line with confidence.
How High Should I Hang Everything?
This is probably the number one question I get asked, and the answer is simpler than you think. The golden rule, straight from the gallery world, is to hang your art at eye level.
For a single piece or the focal point of your whole arrangement, aim for its center to be about 57-60 inches off the floor. This is the sweet spot that feels natural for most people.
Now, if you're hanging your display over a piece of furniture like a sofa or a console table, the rules bend a bit. You want the art and the furniture to feel connected, not like they're strangers in the same room. A good rule of thumb is to leave about 6-8 inches of breathing room between the bottom of your lowest frame and the top of the furniture.
What Tools Do I Actually Need?
You don't need to raid a hardware store to get this done right, but having a few essentials ready will make your life so much easier.
Your core toolkit is pretty simple: a tape measure, a pencil, and a hammer. But the one non-negotiable item? A level. Seriously, don't skip this. For bigger, more complex walls, a laser level can be a total game-changer and a worthy investment. Oh, and if you’re using the paper template trick we talked about earlier, painter's tape is your best friend.
Pro Tip: Your tools are only half the battle. The right hardware is crucial. Always match your hangers to your wall type. Simple picture hooks work for most drywall, but for heavier frames, you'll want screws with anchors. And for a totally no-holes option, damage-free adhesive strips are a fantastic choice.
How Can I Mix and Match Frames Without It Looking Like a Mess?
Ah, the eclectic look! It’s a fantastic way to add personality, but there's a fine line between "curated" and "chaotic." The secret? Find a common thread. You can get away with mixing different styles, colors, and materials as long as you keep one or two elements consistent across the board. That little bit of harmony is what makes the whole thing feel intentional.
Here are a few ways I’ve seen this done beautifully:
- Tie it together with the photos. Use all black-and-white images or photos that share a similar color story.
- Unify with mats. A crisp white mat inside every single frame, no matter the style, instantly creates a cohesive look.
- Keep the spacing consistent. Sticking to the exact same gap between every frame (say, 2-3 inches) brings a sense of order to the display.
Pick one unifying element, and you’ll find that even the most diverse collection of frames will look like it was meant to be together.
Ready to see your favorite memories up on the wall? At everone prints, we turn your photos into high-quality, personalized canvas prints and posters that you'll cherish for years. Start designing your custom wall art today and bring your vision to life.