

How to Organize Digital Photos A Proven System
Is the "camera roll" section of your phone a no-go zone? Are you staring down thousands of unsorted photos spread across your computer, phone, and maybe even an old hard drive? It’s a familiar story—a digital avalanche of memories, a chaotic mix of birthdays, vacations, blurry screenshots, and way too many duplicate selfies.
Learning how to organize digital photos isn't about creating some museum-perfect archive. It’s about building a simple, human-friendly system to conquer the chaos. Think of it less like a chore and more like a treasure hunt, rediscovering your favorite moments along the way.
Why Bother Fixing the Photo Mess?
If you feel like you're drowning in digital images, you're definitely not alone. The sheer volume of photos we all take is mind-boggling. By 2025, it's projected that the world will snap over 2.1 trillion digital photos in a single year, and a whopping 94% of those will come from our smartphones. It's no wonder our devices feel so out of control.
This isn't just about making things look tidy. It's about pulling your memories back from the brink of digital oblivion. A well-organized collection lets you find that one specific photo in seconds, not after an hour of frustrated scrolling. You can transform your photo library from a source of stress into a beautifully curated story of your life.
The Real Cost of Digital Clutter
Ignoring the mess does more than just make it hard to find a specific picture. It creates a subtle, nagging feeling of being overwhelmed. Every time you open your photo gallery and see that massive, unsorted number, it adds a tiny bit of mental weight. The goal here isn’t perfection; it’s just about finding a simple workflow that finally works for you.
"The keyword is action, however imperfect. As someone who has experienced a tech crash and who has countless clients who have been impacted by natural disasters, let me tell you—there’s no going back once those memories are gone."
This guide will walk you through the process in manageable chunks. We're focused on practical steps you can start using right away, turning that digital mess into a system that protects your most precious moments without all the stress. For those who feel their collection is a particularly tough case, a complete guide on how to organize family photos can offer some next-level strategies.
Ultimately, getting your photos in order is the first step toward actually enjoying them again. Once everything is sorted, you can easily turn your favorite shots into beautiful keepsakes. In fact, you might get some inspiration from our guide on creative family photo display ideas to see how an organized library makes it a breeze to decorate your home with memories.
Ready? Let’s get started.
Build Your Central Photo Hub
Before we even think about sorting individual photos, we have to give them a home. Think of it like laying the foundation for a house—you can't put up walls without a solid base. The mission here is to create a single, central location—what I call a Digital Photo Hub—where every single photo you own will eventually live.
Why is this so important? Because scattered photos are the real enemy. They’re the reason you spend hours hunting for that one picture across old laptops, random cloud accounts, and that dusty external drive in your desk drawer. Consolidating everything first is the most critical part of getting organized.
Choosing Your Storage Foundation
Picking the right hub really comes down to your budget, how comfortable you are with tech, and how you want to access your photos. There's no one-size-fits-all answer, but it usually boils down to one of these three options.
Deciding where your photos will live is a big decision. With the digital photography market projected to hit around $55.74 billion by 2025, it’s clear we're all taking more photos than ever before, which makes having a reliable storage plan absolutely essential.
Let's break down the most common choices to help you find the perfect fit for your photo collection.
Choosing Your Central Photo Storage Hub
| Storage Type | Best For | Pros | Cons |
|---|---|---|---|
| External Hard Drive (HDD/SSD) | Photographers who want physical control over their files and a one-time purchase. | Simple setup, no monthly fees, complete privacy, and you own the hardware. | Vulnerable to physical damage or loss. Requires manual backups. |
| Cloud Storage (Google Drive, Dropbox, etc.) | Anyone who prioritizes easy access, sharing, and automatic backups from multiple devices. | Access anywhere with internet, automatic syncing, great for collaboration. | Ongoing subscription costs, privacy concerns, dependent on internet speed. |
| Network Attached Storage (NAS) | Tech-savvy users who want a personal cloud with massive storage and no subscription fees. | Your own private cloud, one-time hardware cost, expandable storage. | Higher initial cost and more complex setup than other options. |
Ultimately, whether you choose a simple external drive or your own private cloud server, the goal is the same: one place for everything. Pick the one that feels right and stick with it.
The Chronological Folder Structure
Once you’ve picked your hub, it’s time to build the framework. I've tried a lot of systems over the years, and the one that has never failed me is a simple, chronological folder structure. It’s intuitive, it doesn't rely on any special software, and anyone can understand it at a glance.
The logic is beautifully simple: Year > Month > Event.
You start with a main folder for each year. Inside that year, you create twelve folders for the months. Then, inside each month, you create specific folders for events. It’s that easy.
By organizing chronologically, you’re not just filing photos—you’re building a timeline of your life. You’ll instinctively know that photos from your family's summer trip are in the '2023' folder, not lost in some vaguely named 'Vacations' folder.
Here’s a quick peek at how it looks in practice:
-
2023
- 01-January
- 02-February
-
03-March
2023-03-15 Mias Birthday Party
- ...and so on.
I highly recommend using the YYYY-MM-DD format at the beginning of your event folder names. It’s a little trick that forces your computer to keep everything sorted perfectly in order.
This infographic really captures the whole process, from gathering your scattered photos to organizing them in your shiny new hub.
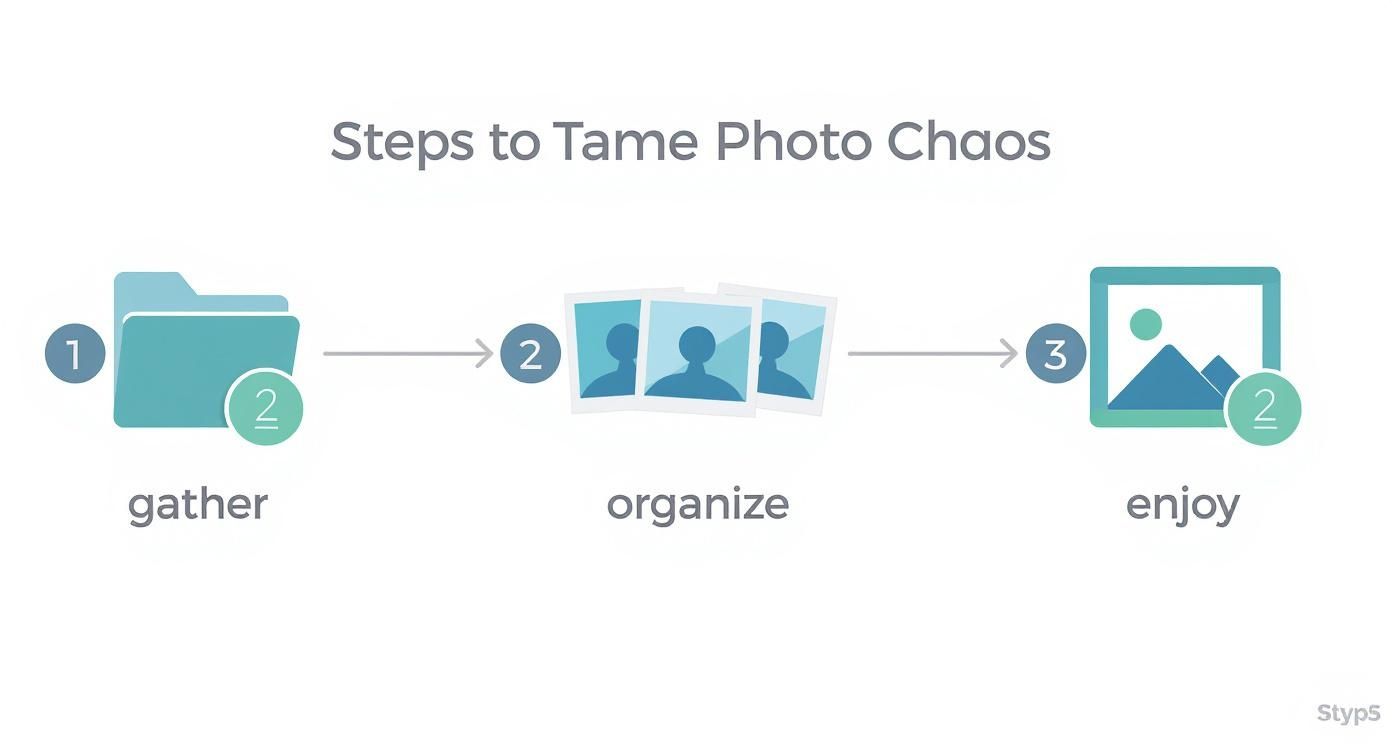
It’s a great visual reminder that bringing everything together is the first real step toward creating a collection you can actually enjoy.
Making the System Work for You
The best part about this system is its flexibility. For a week-long vacation, you might just create one folder like 2024-07-22 Italy Trip. For a quick one-day event, 2024-09-05 Dads Retirement Dinner is perfect.
And what about all those photos stuck on social media? We all have years of memories living on platforms like Instagram. Good news—you can pull those into your new system, too. For some great tips on getting those images downloaded, check out our guide on how to print pictures from your Instagram account. Once you have them, you can file them right into your chronological folders.
The key to all of this is consistency. By setting up this central hub and a simple folder structure, you’ve built a powerful, lasting foundation for your entire photo library.
Create a Searchable Photo Library
A logical folder structure is a massive step forward, but if you really want to master your photo collection, that’s only half the battle. To truly unlock the power of all those images, you need to embed searchable information right into the files themselves. This is how we go from just knowing where a photo is to controlling what the photo can tell us, instantly.
Think of it this way: your folder system is like the floor plan of a library, guiding you to the right section. But smart file names and metadata? That's the card catalog, letting you find the exact book—or in this case, the exact memory—in seconds. We’re about to turn your passive archive into a living, searchable database of your life.

Adopt a Smart Filename Convention
Let’s be honest, the default filenames our cameras and phones spit out—like IMG_1234.JPG or DSC_5678.NEF—are completely useless. They offer zero context. Adopting a simple, consistent naming convention is one of the most powerful changes you can make, and it’s easier than you think.
I’ve found a simple formula works best, one that leads with the date, adds a quick description, and finishes with a sequence number.
My Go-To Formula: YYYY-MM-DD_Event-Description_###.jpg
See it in action. A generic name like IMG_4321.JPG suddenly becomes 2023-08-15_Beach-Day-Santa-Monica_001.jpg. Right away, you know the exact date, what happened, and where it sits in the timeline of that day.
The best part? Even if that file gets moved or separated from its folder, its core information travels with it. This simple habit future-proofs your collection, making sure it stays organized no matter what software or computer you're using years down the road. Plus, most photo management tools can batch-rename files for you, so you can update hundreds of photos at once.
Why Metadata Is Your Secret Weapon
Beyond the filename, every digital photo contains hidden data called metadata (or EXIF data). This automatically includes technical stuff like the camera model, shutter speed, and aperture. But the real magic happens when you start adding your own descriptive metadata.
This is where you can layer in helpful details like:
- Keywords (Tags): Simple words that describe the photo's content.
- Ratings: A quick 1-to-5-star system to flag your absolute favorites.
- Color Labels: A visual shortcut to categorize photos (e.g., red for "to print," blue for "needs editing").
- Geotags: The specific location where the photo was taken.
Once you start adding this info, you empower yourself to run incredibly specific searches. Imagine wanting to find every 5-star photo of your dog, "Buddy," at the beach. Instead of clicking through endless folders, you could just search: ★★★★★ AND "Buddy" AND "beach". Every single relevant photo would pop up instantly, no matter which year it was taken.
Practical Steps for Tagging and Rating
You don't need a fancy, expensive program to get started with metadata. Many free and built-in tools get the job done perfectly. The real key is building a simple, repeatable habit.
Here’s a Simple Workflow I Use:
-
Import: After an event, I move the new photos into their proper chronological folder (e.g.,
2024 > 10-October > 2024-10-31 Halloween Party). - Cull and Rate: I do a quick pass through the new images. First, I delete the obvious duds—the blurry shots, duplicates, and accidental photos of my feet. As I review the rest, I assign star ratings. My system is easy: 5 stars for the absolute best, must-print shots; 4 stars for great photos; and 3 stars for good, usable images.
-
Add Keywords: Next, I select a group of related photos (like all the pictures of the kids in costume) and add relevant keywords in bulk. I think about who, what, where, and when. For that Halloween party, my tags might be:
Halloween,Costumes,Kids,Family,[Family Name],2024.
The goal isn't to tag every tiny detail in every single photo. Just start with broad, essential keywords. You can always drill down and get more specific later. Consistency is far more important than exhaustive detail.
This process is also incredibly powerful when you're working with physical heirlooms. For anyone scanning old family pictures, this is the perfect chance to embed your family history directly into the file. To learn more about the best ways to handle these delicate items, you can explore our guide on how to preserve old photos.
Choosing the Right Tools for the Job
You definitely don't need to break the bank to manage your photo metadata. There are great options out there for every comfort level and budget.
- Your Computer's Built-in Tools: Both Windows File Explorer and macOS Finder have built-in features for adding tags and ratings. This is the perfect place to start since it costs nothing and requires no extra software.
- Free Photo Organizers: Programs like digiKam or XnViewMP are surprisingly powerful free options. They offer robust tools for batch editing metadata, renaming files, and much more.
- Paid Software: For photographers who want the most control, Adobe Lightroom Classic is the undisputed industry standard, combining professional editing with world-class organizational features.
My advice? Start with the tools you already have. The most important thing is simply to begin the habit of rating and tagging. By investing a little bit of time after each event to add this data, you're not just organizing photos—you're building a truly searchable and invaluable library of your life's best moments.
Implement a Bulletproof Backup Strategy
https://www.youtube.com/embed/zEr-7alId4U
It feels amazing to have a perfectly organized photo library, right? But here’s the scary part: all that work—the careful naming, the thoughtful tagging—is incredibly fragile. If the single hard drive holding it all decides to give up, everything could vanish in a blink.
This is why a solid backup strategy isn't just a "nice-to-have." It's the essential safety net for your priceless memories.
The gold standard in this world is the 3-2-1 backup rule. It might sound a bit technical, but the idea behind it is simple and incredibly powerful.
The 3-2-1 rule means you have three total copies of your photos, stored on two different types of media, with one of those copies kept off-site. This layered approach protects you from just about everything, from a simple drive crash to a major disaster like a fire or flood.
Let's walk through how to put this into practice without overcomplicating things.
Building Your 3-2-1 Photo Safety Net
Think of this as creating a personal insurance policy against digital heartbreak. Each layer of the 3-2-1 strategy provides a different kind of protection, working together so you can always get your photos back, no matter what life throws at you.
Here's how it looks in the real world:
- Copy 1: The Original Library. This is your "master" copy—the one we’ve already built on your primary external hard drive. It's the collection you actively manage and add new photos to.
- Copy 2: The Local Backup. This is a second, identical physical copy on a separate external hard drive. Every so often, you'll clone your master library to this drive. If your main drive fails, you just grab this one and you're back in business.
- Copy 3: The Off-Site Backup. This is your ultimate disaster recovery plan. In the old days, this meant stashing a hard drive at a friend's house. Today, the easiest and most reliable solution is a hands-off, automated cloud backup service.
When you're shopping for that second hard drive, it's a good idea to compare various disk storage options to find one that fits your needs and budget.
To make this crystal clear, here’s a simple table breaking down the 3-2-1 rule into actionable steps.
Implementing the 3-2-1 Backup Strategy
| Rule Component | What It Means | Practical Example |
|---|---|---|
| 3 Total Copies | Keep three versions of your photo library in existence. | Your primary external drive (the "master"), a second external drive (the "clone"), and your cloud backup. |
| 2 Different Media | Store your copies on at least two different types of storage devices. | An external hard drive (magnetic disk) and a cloud service (server-based storage). This protects against device-specific failures. |
| 1 Off-Site Copy | At least one copy must be physically located somewhere else. | Storing your third copy with a cloud backup service like Backblaze, Sync.com, or pCloud. |
This simple framework ensures that no single point of failure can wipe out your entire collection.
Choosing Your Off-Site Cloud Backup
That off-site copy is arguably the most important piece of this entire puzzle, and this is where cloud storage really shines. A good cloud backup service works quietly in the background, automatically syncing your photos to a secure server. You literally set it and forget it.
It’s a crowded market out there. As of 2025, general cloud services like Google Drive lead the pack with 94% adoption, followed by Dropbox at 66% and OneDrive at 55%. But as people grow more concerned about data privacy, services like Sync.com and pCloud are gaining traction by offering zero-knowledge encryption.
When you're picking a service, don't just go for the cheapest option. Ask yourself these questions:
- Storage Capacity: Is there enough room for your library today and for all the photos you'll take in the future?
- Automation: The best backup is one you don't have to think about. Does their app handle everything automatically?
- Security & Privacy: What’s their privacy policy? Do they offer two-factor authentication or end-to-end encryption?
- Recovery Process: If the worst happens, how easy is it to get your files back? A simple, clear interface is a lifesaver when you're stressed.
Setting this all up might take an afternoon, but the peace of mind it gives you is priceless. Your photos are the story of your life, and with a 3-2-1 strategy in place, you can be sure that story is safe for generations to come.
Bring Your Organized Photos to Life
So, you’ve put in the work. You’ve built a central hub, wrestled your folders into a logical structure, and even tagged and rated your favorite shots. What now? The real magic isn't having a perfectly tidy hard drive—it's finally being able to do something with those photos without wanting to pull your hair out.
This is the payoff. This is where all that effort pays you back in a big way. The days of endlessly scrolling through a chaotic camera roll, hunting for that one perfect sunset photo from two summers ago, are officially behind you. Finding it now is a quick, ten-minute job, not a soul-crushing hour-long ordeal.
From Digital Archive to Physical Art
Having an organized system completely changes the game. A task that used to feel monumental—like putting together a family photo album—suddenly becomes easy, even fun. Let’s walk through what this looks like in the real world.
Say you want to create a photo book of last summer's beach vacation.
- The Old Way: You'd scroll and scroll on your phone, trying to piece the timeline together. You'd have to sift through hundreds, maybe thousands, of unrelated pictures of your lunch, screenshots, and random shots from that same month.
-
The New Way: You head straight to your photo hub. You follow a simple path:
2023 > 07-July > Beach Vacation. And just like that, every single photo from that trip is right there.
But here’s where it gets really good. Because you took a few extra minutes to add metadata, you can now filter that folder to see only your absolute best shots. One click on your 5-star rating filter, and voilà.
Instead of drowning in hundreds of photos, you’re looking at a curated gallery of your top 20-30 images, ready for your project. The whole process flips from a frustrating chore into a genuinely enjoyable trip down memory lane.
This is the ultimate reward. It’s the final piece of the puzzle that connects the moments you captured with the memories you actually want to hold onto.
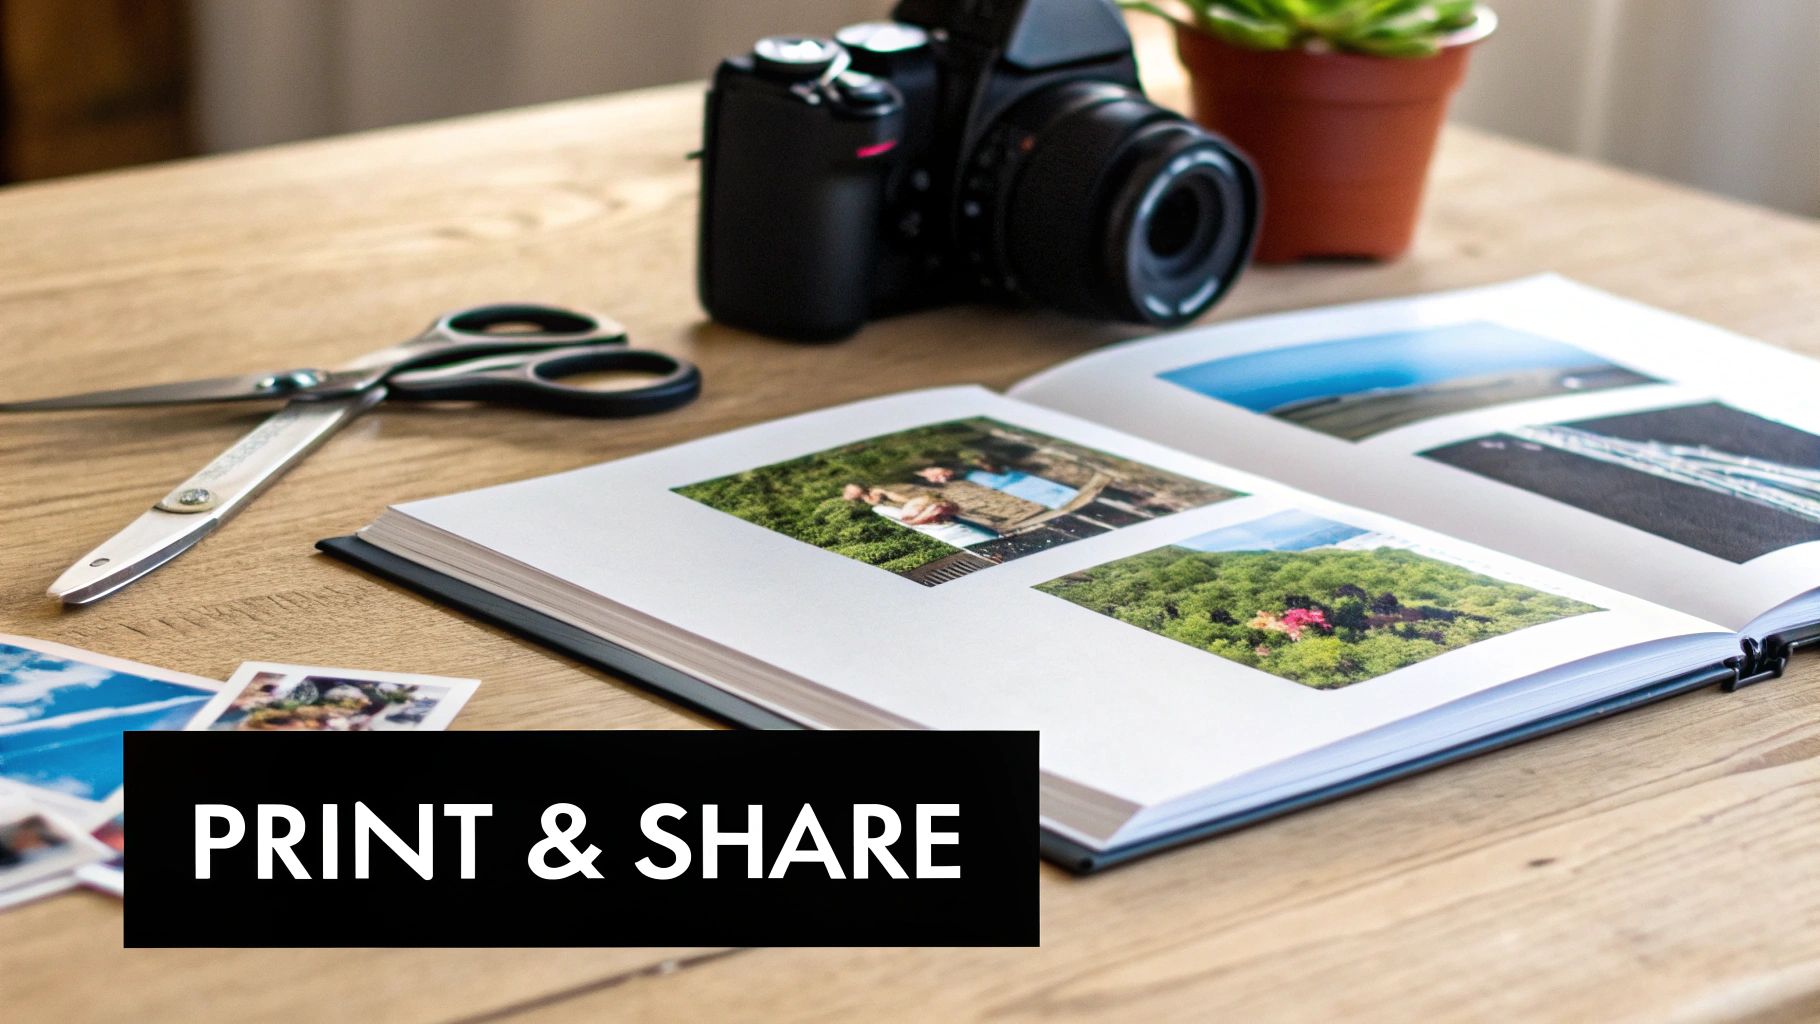
Turning Your Favorites into Keepsakes
Once you've got your best images at your fingertips, bringing them into the real world is the obvious next step. This is where a service like Everone Prints shines, letting you easily upload those curated photos and transform them into beautiful, high-quality keepsakes. The barrier between your digital files and a stunning piece of home decor just melts away.
In just a few minutes, you could create:
- Canvas Prints: That breathtaking 5-star landscape from your vacation folder? It would make an incredible centerpiece for your living room wall.
-
Photo Books: Grab the top-rated photos from an event folder, like
2024-05-18 Aunt Carol's Wedding, and you’ve got a thoughtful, meaningful gift ready to go. -
Custom Posters: Use your
Familykeyword tag to pull together a few favorite portraits for a beautiful collage.
There’s something so empowering about being able to find and use your best photos this quickly. If you need a little creative spark, our guide on turning photos into wall art has some fantastic ideas. After all, this is the true end goal: not just to have an organized library, but to fill your home and your life with the memories it holds.
Got Questions? We’ve Got Answers.
Jumping into a massive photo organization project can feel a little overwhelming. That's completely normal. Let's tackle some of the most common questions that pop up when you're trying to wrangle your digital memories.
What's the Best Software for Managing All My Photos?
Ah, the million-dollar question! The truth is, there's no single "best" software for everyone, but there's definitely a perfect fit for you and your needs.
For most of us, the tools that came with our devices are surprisingly powerful. Google Photos and Apple Photos are brilliant at doing the heavy lifting for you. They use some pretty smart AI to automatically recognize faces, places, and even pets, making your collection searchable without much effort on your part. They’re designed for simplicity and seamless cloud access.
But what if you're a photographer or a hobbyist who craves more granular control? Then you'll want to look at something like Adobe Lightroom Classic. It’s the gold standard for a reason, giving you the power to fine-tune everything from detailed metadata to professional-level edits. If you want that kind of power without the price tag, check out digiKam—it’s a fantastic open-source alternative with incredibly robust management tools.
Help! What Do I Do With Thousands of Duplicates?
Duplicates are the silent killers of hard drive space. They sneak in, multiply, and before you know it, you're scrolling through ten identical pictures of the same sunset. Trying to find them all manually is a recipe for madness.
The secret is to let a dedicated tool do the work for you after you’ve moved all your photos into one central library.
Apps like Duplicate Cleaner Pro for Windows or Gemini 2 for Mac are lifesavers. They don't just find exact copies; they can spot visually similar shots, too. This lets you quickly compare and decide which of the five slightly different group photos is the keeper.
A good duplicate finder is a total game-changer. It turns what could be weeks of mind-numbing work into a simple afternoon task. You’ll be shocked at how many gigabytes of space you get back.
These programs let you review everything side-by-side before deleting, giving you total confidence as you clean house.
Should I Keep My Photos on an External Hard Drive or in the Cloud?
This is a classic question, but it’s the wrong one to ask. It's not about "either/or"—it's about "both." The most bulletproof strategy for protecting your memories is to use them together as a team. This is the heart of the 3-2-1 backup rule we talked about earlier.
Think of your external hard drive as your primary "master" library. It holds all your original, high-resolution files. This gives you physical ownership, complete privacy, and lightning-fast access without needing an internet connection.
Then, you have your cloud storage service, like Backblaze or iDrive, which acts as your off-site bodyguard. It protects your photos from things like house fires, theft, or a catastrophic hard drive failure. Your local drive provides speed and control; the cloud provides ultimate peace of mind.
How Should I Organize Old Scanned Family Photos?
Bringing old family photos into your digital world is one of the most rewarding parts of this whole process. Once you've scanned them, the trick is to treat them just like any other digital picture.
When you save a scanned image, give it a filename that includes the date—or your best guess. If you don't know the exact day, just use "00" as a placeholder. Something like 1985-06-00_Family-Reunion_001.jpg works perfectly.
Next, fire up your photo software and add tags for the people in the picture, the location, and any other details you can remember. Drop that file right into your main chronological folder system. That photo from 1985 will slide neatly into your "1985" folder, beautifully weaving your family’s history into a single, seamless timeline.
Now for the best part! With your photos finally organized, protected, and easy to find, you can actually start enjoying them again. Everone Prints makes it incredibly simple to turn your favorite memories into beautiful keepsakes that last. From gallery-quality canvas prints to custom-designed photo books, you can finally get your photos off your screen and into your home.