

How to Turn Pictures into Posters: Easy, Stunning Prints
Ready to turn that amazing photo you took into a piece of art for your wall? It’s a fantastic way to give your space a personal touch, and honestly, it's a lot easier than most people think.
All it really comes down to is picking the right high-quality picture, maybe making a few quick tweaks so it looks great in print, and then finding a printing service that gets what you're trying to do.
From Digital File to Wall Art
Have you ever looked at a photo on your phone or camera and just knew it deserved a bigger stage than a tiny screen? If so, you've come to the right place. Taking a favorite digital memory and transforming it into a physical poster you can see every day is one of the coolest ways to make your memories a real part of your home.
Think of this guide as a conversation with a friend who’s done this a hundred times. We're going to skip all the super-technical jargon and focus on what actually matters. We'll cover everything from how to spot a photo that will print beautifully to understanding the simple specs that make the difference between "meh" and "wow."
No more crossing your fingers and hoping for the best. Our complete guide to turning photos into wall art will walk you through everything you need to know to create a poster you'll absolutely love.
Finding the Perfect Picture for Your Poster
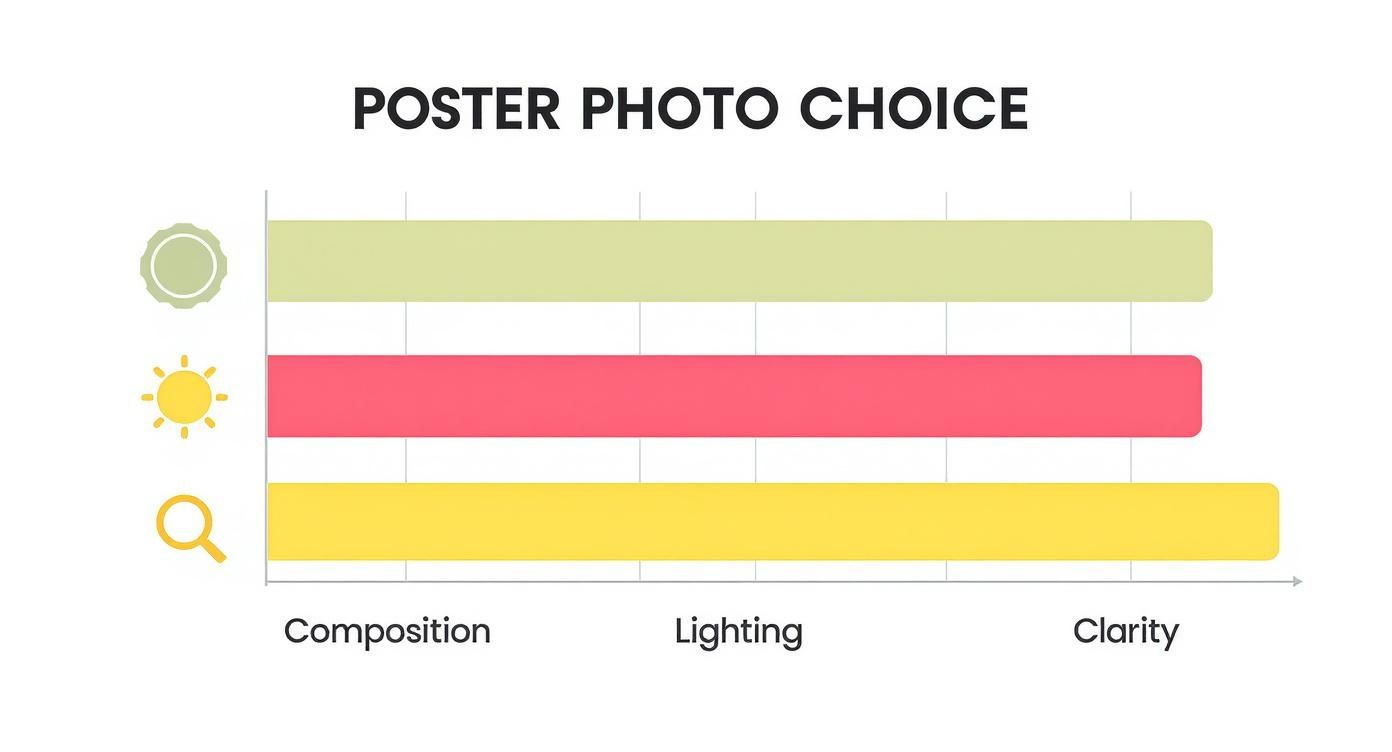
Let's be honest, not every photo is meant to be a poster. What looks great on your phone screen can sometimes turn into a blurry, disappointing mess when you blow it up to wall size. The secret is to go beyond just picking a "nice" picture and really dig into the details.
Start by looking at the photo's clarity. Zoom in on the original file. Is it sharp? Are the details crisp? This is your first and most important quality check. Then, think about the mood you're trying to create. Are you after the calming vibes of a sweeping landscape, or the vibrant, happy energy of a candid family moment?
Remember, this is something you'll see every single day, so choosing a photo with personal meaning makes all the difference. It’s no surprise that 78% of people now prefer personalized wall art over generic, mass-produced prints. You can read more about this trend in this article on print-on-demand posters.
Getting this first step right is crucial for a fantastic result, especially if you're pulling images from social media. If that's your plan, you'll definitely want to check out our guide on getting great prints from Instagram photos.
Diving Into Resolution and Print Size
So, you've got a great photo you want to turn into a poster. Awesome! But before you hit "print," we need to talk about one crucial thing: resolution. Getting this right is the secret to a poster that looks stunningly sharp, not like a blurry, pixelated mess.
Think of it this way: a digital image is made up of tiny dots, or pixels. When you print, those pixels become dots of ink on the paper. For a print to look crisp and clear, especially up close, you need a high density of these dots. The gold standard in the printing world is 300 DPI, which stands for Dots Per Inch.
A photo that looks fantastic on your phone screen might not have enough pixels to be blown up into a large poster. Enlarging a low-resolution image is like stretching a small piece of fabric too far—it becomes thin, distorted, and you can see all the gaps. To avoid that disappointment, you have to make sure your photo's original pixel dimensions are large enough for the poster size you want.
If you're new to the relationship between digital pixels and physical inches, it can be helpful to understand common picture sizes like 4x6 to get a feel for how it all works.
A Quick Guide to Poster Sizes and Resolution
Not sure if your image is up to the task? No problem. I've put together a handy cheat sheet below. Just find your desired poster size and check the minimum pixel dimensions your photo needs to have for a high-quality 300 DPI print.
Minimum Image Resolution for Common Poster Sizes (at 300 DPI)
Use this table to check if your photo's pixel dimensions are high enough for your desired poster size to ensure a high-quality, sharp print.
| Poster Size (Inches) | Required Minimum Resolution (Pixels) |
|---|---|
| 8 x 10 | 2400 x 3000 |
| 11 x 14 | 3300 x 4200 |
| 12 x 18 | 3600 x 5400 |
| 16 x 20 | 4800 x 6000 |
| 18 x 24 | 5400 x 7200 |
| 24 x 36 | 7200 x 10800 |
Checking your photo's resolution against this table before you order is the best way to guarantee you'll love the final result. If your dimensions fall a bit short, consider choosing a slightly smaller poster size to maintain that beautiful, crisp quality. You can learn more about sizing options here: https://everone.shop/blogs/news/custom-canvas-sizes.
Simple Edits for a Professional-Looking Print
Okay, you’ve picked the perfect photo. Now for the fun part: a few quick tweaks can take your picture from a simple snapshot to a genuinely professional-looking print. Don't worry, you don't need a graphic design degree for this—just a few simple adjustments will do the trick.
Frame It Right
First things first, let's talk about cropping. Before you do anything else, crop your image to match your desired poster size, like 18x24 or 24x36 inches. This is a crucial step I see people skip all the time. Doing it now ensures you have full control over the composition and prevents the printer from awkwardly cutting off important parts of your shot.
Make the Colors Pop
Here's a tip from experience: photos almost always print darker than they look on your bright computer or phone screen. A simple fix is to slightly bump up the brightness and contrast. Just a little nudge is all it takes to keep your final poster from looking muddy or dim.
While you're at it, adding a touch of sharpness can make the details really stand out, giving your poster that crisp, high-quality feel.
Let Smart Tools Do the Heavy Lifting
If you're not comfortable making manual adjustments, modern tools have your back. AI-powered editors from services like Picsart or Canva can handle these enhancements automatically.
These tools are surprisingly good at things like:
- Upscaling images that are a bit low-resolution.
- Converting your screen colors (RGB) to print-ready colors (CMYK).
- Applying balanced adjustments with a single click.
This can save you a ton of time and guesswork. For a deeper dive, you can learn more about AI-powered design optimization and how it works.
Time to Print: Picking Your Service and Paper
You've done the hard work of prepping your photo, and now it's ready for the real world. This next part is where the magic happens—choosing the right printing service and materials will make or break the final look of your poster.
Where Should You Print?
You've basically got two main paths: heading to a local print shop or using an online service.
Online services are fantastic for convenience and often have a wider array of options you can browse from your couch. On the other hand, a local printer gives you the chance to see paper samples in person and get some hands-on advice from an expert.
If you're leaning towards an online option, we've already done some of the legwork. You can see a full breakdown in our guide to the best photo printing services online.
Paper Finish Makes All the Difference
Now, let's talk paper. The finish you choose completely changes the vibe of your photo. It really comes down to where the poster will live and the style you're going for.
- A matte finish offers a sophisticated, modern feel. It’s perfect for brightly lit rooms because you won't get any annoying glare.
- A glossy finish makes colors leap off the page. If you want your image to be vibrant and eye-catching, this is the way to go.
Think about the final destination for your poster. A simple choice between matte and glossy can dramatically change how your photo looks on the wall.
Got Questions? We've Got Answers
Even with the clearest instructions, a few questions are bound to pop up, especially when you're turning a favorite photo into a poster for the first time. We get it.
To help you out, we've gathered some of the most common questions people ask. Think of this as a quick FAQ to clear up any lingering uncertainties before you print.