

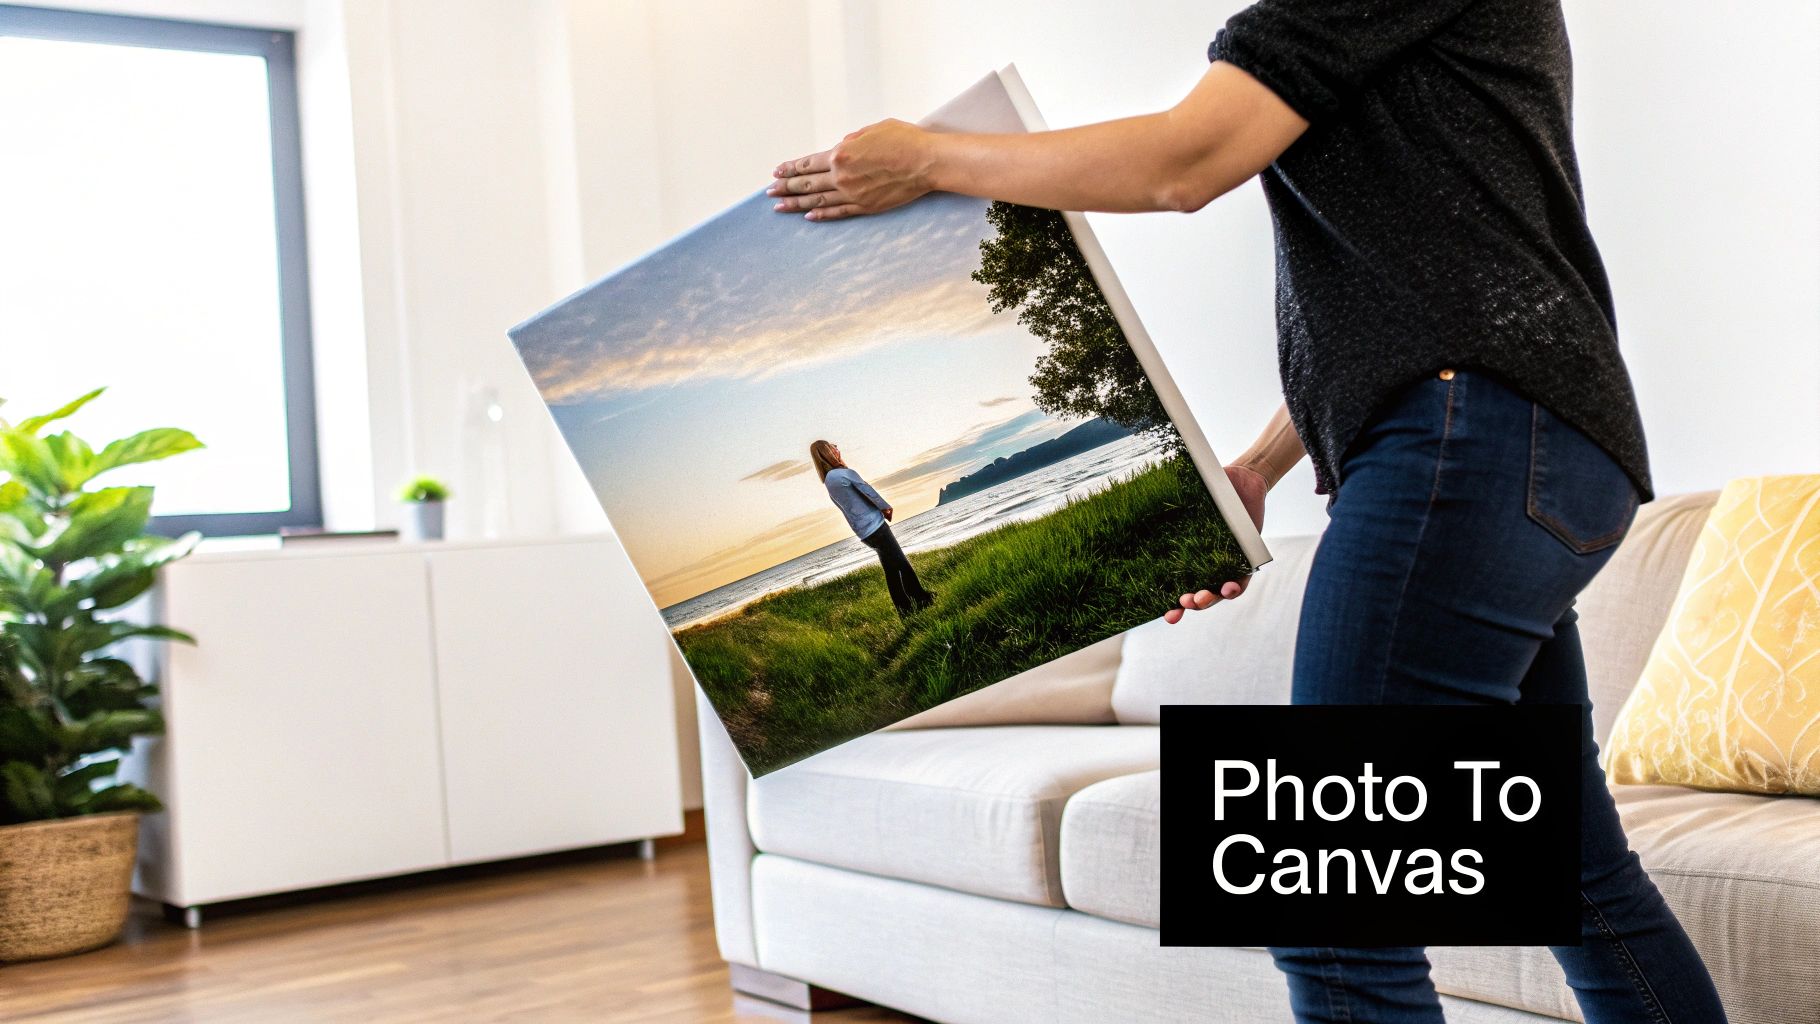
Transfer Photos to Canvas The Easy Way
Ready to turn that amazing photo on your phone into a beautiful piece of art for your wall? Transferring a photo to canvas is one of the easiest and most impactful ways to do it. You just need a great digital picture, a reliable online printing service, and a few minutes to customize it. Before you know it, you'll have a stunning piece of wall art ready to hang.
Why Canvas Prints Are Such a Timeless Choice
There's something special about seeing a digital photo transformed into a physical work of art. Canvas, in particular, just has a classic feel. Unlike a standard paper print trapped behind glass, a canvas print offers a unique texture and presence that adds a real sense of depth and warmth to a room. It feels less like a simple photograph and more like a piece of gallery-worthy art.
This move toward personalized decor is about more than just following a trend; it's about filling our homes with things that mean something to us. The whole process of getting a photo onto canvas has become so simple that anyone can create their own personal art gallery. Forget generic prints from a big-box store—you can surround yourself with images that actually matter. Think of that perfect candid family portrait, a breathtaking landscape from your last vacation, or even that hilarious photo of your dog.
The Growing Appeal of Personalized Art
It's clear that people love turning their digital memories into something tangible. The global online photo printing market was valued at an impressive USD 2.4 billion in 2024 and is expected to hit USD 4.1 billion by 2033. This boom is all thanks to our collective desire to create real keepsakes from our digital lives. You can find more insights on the online photo printing market at DataHorizzon Research. That kind of growth really highlights how much we cherish having something we can see and touch every single day.
To give you a bird's-eye view, the journey from digital file to finished canvas is pretty straightforward.
Quick Overview of the Canvas Transfer Process
| Stage | Key Action | Why It's Important |
|---|---|---|
| 1. Photo Selection | Choose a high-resolution image with good lighting. | A high-quality source file is essential for a crisp, clear print. |
| 2. Service & Customization | Pick a printing service and select canvas size, wrap, and finish. | These choices directly impact the final look and feel of your artwork. |
| 3. Upload & Preview | Upload your photo and use the preview tool to check the crop. | This is your last chance to make sure everything looks perfect before ordering. |
| 4. Order & Delivery | Place your order and wait for your custom canvas to arrive. | The final step in bringing your personalized art to life. |
This process makes it incredibly easy to create something truly special for your home.
A canvas print does more than just decorate a wall; it tells a story. It captures a fleeting moment and gives it a permanent home, making your space uniquely yours.
I created this guide to walk you through every part of the journey, step by step. We'll cut through the jargon and give you practical tips to make sure the final product is something you’ll be genuinely proud to display.
You'll learn exactly how to:
- Select the perfect photo that will look incredible when enlarged.
- Choose the right canvas options, like the wrap style and finish that best suit your image.
- Navigate the ordering process like a pro.
How to Choose the Perfect Photo for Canvas
The secret to a stunning canvas print? It all starts with the right photo. This is genuinely the most important step in the whole process, because not every picture is cut out to be turned into a piece of wall art. It really boils down to two things: the photo's quality and its artistic vibe.
Think of a photo's resolution as the amount of detail packed into the image. That gorgeous shot on your social media feed looks fantastic on a tiny phone screen, but it probably doesn't have enough juice for a big print. When you blow up a low-res image, you get a blurry, pixelated mess—and nobody wants that hanging in their living room. Getting a good quality photo is key, and picking up a few basic product photography tips to capture stunning shots can honestly make a world of difference, even if you're just shooting for fun.
Check Your Photo’s Resolution
Before you get your heart set on an image, take a second to check the file details. It’s pretty simple—on most computers, you just right-click the file and hit "Properties" or "Get Info" to see the dimensions in pixels. For a really crisp 16x20 inch canvas, you'll want an image that's at least 1600x2000 pixels.
My Two Cents: Don't get too bogged down by the numbers. Most modern smartphones take amazing high-resolution photos that are more than good enough for canvas. The real trick is to use the original file, not a compressed version you've sent through a messaging app or saved from a social media site.
When a digital photo becomes a physical print, some technical magic happens behind the scenes. Canvas printing usually works with 100-150 dots per inch (DPI), which is different from the 300 DPI standard for paper prints. This is done on purpose to keep the image looking sharp and vibrant over a larger, textured surface.
Think About the Artistic Side
Once you've got the technical stuff sorted, think about the photo itself. What's the subject? What kind of mood are you trying to set in your room?
- Portraits: I've found that photos of people and pets take on a beautiful, soft, almost painterly feel on canvas. The texture adds a timeless quality that feels really personal and intimate.
- Landscapes: Scenic shots—whether it's mountains, beaches, or city skylines—gain an incredible sense of depth. It's like the canvas pulls you right into the scene, making it more of an experience than just a picture.
- Abstracts: If you have photos with bold colors, cool textures, or interesting patterns, they look fantastic on canvas. They can add a really modern, artistic pop to any space.
At the end of the day, the best photo is one that means something to you and fits the style of your home. And if you're trying to work with a picture from social media, we've put together a guide specifically on printing photos from Instagram to help you get the best possible results.
Picking the Right Canvas and Finish for Your Print
Okay, you've got the perfect photo picked out and edited—now for the fun part! This is where you get to decide on the details that will really make your image sing. Choosing the right canvas type, finish, and wrap style is just as important as the photo itself when you transfer photos to canvas. These choices will define the final look and feel of your new piece of art.
Matte vs. Glossy: What’s the Best Finish?
First up is the finish. You'll usually see two main options: matte or glossy. Neither is better than the other; it just depends on your photo and where you plan to hang it.
A matte finish is my go-to for rooms with lots of natural light. It’s non-reflective, so you won’t get that annoying glare that can wash out the image. It gives photos a wonderfully soft, almost painted feel that's very sophisticated.
If you want your colors to scream vibrancy, a glossy finish is the way to go. It makes colors pop with a high-impact, reflective sheen. This works beautifully in spaces with more controlled, ambient lighting where you want the artwork to be a real showstopper.
This infographic lays out the essentials of what makes a photo truly canvas-worthy, touching on everything from resolution to composition.

It’s a great visual reminder of how technical quality and artistic vision come together to create a print you'll love.
Choosing Your Material and Wrap Style
Now, let's talk about the canvas material and how the edges will look. Most print shops use either a cotton-based canvas or a polyester blend. Traditional cotton has a lovely, classic texture, while modern polyester blends are incredibly durable and consistent.
The "wrap style" is simply how the image is handled around the edges of the wooden frame. Here are the most common choices:
- Gallery Wrap: The photo itself wraps seamlessly around the sides. This creates a clean, three-dimensional effect that looks fantastic without a frame. It's a modern classic for a reason.
- Color Wrap: The sides are printed in a solid color, often one pulled directly from a dominant color in your photo. This gives the print a nice, finished border.
- Mirrored Wrap: This one is clever. The outer few inches of your image are mirrored and then wrapped around the sides. This lets you keep your entire original photo visible on the front while still getting that gallery-wrapped look.
From my experience, a solid wood frame is an absolute must. It's the backbone of your canvas. A cheap frame can lead to sagging and warping down the road, so investing in a sturdy one ensures your print stays taut and beautiful for years to come.
To help you visualize these options, here's a quick breakdown of how the finishes and gallery wrap compare.
Comparing Canvas Finishes and Wrap Styles
| Feature | Matte Finish | Glossy Finish | Gallery Wrap |
|---|---|---|---|
| Best For | Brightly lit rooms, portraits, fine art photos | High-contrast, vibrant images, modern decor | A clean, frameless, contemporary look |
| Look & Feel | Soft, subtle, non-reflective, sophisticated | Punchy, vibrant, high-shine, bold | 3D effect, image continues on the sides |
| Glare | Minimal to none | High reflection, can cause glare | Depends on finish; the wrap itself is a style |
| Fingerprints | Less likely to show smudges | Shows fingerprints and smudges easily | Varies with finish choice |
Ultimately, the best combination depends on your personal taste and the specific photo you're printing.
Finally, don't forget about the size! Getting the dimensions right is crucial for making the right visual impact. If you're struggling to decide, take a look at our guide on choosing a custom canvas size that will perfectly suit your wall.
Placing Your Order Without Any Headaches
https://www.youtube.com/embed/mqzjnPxu_kY
Alright, this is the fun part—where your photo starts its journey to becoming a beautiful piece of art for your wall. Ordering a canvas print online should be an exciting creative step, not a confusing chore. Let's go through the customization tools you'll find so you can click "order" feeling totally sure of the outcome.
Once you’ve uploaded your high-resolution image, most printing sites will pop it right into a digital preview of your chosen canvas size. Think of this as your digital canvas, a place to make those last-minute tweaks.
Fine-Tuning Your Composition
First up, you'll likely see a cropping tool. This is your chance to really nail the composition. Ask yourself: does the photo pack more punch zoomed in on your subject, or does the full, wide view tell a better story? Play around with the crop to tighten the focus and get rid of any background clutter you didn't notice before.
This is also when you'll lock in your wrap style. If you went with a gallery wrap, pay close attention to how the preview shows your image spilling over the edges of the frame.
Pro Tip: I can't stress this enough: make sure nothing important gets lost on the wrap! The preview tool is your best friend for preventing the top of someone’s head or a crucial part of the landscape from disappearing around the side.
A good preview tool will clearly mark what's on the front and what will be on the sides. Just drag and reposition your image until the main view is exactly how you want it.
Making Final Adjustments
With the crop locked in, you might have a few simple enhancement options. You should have already done your heavy editing, but a small, last-minute adjustment here can make all the difference in the final print.
- Brightness Boost: Canvas tends to soak up light, which can make a print look a touch darker than it does on your glowing monitor. Bumping the brightness up just a tiny bit—say, 5-10%—can counteract this and keep your print looking lively.
- Color Check: Some editors offer quick filters like black and white or sepia. These can be great, but only use them if they genuinely fit the vibe you're going for.
Before you hit that final confirmation button, give the order summary one last look. Double-check the size, wrap style, and any finishes you selected. This final check is your guarantee that what shows up at your door is the masterpiece you imagined.
For an even deeper dive, you can check out our complete guide on how to print photos on canvas that covers every single detail.
Time to Hang Your New Canvas Art
That exciting moment has finally arrived—your custom canvas is at your doorstep! Before you get caught up in the thrill of hanging it, let's walk through the final steps to get your new art piece perfectly displayed.
First things first, carefully unbox your print and give it a once-over. Check for any dings on the corners or scratches on the surface that might have happened during its journey to you. Make sure the colors are just as vibrant as you remember from the digital proof.
This quick check ensures your art is in perfect condition before it becomes the star of your wall. It's a small step, but an important one.
The love for personalized decor is growing fast. The entire photo printing market, which includes canvas prints, is projected to jump from $26.25 billion to over $46 billion by 2032. It just goes to show how much we all value unique, custom pieces in our homes.
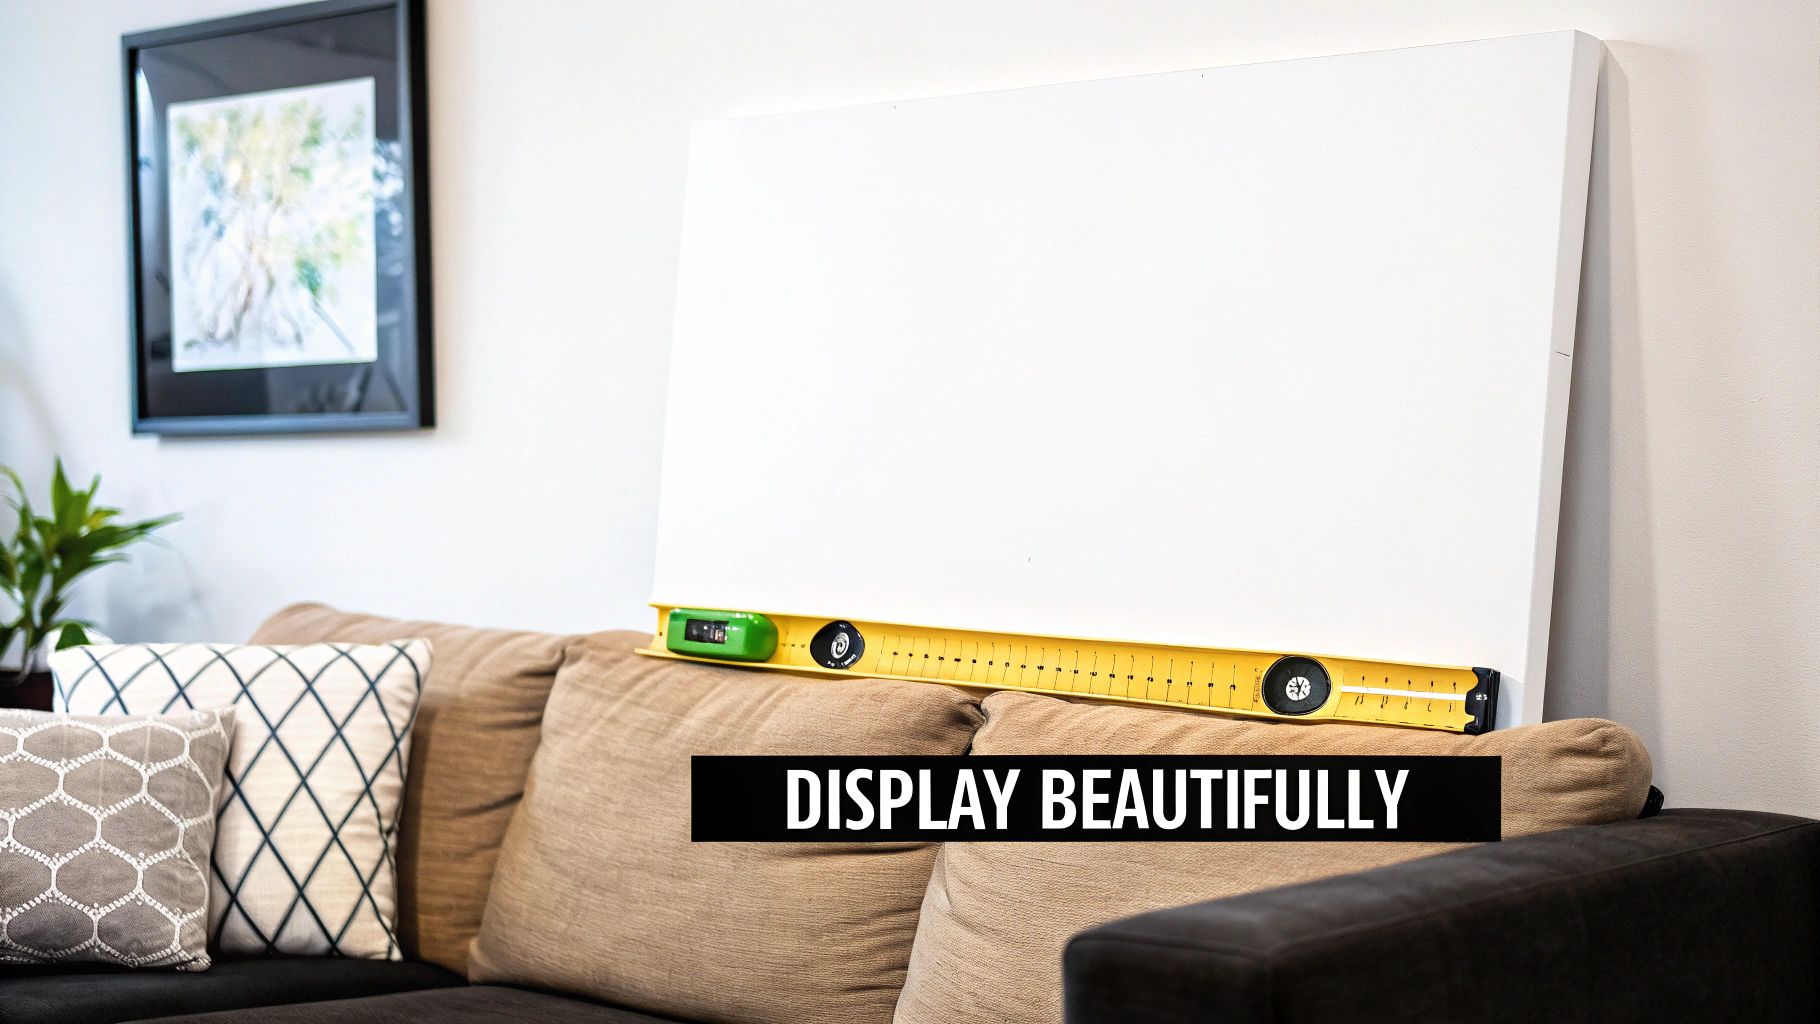
Finding the Perfect Spot
Alright, now for the fun part: deciding where your new artwork will live. The right placement can truly make or break the final look.
- Watch the Light: Try to avoid hanging your canvas in a spot that gets blasted by direct sunlight all day, as this can cause the colors to fade over time. A wall with nice, indirect natural light is perfect for keeping the image vibrant without risking damage.
- Get the Height Right: This is a classic mistake! So many people hang their art way too high. A good rule of thumb is to position the center of the canvas at eye level, which is usually about 57 to 60 inches off the floor. This makes for a much more comfortable and balanced viewing experience.
If you're looking for more creative ways to arrange your pieces, our guide on how to display family photos is packed with inspiration for creating beautiful gallery walls.
Don't be afraid to test a few different spots. Hold the canvas up against a few walls and see how it feels in the space. Think about the room's color palette and your existing furniture—you want it to feel like it belongs. After all, a well-placed canvas doesn't just decorate a wall; it pulls the whole room together.
Got a Few More Questions About Canvas Prints?
Even after getting the hang of how to transfer photos to canvas, a few questions might pop up. That’s completely normal! Ordering a custom piece for the first time can feel a little daunting. Let's walk through some of the most common things people ask, so you can order with total confidence.
What’s the Best Resolution for a Big Canvas?
A great rule of thumb is to shoot for at least 100-150 pixels per inch (PPI) for whatever size you're printing. So, if you're dreaming of a 16x20 inch canvas, a photo that's at least 1600x2000 pixels will look fantastic.
The good news? You don't have to be a math whiz. Most printing websites will give you a "low quality" heads-up if your photo is too small for the canvas size you’ve picked.
Pro Tip: Never ignore those automated quality warnings! They're your safety net against a blurry, pixelated print and are absolutely crucial when you transfer photos to canvas.
Seriously, that little alert can be the difference between a "wow" moment and a "whoops" moment.
Can I Really Use a Photo from My Phone?
You bet! The cameras on modern smartphones are shockingly good. They capture more than enough detail for even some of the larger canvas sizes.
The secret is to always use the original file—the one straight from your phone’s camera roll.
Don't pull the picture from social media or have a friend send it to you through a messaging app. Those platforms squash the file size to save space, and that compression absolutely kills the quality you need for a good print.
How Do I Keep My Canvas Print Clean?
Canvas prints are tough, but they do need a little TLC to stay looking sharp. Here’s the lowdown on keeping yours dust-free:
- Gently wipe the surface with a soft, dry, lint-free cloth every now and then.
- Stay away from chemical cleaners, water, or anything abrasive. These can wreck the ink and the canvas fabric for good.
- If you've got some stubborn dust, you can use a super soft-bristled brush to very lightly flick it away.
How Long Is This Thing Going to Last?
A well-made canvas print can easily last for decades without fading, especially if you hang it out of direct sunlight. It all comes down to the quality of the materials.
Look for printers who talk about using archival-quality inks and a UV-resistant protective coating. Those two features are the signature of a durable piece of art that you'll be enjoying for years and years to come.
Ready to turn one of your favorite memories into a masterpiece? At everone prints, we make it a breeze to create beautiful, high-quality canvas art that truly lasts.