

Turn Photos Into Canvas Art Your Complete Guide
Ever find yourself scrolling through your phone and stumbling upon a photo that just makes you smile? It could be a candid shot of your kids mid-laugh, a stunning sunset from that one vacation, or a ridiculously goofy picture of your dog. Those are the moments that feel too special to just live on a screen.
This guide is all about taking those cherished digital memories and turning them into beautiful, tangible canvas art that you can hang on your wall.
We’ll walk you through the whole process, from how to pick the absolute best picture to understanding all the cool ways you can customize your canvas. Forget the technical jargon and confusion. We're here to make this fun, simple, and seriously rewarding.
Why Turn a Photo into Canvas Art?
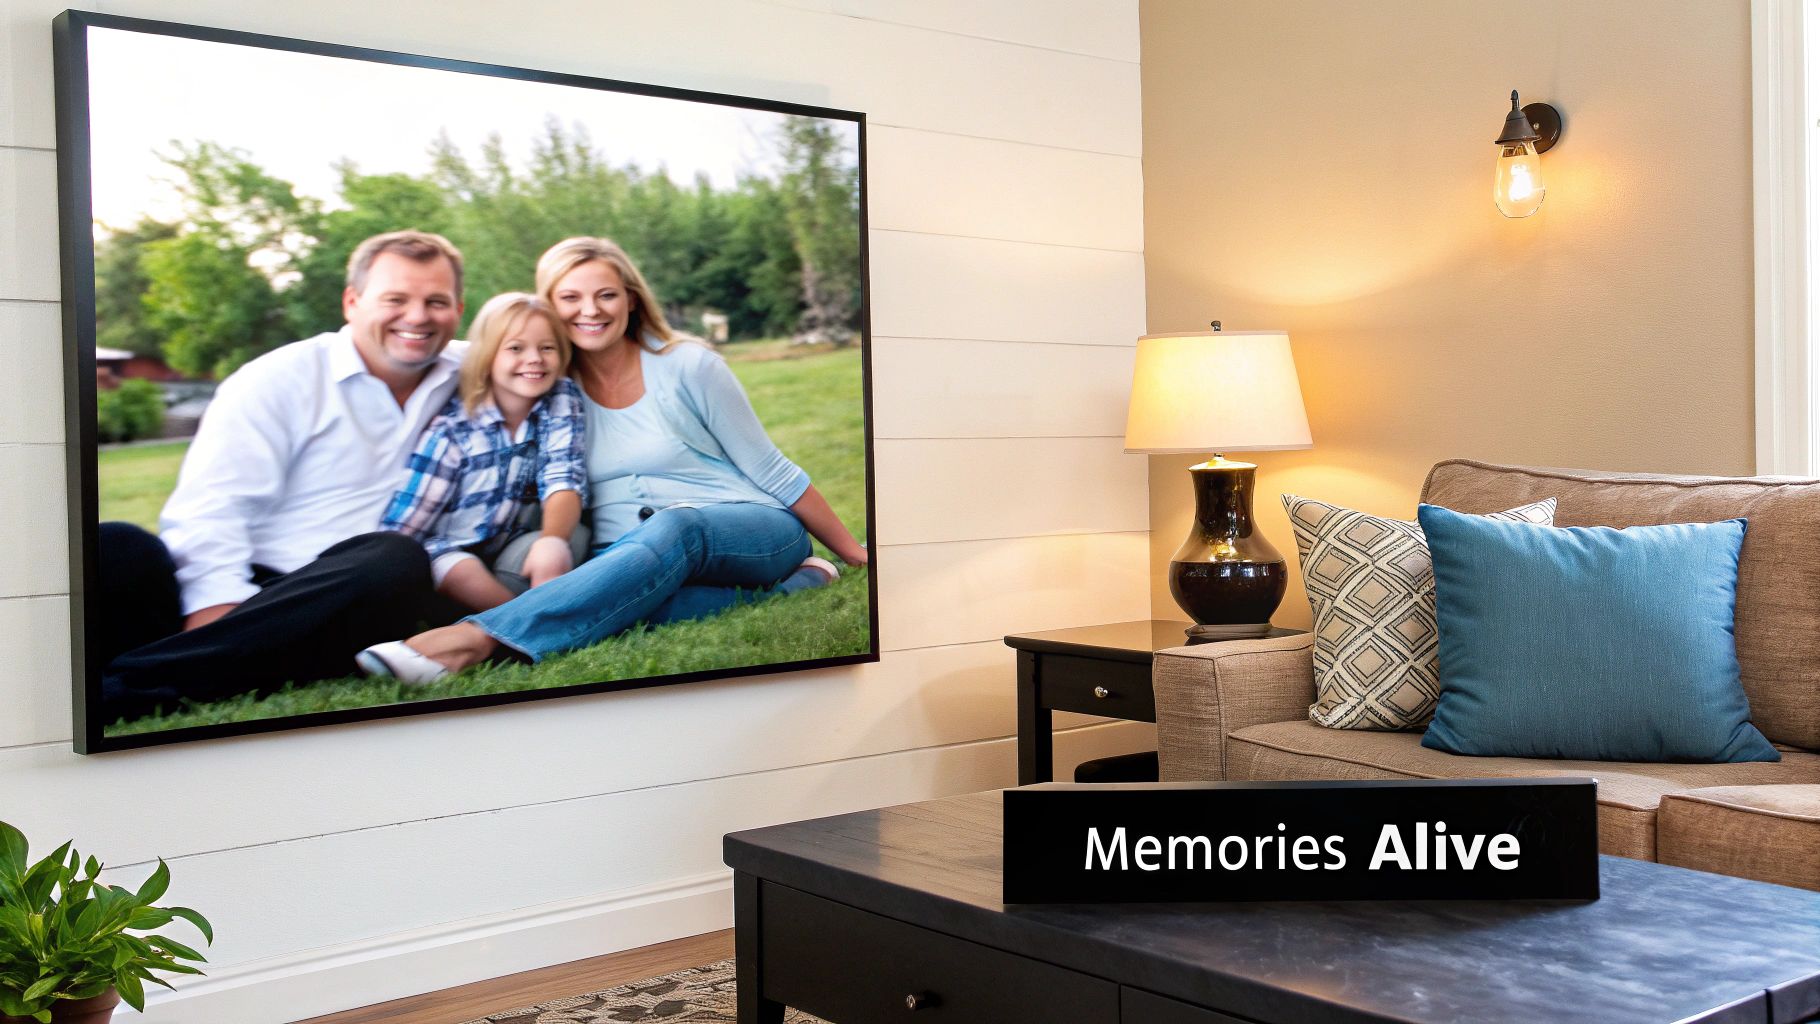
Putting a personal photo on canvas is about so much more than just filling an empty wall; it's a way to celebrate the people, pets, and places you love. The unique, woven texture of the canvas gives your photo a depth and an artistic quality that you just can't get from a standard print. It's a fantastic way to create a personal focal point in any room—from the living room to your home office.
And you're not alone in wanting more personal decor. The desire for unique home decor is booming.
In fact, the global wall art market is projected to skyrocket from $68.9 billion in 2025 to over $130.2 billion by 2035. This huge jump is all thanks to people like us who want decor that actually tells our story. You can explore more about the wall art market trends if you're curious.
This guide will give you all the confidence you need to create something truly special. Let's get started on turning those favorite moments into timeless keepsakes you'll love for years. You can also learn more about creating custom art from photos in our detailed article.
Finding the Perfect Photo for Your Masterpiece
Not every photo is destined to become canvas art, and that’s perfectly fine. The real secret is knowing how to pick an image that will look absolutely incredible when it’s hanging on your wall, larger than life. It all really comes down to three things: the technical quality of the file, how the shot is composed, and the emotional chord it strikes with you.
We've all been there—a photo looks amazing on our phone, but when we try to print it big, it's a huge letdown. The usual suspect? Resolution. To get that crisp, gallery-worthy look, you need a high-resolution image. Think of it like a mosaic: the more tiny tiles (or pixels) you have, the sharper and more detailed the final picture will be.
Most modern smartphones actually take fantastic photos with more than enough pixels for a beautiful print. The key is to always use the original file. Photos you’ve saved from social media or that have been sent through messaging apps are almost always squashed down in size, losing the vital data that keeps them from looking blurry when enlarged.
Technical Quality is Non-Negotiable
Before you get too attached to a photo for your wall, give it a quick tech check. Pull it up on your computer and zoom way in. Do you see sharp, clear details, or does it dissolve into a blocky mess? If the details hold up, you’re probably in good shape.
Professional printers aim for 300 DPI (dots per inch) for the best results, but honestly, you can often get a stunning print with 150 DPI. Don't get bogged down by the numbers; most online canvas services are smart enough to warn you if your photo's resolution is too low for the size you want.
If you want to give your photo an extra boost, running it through a photo enhancer tool before uploading can make a real difference. These tools are great at improving sharpness and clarity. And if you're trying to use a picture from social media, check out our guide on the challenges of https://everone.shop/blogs/news/printing-photos-from-instagram for some extra tips.
This handy little graphic breaks down what makes a photo a great candidate for canvas printing versus one that might not work out so well.
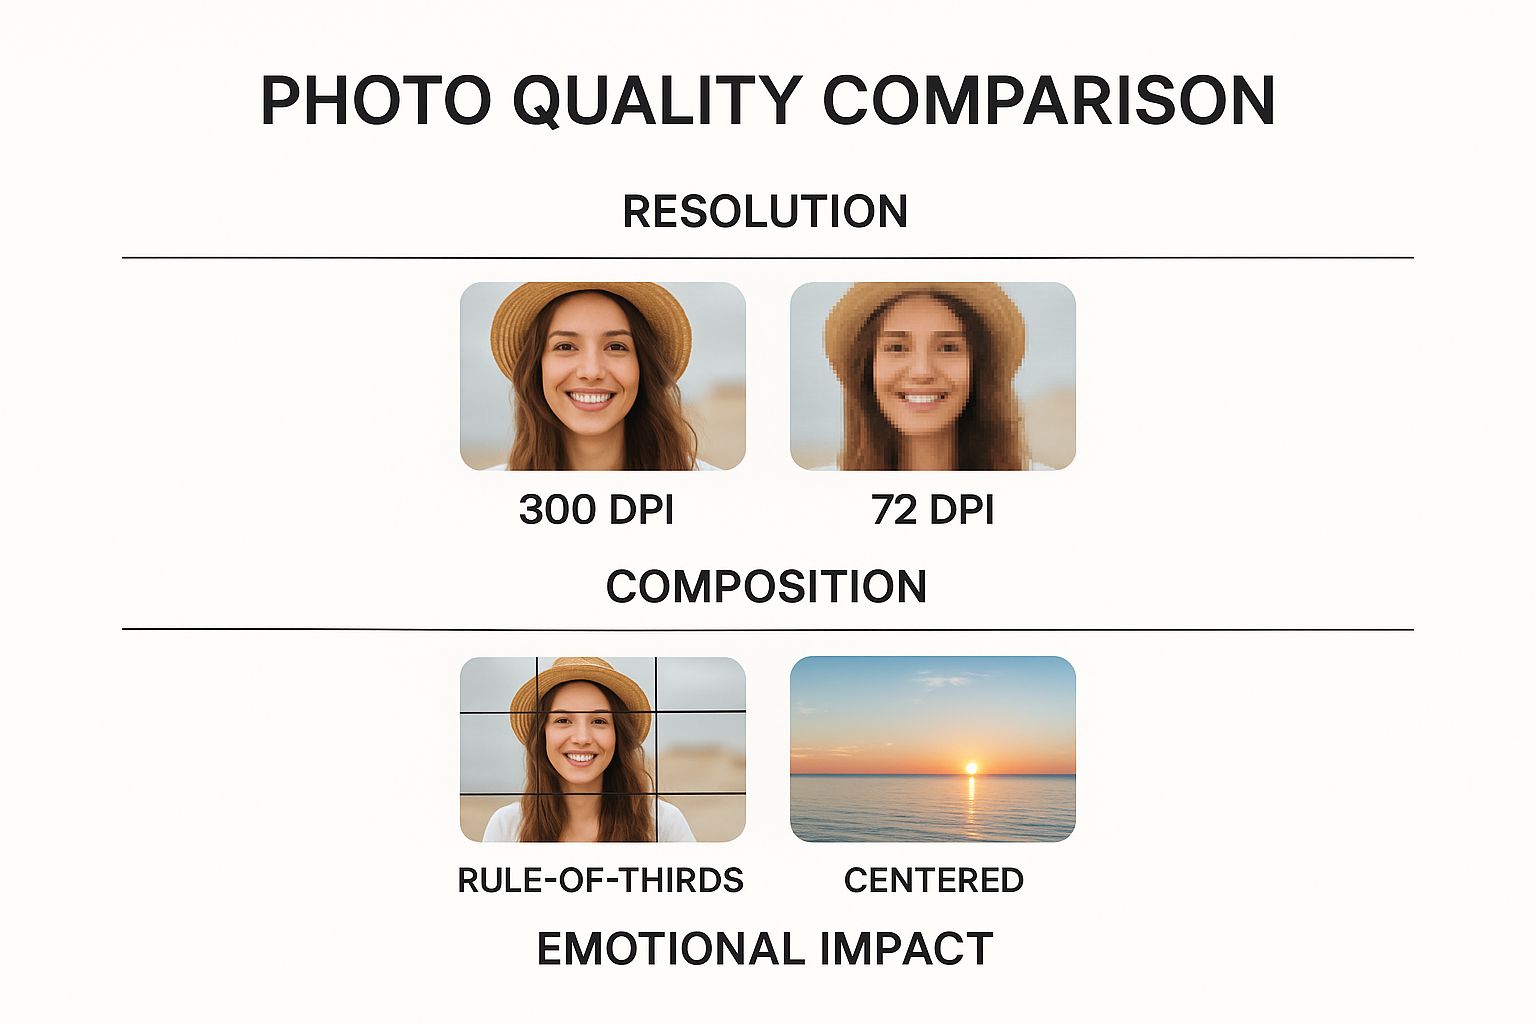
As you can see, starting with a high-quality photo that has a strong composition and personal meaning is the recipe for a perfect canvas print.
Composition and Emotional Impact
Once you’ve got the technical side sorted, it’s time to think like an artist. A well-composed photo just feels right. It draws your eye in and creates a sense of balance, which is especially important on a large canvas.
The "rule of thirds" is a classic guideline for a reason. Imagine a tic-tac-toe grid over your image. Placing your main subject along one of the lines or at an intersection, rather than dead center, almost always creates a more dynamic and visually interesting shot.
But at the end of the day, the most important thing is how the photo makes you feel. Pick an image that tells a story, brings back a cherished memory, or just makes you smile.
A photo that sparks joy or nostalgia will always be the best choice. It transforms from a simple decoration into a meaningful piece of personal history, making your space truly your own.
Whether it’s a breathtaking sunset from a vacation you’ll never forget or a timeless black-and-white portrait of your family, that emotional connection is what turns a piece of canvas into a true masterpiece.
Alright, you've picked the perfect photo! Now for the fun part: turning that digital file into a real-life piece of art for your wall. This is where you get to play designer and decide on the details that give your canvas its character—the texture, the finish, and how it will sit on the wall.
These choices are what separate a simple print from a stunning piece of decor.
And you're not alone in this creative process. More and more people are choosing to turn photos into canvas art, and it's a booming trend. In fact, the global market for canvas frames is expected to jump from $4.8 billion in 2025 to over $7.0 billion by 2032. That's a lot of custom art! If you're curious, you can read more about canvas frame market projections and see just how popular this has become.
With so many people getting into it, the options have really expanded. Let's walk through the most important choices you'll make.
What’s Your Canvas Made Of?
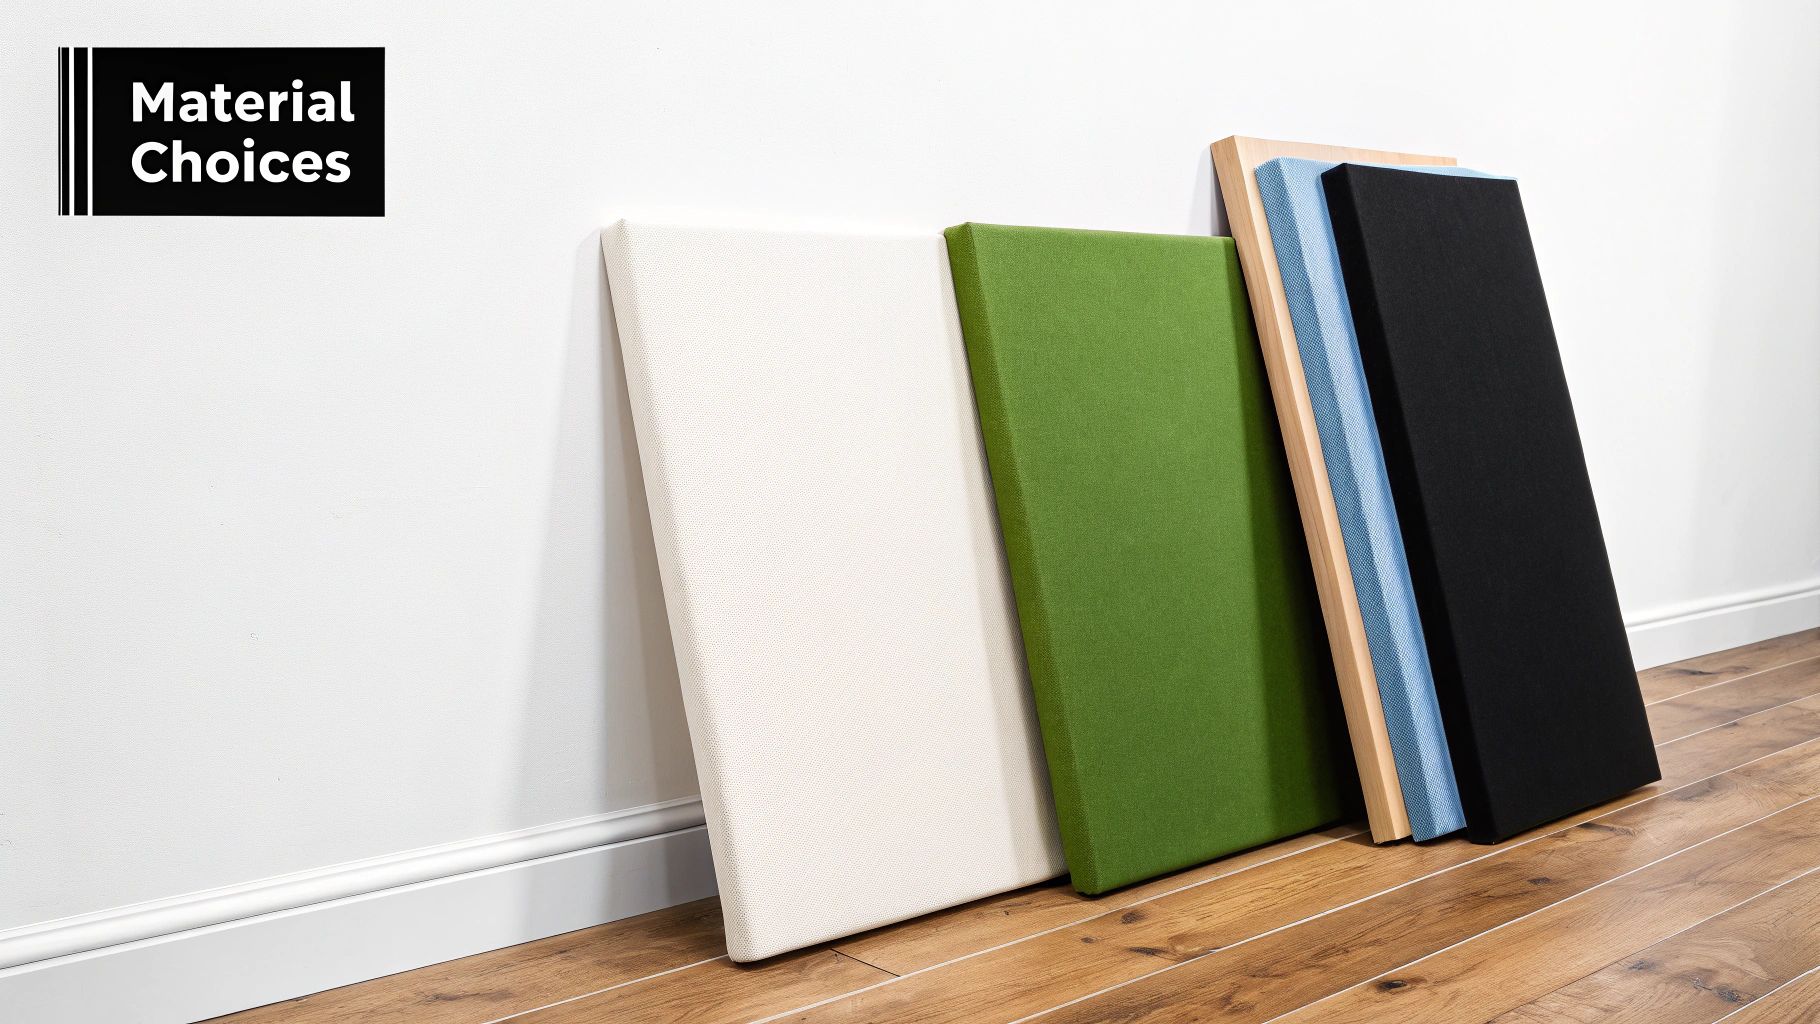
The fabric you choose is the foundation of your print. It directly affects how colors appear and the overall texture of the piece. You'll mainly see two options: cotton canvas or a polyester blend.
- Cotton Canvas: Think of this as the classic, traditional choice. Artists love it for its natural, textured feel. It gives photos a slightly softer, warmer finish that feels genuinely artistic. If you're printing a family portrait or a vintage-style photo, cotton adds a beautiful, timeless quality.
- Polyester Blend Canvas: This is the modern workhorse. Polyester blends are incredibly durable and consistent, which means they can produce super sharp details and really vibrant colors. For a photo of a dramatic landscape or a colorful sunset, a poly-blend will make those colors jump right off the wall.
How Should the Edges Be Wrapped?
The "wrap style" is all about what happens to the edges of your canvas as it's stretched over the wooden frame. This detail is more important than you might think, as it defines the final presentation of your artwork.
A common mistake I see is people focusing only on the front of the canvas and completely forgetting about the sides. The edge style can make or break the final look, so it’s worth a moment of thought!
Here are the two main styles you'll need to choose from:
- Gallery Wrap: With a gallery wrap, your image continues right around the sides of the frame. This creates a clean, modern, 3D effect that looks fantastic hanging on its own, no frame needed. Just be careful! Make sure no important details—like someone’s face—are too close to the edge of your photo, or they might end up on the side.
- Museum Wrap: This style keeps your entire image on the front surface. The sides are then finished in a solid color, usually white, black, or sometimes a color sampled from the photo itself. A museum wrap is the way to go if you think you might want to add a traditional decorative frame down the line.
Ultimately, the choice between a gallery and museum wrap is all about your personal style. Do you want a bold, frameless statement, or do you prefer a classic, clean border with the option to frame it later?
To make it even easier, here's a quick rundown to help you compare your options at a glance.
Canvas Material and Wrap Style Comparison
| Feature | Cotton Canvas | Polyester Blend Canvas | Gallery Wrap | Museum Wrap |
|---|---|---|---|---|
| Look & Feel | Traditional, artistic, soft matte finish | Modern, sharp details, vibrant colors | Seamless, 3D effect, frameless | Clean border, full image on front |
| Best For | Portraits, fine art, vintage photos | High-contrast, colorful landscapes | Modern decor, ready-to-hang art | Traditional decor, adding a custom frame |
| Durability | Good, but more susceptible to moisture | Excellent, resistant to moisture/fading | Durable, but corners can be prone to scuffs | Very durable, sides are protected |
| Framing | Can be framed, but often left bare | Can be framed, but often left bare | Not intended for an outer frame | Ideal for adding a decorative outer frame |
This little chart should help you lock in the perfect combination of material and wrap style to bring your photo to life exactly how you envisioned it.
Placing Your Order with Confidence
Alright, this is where the magic really happens. You’ve picked the perfect photo, and now it’s time to turn it into a beautiful piece of art for your wall. The online ordering process can seem like it has a million buttons and options, but don't worry. I’ll walk you through it so you can feel completely sure about every choice you make.
https://www.youtube.com/embed/ay73JykrUmg
The ability to do this from your couch is a huge deal. It’s part of a massive change in how we buy art, with the global online art market valued at around $11.09 billion in 2024. This growth is all thanks to people like us who want to turn photos into canvas art without the hassle or high cost of a traditional gallery. You can discover more insights about the online art market's growth if you're curious about this trend.
Getting Your Image Uploaded and Positioned
First things first: get that high-resolution image file onto the website. Most sites make this super easy with a big "Upload" button or a drag-and-drop box. Once it’s loaded, you’ll get a digital preview of your photo on a canvas.
This preview tool is your new best friend—seriously. Spend some time here. Zoom in, drag the image around, and see how different crops look. Pay really close attention to how your photo fits the canvas shape you chose. Are you accidentally cutting off someone’s arm? Is the beautiful sunset perfectly centered? What you see in this preview is a direct reflection of what will arrive at your door, so get it just right.
My Advice: Always check the edges of the preview, especially if you picked a gallery wrap. You want to make sure no important details—like the top of a person's head or a key part of the scenery—are getting folded over the side of the frame.
Fine-Tuning with Customization Options
Once you've nailed the composition, you'll usually get a few extra options to add that final professional polish.
- Color Correction: See if there's an option for color enhancement. If your original photo feels a bit dark or the colors seem muted, a quick, automatic correction can make your image come alive.
- Minor Touch-Ups: For portraits, some companies offer little fixes like red-eye removal or even getting rid of small blemishes for an extra fee. It can be well worth it.
- Black & White or Sepia: Looking for a classic, timeless vibe? Most tools let you convert your photo to black and white or sepia with just one click. It’s an easy way to give your image a completely different feel.
The Final Review Before You Buy
You’re almost done! Before you get too excited and click "Add to Cart," pause and do one last careful check of everything. This quick final review is the key to avoiding any "oops" moments when you unbox your canvas.
- Confirm the Size: Is it 16x20 or 20x30? It’s an easy mistake to make. Double-check that the dimensions are exactly what you need for your wall. If you're having second thoughts, you can always check out our guide on choosing a custom canvas size.
- Check the Wrap Style: Did you want the photo wrapping around the edges (gallery wrap) or solid-colored sides (museum wrap)? Make sure the preview shows what you intended.
- Review the Crop: One last look at the positioning. Does the main subject have enough breathing room? Is everything straight?
Once you’ve given these details a final nod, you're ready to check out. Taking a moment for this review ensures that the process to turn photos into canvas art ends with a piece you’ll absolutely love for years to come.
Displaying Your New Canvas Like a Pro
The moment you’ve been waiting for is here—unboxing your custom canvas art. Now for the fun part: finding the perfect spot to show it off. It’s more than just putting a nail in the wall; with a few thoughtful touches, you can make your new artwork a true centerpiece that tells your story.
It really comes down to location, height, and lighting. Getting these right will take your print from a simple picture to an integral part of your home's decor.
Finding the Perfect Spot
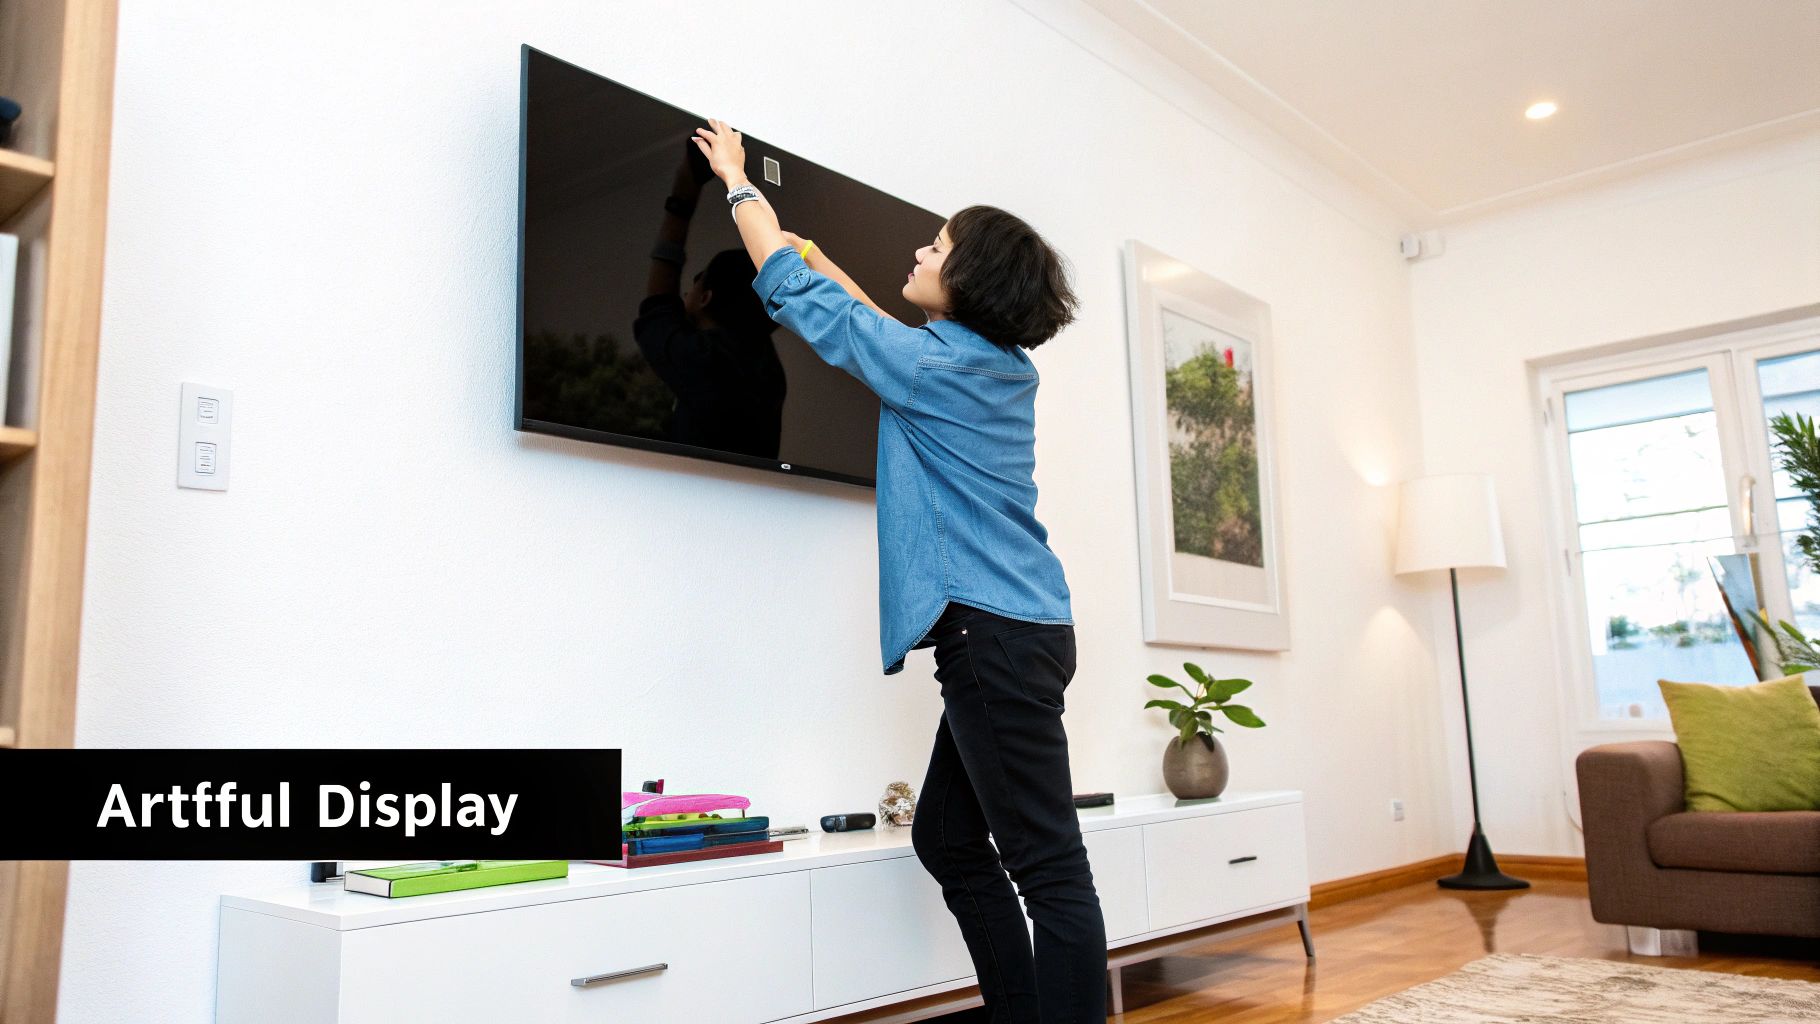
First thing's first: where will your new canvas live? A good rule of thumb, borrowed straight from art galleries, is to hang a piece so its center is at eye level. For most people, that’s somewhere between 57 and 60 inches off the floor. This just feels right and stops you or your guests from having to look up or down too much.
Of course, rules are made to be broken. If you're hanging the canvas above a piece of furniture, like a sofa or a headboard, a different guideline applies. Position it about 6 to 8 inches above the top of the furniture. This little bit of spacing creates a visual link, making the art and the furniture feel like a cohesive pair instead of two random objects on a wall.
Don’t just default to the living room! Hallways, home offices, and even kitchens can be amazing spots for personal art. A stunning canvas can inject personality and warmth into just about any corner of your house.
Creating a Stunning Gallery Wall
Why have just one when you can have a whole collection? A gallery wall is a fantastic way to showcase multiple memories and art pieces together. The secret to a great one isn't perfect symmetry, but a sense of balance.
Here are a few tips I've picked up over the years:
- Pick Your Star: Start with your largest or most impactful canvas. Place it slightly off-center and use it as an anchor to build the rest of the arrangement around.
- Keep Your Spacing Consistent: Try to leave about 2 to 3 inches of space between each piece. This gives everything room to breathe and keeps the wall from looking too cluttered or too sparse.
- Mix It Up: A great gallery wall has texture. Feel free to combine your canvas with framed photos, different art prints, or even small decorative items. For more inspiration on tying the whole look together, browse our Home Decor collection.
Long-Term Care for Your Canvas
You've invested in a memory, so let's make sure it lasts. Thankfully, canvas care is pretty simple, but it’s crucial for keeping those colors looking vibrant for years to come.
The biggest threat to any print is direct sunlight. UV rays are notorious for causing inks to fade over time, so try to hang your canvas on a wall that isn’t blasted with sun all day. When it comes to cleaning, a gentle dusting with a soft, dry cloth is all it takes. Steer clear of water or any chemical cleaners, as they can easily damage the canvas surface. With just a little bit of care, your art will stay as beautiful as the day you got it.
For more great ideas, check out our other post on turning photos into wall art.
Still Have a Few Questions? Let's Clear Things Up
Even after walking through the steps, it's totally normal to have a few more questions pop up. When you decide to turn photos into canvas art, you want it to be perfect. Trust me, you're not the only one who gets stuck on the finer details.
Let's tackle some of the most common questions I hear all the time. I'll give you clear, straightforward answers so you can feel completely confident as you put the finishing touches on your new masterpiece.
What Resolution Do I Really Need?
This is, without a doubt, the number one question. And for good reason—it's the key to getting a crisp, clear print instead of a blurry mess.
For a great-looking canvas, you should aim for an image with at least 150 DPI (dots per inch) when sized up to your final print dimensions. If you want to get into professional territory, the gold standard is 300 DPI.
So, what does that actually mean? Let's take a popular size, like a 16x20 inch canvas. For that, your photo should be at least 2400x3000 pixels.
Don't let the numbers intimidate you. Most modern smartphones capture photos well above that resolution. The single most important thing to remember is to always use the original, full-size image file right from your camera or phone. Never, ever use a version you saved from social media or that a friend sent you over a messaging app. Those get compressed and will look fuzzy when you try to blow them up.
How Long Will My Canvas Print Actually Last?
The lifespan of your canvas comes down to one thing: the quality of the materials. A high-end, archival-grade canvas printed with UV-resistant inks can easily hang on your wall for over 100 years without any real fading. It’s pretty amazing.
On the flip side, a cheaper print made with lower-quality stuff might start looking washed out in just 5 to 10 years.
To make sure your memories stay as vibrant as the day they were captured, keep an eye out for these terms when you're ordering:
- Archival Quality: This is industry-speak for "built to last."
- Giclée Printing: A fancy term for a top-tier printing method that uses pigment-based inks, giving you incredible color and longevity.
- UV-Protective Coating: Think of this as sunscreen for your artwork. It's a clear finish that shields the print from damaging light.
A simple, no-cost tip? Just keep your canvas out of direct, harsh sunlight. That alone will do wonders to preserve its color for decades.
Can I Use a Photo From My Phone for a Big Canvas?
Yes, absolutely! It’s a huge myth that you need some expensive, professional DSLR camera to create a large, stunning canvas print. The cameras packed into newer smartphones are seriously powerful and are more than capable of producing images that look incredible in a large format.
For example, a photo taken with a standard 12-megapixel camera can typically be printed up to 20x30 inches without you noticing any real loss in quality. The secret is always starting with that original, uncompressed file.
Most good printing websites have a built-in quality checker. This tool is your best friend. It will automatically flag your photo if the resolution is too low for the canvas size you've chosen, which saves you from that gut-wrenching disappointment when your art arrives looking pixelated.
Ready to turn your favorite memories into art that lasts? At everone prints, we make it easy to create high-quality, archival canvas prints you'll love for a lifetime. Start creating your custom canvas today!