

Transform Your Memories: Turning Photos into Canvas Art
Have you ever scrolled through your camera roll and thought, "That picture deserves more than just being on my phone"? Taking those special moments and turning them into beautiful canvas art is one of the best ways to bring them to life right inside your home.
It’s about more than just printing a photo. You’re creating a tangible piece of your story, something that adds real warmth and personality to a room. This guide is here to walk you through it all, with practical tips to make the process easy and rewarding.
Why Canvas Prints Are a Great Choice
Choosing canvas gives your photos a professional, gallery-quality feel that just can't be matched by a standard paper print.
- Built to Last: Canvas is a tough material. Unlike paper prints that can easily tear or fade, a good canvas print holds its color and resists damage, preserving your memories for decades.
- A Classic, Textured Look: The unique texture of canvas adds depth and an artistic touch, giving your photos a timeless elegance that works with any decor style, from minimalist modern to cozy rustic.
- Completely Your Own: You’re in the driver's seat. You get to pick the photo, the size, the wrap style, and the finish, making sure the final piece is a true reflection of you.
This isn’t just a niche hobby; it’s a huge and growing trend. The global wall art market was valued at a massive USD 63.61 billion in 2024 and is expected to keep climbing. That just goes to show how many people are falling in love with personalized decor.
The real magic happens when a digital file becomes a physical object you can see and touch every day. It transforms a fleeting moment captured on a screen into a permanent part of your home’s story.
We're going to cover everything you need to know, from picking the perfect picture to making a few simple edits that will make your final print pop. Whether it’s a stunning landscape from your last vacation or a goofy picture of your dog, you'll learn exactly how to turn it into a work of art.
If you want a quick look at the steps involved, our guide on https://everone.shop/blogs/news/how-to-make-canvas-prints is a great place to start.
Choosing the Perfect Photo for Your Canvas
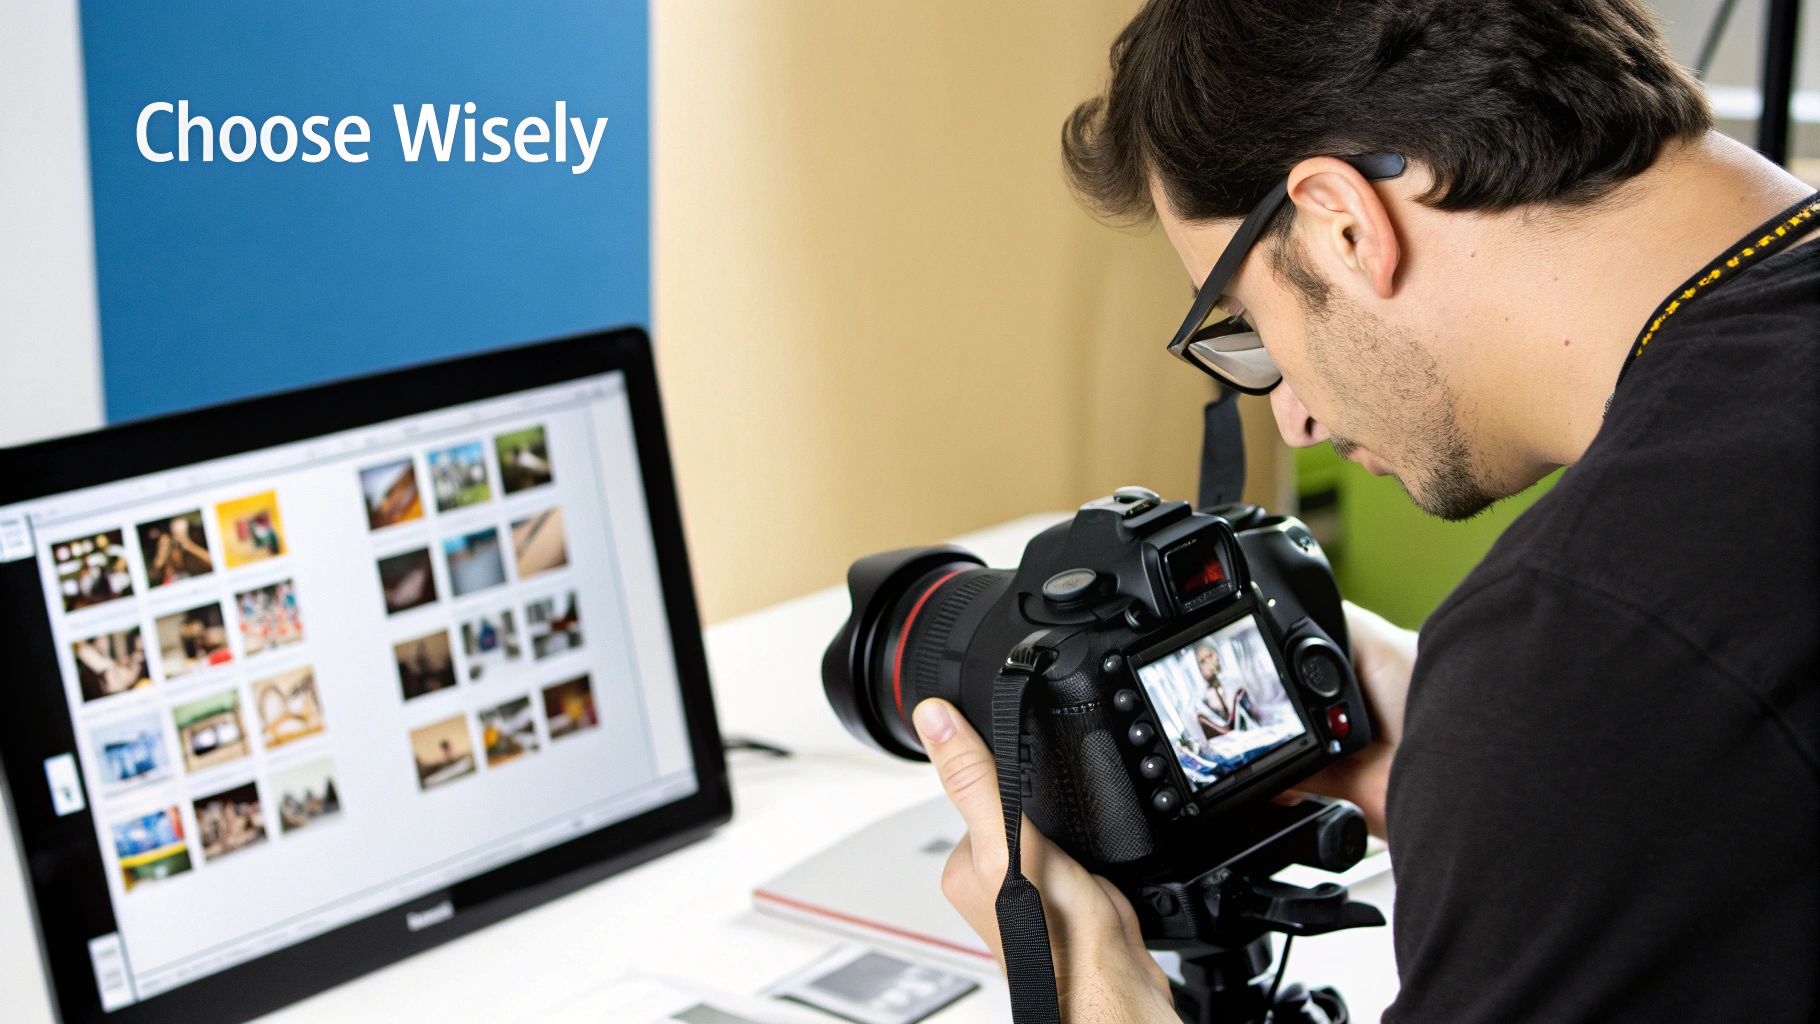
The secret to creating canvas art that truly wows doesn't start at the printer. It starts with the photo you choose. Let's be honest, not every picture is meant to be blown up and hung on a wall, and picking the right one makes all the difference.
Two things matter more than anything else: resolution and composition.
Get the Technical Stuff Right: Quality and Composition
Think of resolution as the raw material for your print. If you start with a low-resolution image, it's like trying to build a big, beautiful house with only a handful of bricks. When you stretch it out, it's going to look blurry, blocky, and just plain disappointing.
For a sharp, gallery-worthy print, you absolutely need a high-resolution file. The good news? Photos taken with most modern smartphones or any DSLR camera are usually more than enough to get the job done.
Beyond the technical bits, take a hard look at the photo itself. What's the main focus? A picture of your golden retriever sitting in a field of wildflowers works beautifully because your eye goes right to him. But a photo with a cluttered, busy background can become a real eyesore when it's hanging over your couch.
Good lighting is non-negotiable. Photos that are too dark or completely washed out will only look worse on canvas. Hunt for images with balanced light, vibrant colors, and crisp details. If you're scrolling through your social media feeds for inspiration, be careful. Those platforms often shrink file sizes, so it's a good idea to understand the challenges of printing photos from Instagram before you fall in love with a compressed image.
The best photos for canvas prints always have a story or an emotional spark. A candid moment of laughter, a breathtaking landscape from a memorable trip, or a cherished family portrait will resonate so much more than a technically perfect but lifeless shot.
To help you nail down the perfect shot, I've put together a quick checklist. Run your potential photos through this list to see if they're ready for their big debut.
Quick Photo Selection Checklist
| Check | What to Look For | Why It Matters |
|---|---|---|
| Sharp Focus | Is the main subject crisp and clear? Zoom in to check for blurriness. | Soft focus gets magnified on a large canvas, making the whole image look low-quality. |
| High Resolution | Is the file size large (at least 1-2 MB)? Avoid screenshots or saved social media pics. | Higher resolution means more detail and a sharper print, preventing that dreaded pixelated look. |
| Good Lighting | Is the photo well-lit without being too dark or washed out? Look for balanced tones. | Canvas can't fix poor lighting; shadows will look darker and highlights can appear blown out. |
| Strong Subject | Does the photo have a clear focal point that draws you in? | A defined subject prevents the artwork from looking chaotic or confusing on your wall. |
| Emotional Connection | Does this photo make you feel something? A smile, a sense of peace, or nostalgia? | You'll be looking at it every day, so choose an image you truly love and connect with. |
Ultimately, a photo that passes these checks is well on its way to becoming a piece of art you'll be proud to display.
The infographic below dives a bit deeper into the technical side, covering everything from the ideal resolution (measured in DPI, or dots per inch) to the materials that will make your photo pop.
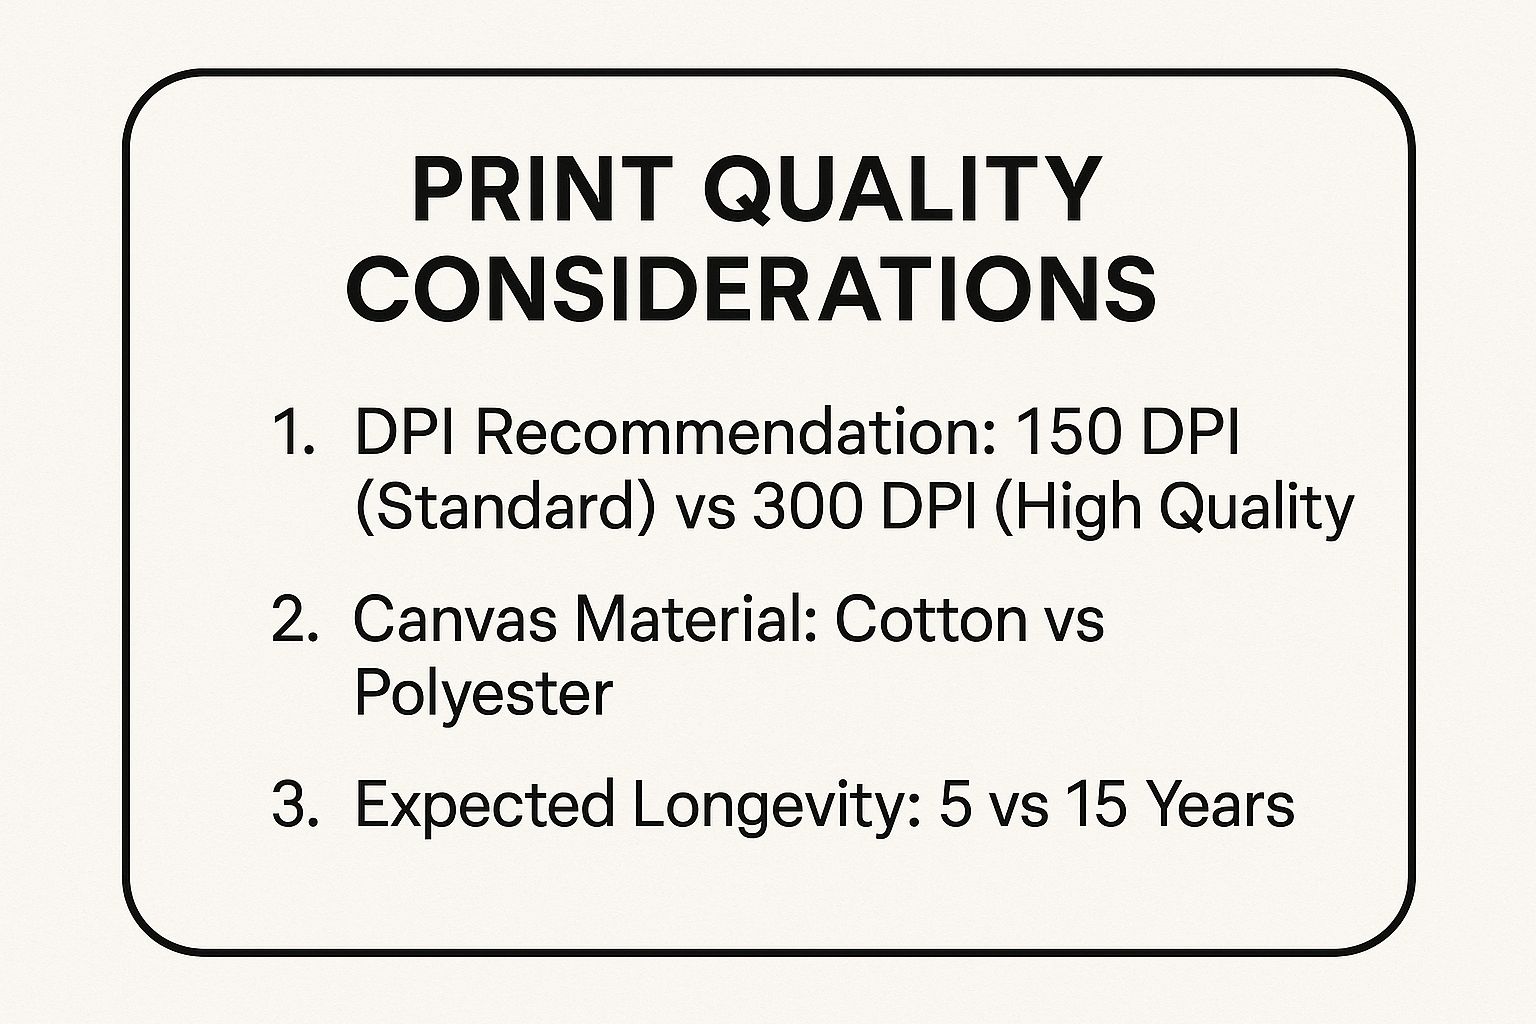
As you can see, investing in higher-quality settings and materials from the start can dramatically boost the visual impact and lifespan of your finished canvas. It’s worth it.
Give Your Photo a Quick Polish
You don't need to be a professional photographer to give your pictures that "wow" factor. A few small tweaks can take a snapshot from your phone and make it look like it belongs in a gallery. The idea here isn't to overhaul the image, but to simply enhance its best qualities so it shines when printed on canvas.
Honestly, the built-in editor on your smartphone or a free app has everything you need. Let’s start with the basics.
- Brightness & Contrast: I almost always start by gently increasing the brightness. It just brings the image to life. Be careful not to go too far, or you'll wash out the details. Then, a tiny bump in contrast will make the colors feel richer and help your subject pop.
- Saturation: Think of this as the color intensity knob. A little truly goes a long way. Nudge it up just enough to make the colors vibrant without looking fake or cartoonish.
- Sharpening: This is the final touch that adds that professional crispness. Sharpening is especially crucial for larger canvas prints where a soft-looking image becomes much more obvious.
Crop for Maximum Impact
Cropping isn't just about cutting things out—it's about perfecting your composition.
Take a look at your photo. Is there a bunch of distracting empty space on one side? Could you create a more powerful focal point by zooming in on your kid's laughing face or the detail in a flower petal?
Also, think about the final canvas size you have in mind. A standard 16x20 canvas is a different shape than a 12x12 square one. Use the crop tool to frame your photo for its final destination. This simple step ensures no surprises happen at the printer, like your uncle's head getting cut out of the family portrait.
The secret to great editing is subtlety. The goal is to make your photo look like the best version of itself, not to slap on a filter that screams "I've been edited!"
If you're looking to take your skills to the next level, it's worth learning a bit more about how to edit photos professionally. Spending just a few extra minutes on these simple adjustments can make an incredible difference in how your final canvas print turns out.
Bringing Your Canvas to Life: Materials and Finishes
Alright, you’ve polished your photo to perfection. Now for the fun part—choosing the physical canvas that will turn your digital file into a piece of art for your wall. This stage is just as critical as the editing because it dictates the final texture, look, and feel of your print.
Cotton vs. Poly-Cotton: What's the Difference?
Your first big decision is the canvas material itself. Most print shops will give you two main choices: 100% cotton or a polyester-cotton blend.
Think of 100% cotton as the traditional, old-school artist’s canvas. It has a beautiful, slightly textured surface that gives your photo a soft, matte finish, lending it a classic, fine-art quality. I find this works wonderfully for portraits and landscapes.
A poly-cotton blend, on the other hand, is a more modern option. It tends to have a tighter weave, which often results in sharper details and more vibrant, punchy colors. If you have a photo with bold, saturated hues, a blend might be the way to go.
A Quick Guide to Wrap Styles and Frame Depth
Next up is how the image actually wraps around the wooden stretcher bars. This detail has a huge impact on how the final piece looks from the side, and it's something people often overlook.
Here are the usual suspects:
- Gallery Wrap: This is my personal favorite for a clean, modern look. The image itself extends right over the sides of the frame, creating a seamless, three-dimensional effect that doesn't need an external frame.
- Mirrored Wrap: A clever solution if you don't want to lose any of your image off the sides. The printer just duplicates the outer edge of your photo, flips it, and uses that for the wrap. The full image stays on the front, but the sides are still fully decorated.
- Solid Color Wrap: Simple and effective. The sides are printed in a single color—usually black, white, or a complementary shade pulled from your photo. This creates a crisp, defined border.
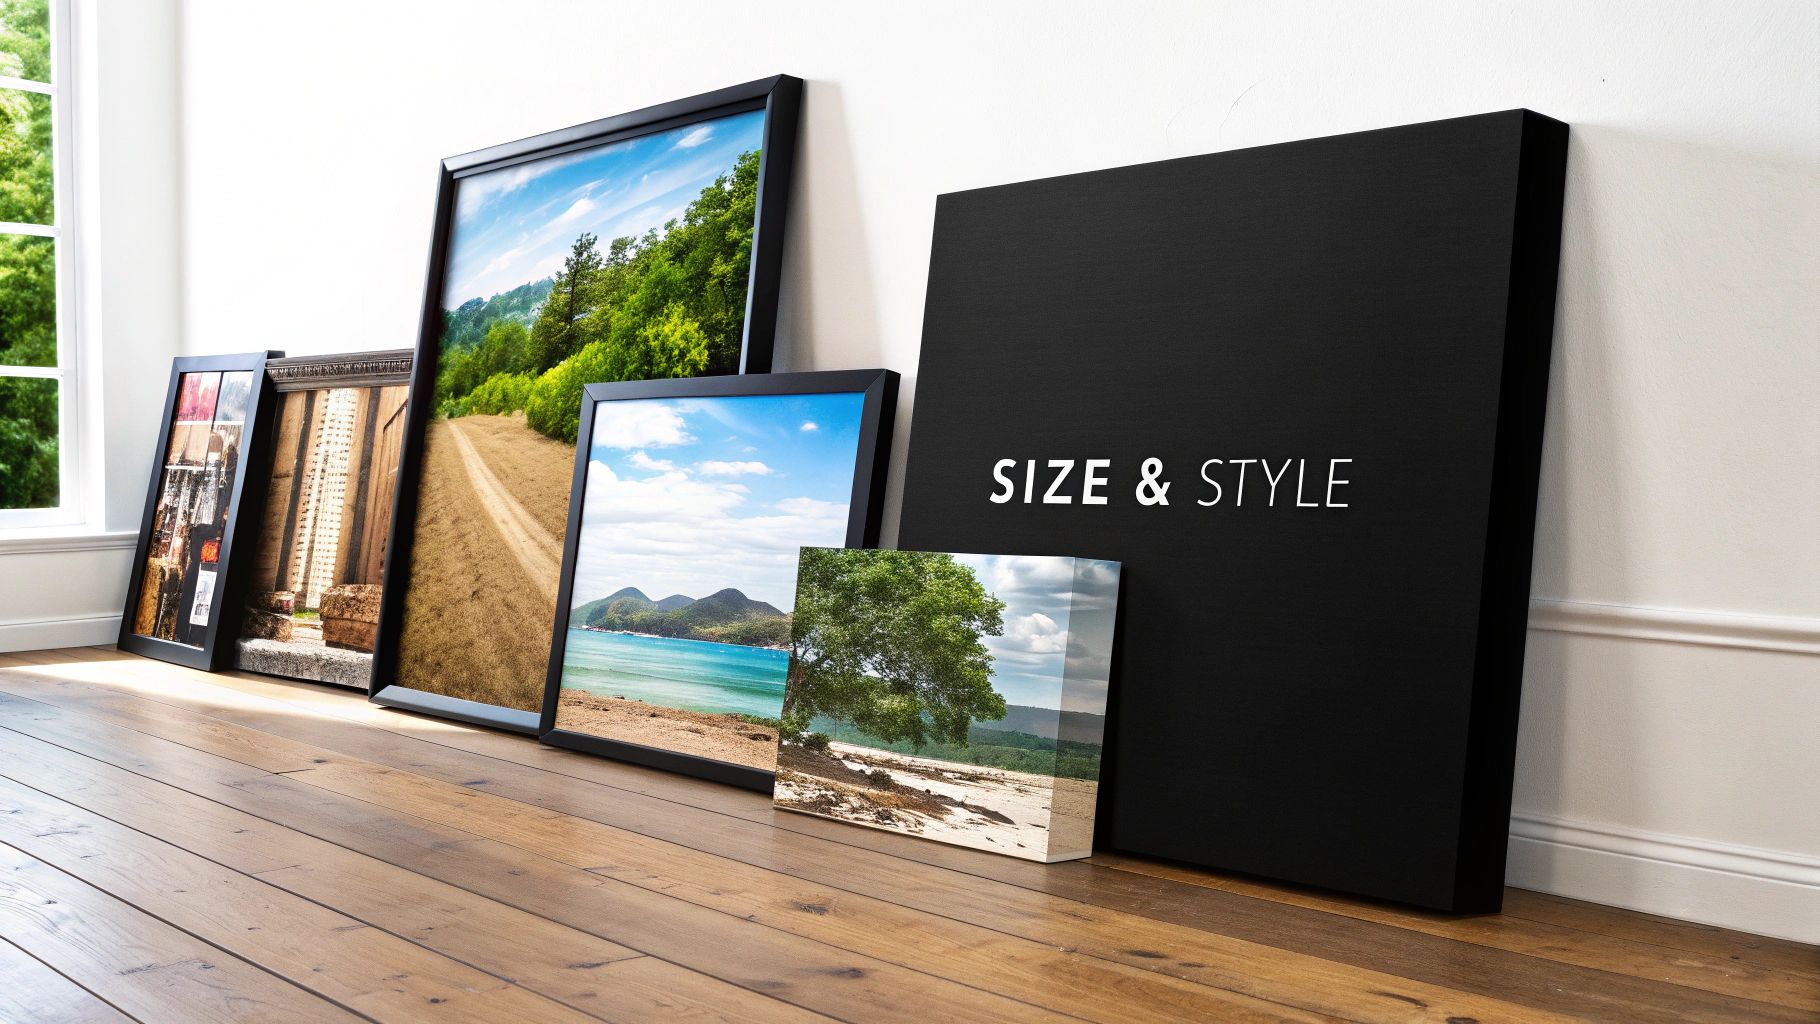
You'll also need to pick a frame depth, which is typically either 0.75 inches or 1.5 inches. A deeper 1.5-inch frame gives the art more weight and presence on the wall—it feels more substantial and professional. A thinner frame is a bit more subtle. There’s no right or wrong answer; it’s all about the look you’re going for.
If you want to see some examples, you can find a great selection of high-quality stretched canvas options that show these different styles.
People are more passionate than ever about making their homes unique. It’s no surprise the wall art market was valued at USD 68.9 billion in 2025 and is expected to hit USD 130.2 billion by 2035. We all want our spaces to feel like ours. Learn more about the expanding wall art market.
Getting Your Canvas Print Order Just Right
You've done the hard work of picking and polishing your photo. Now for the fun part: bringing it to life! This is the moment your digital image starts its transformation into a piece of art for your wall. Let's walk through the final checks to make sure what shows up at your door is exactly what you had in mind.
The single most common pitfall I see is uploading the wrong file. It's an easy mistake to make! Always, always upload the highest-resolution version of your final, edited photo. Grabbing a smaller version you saved for Instagram or an email is the fastest way to get a blurry, pixelated print.
Once your file is uploaded, the online preview tool becomes your best friend. Spend a minute here. Zoom in and make sure your photo is centered and cropped exactly how you want it. Look carefully at the edges—are any important details getting too close to the border where they might be cut off?
Pay special attention to what printers call the 'bleed area.' This is the part of your image that will be wrapped around the sides of the wooden frame. You definitely don't want your uncle's face or the top of a beautiful mountain getting folded over the edge.
Nailing Down the Final Details
With the image perfectly placed, a few quick logistical checks will save you any headaches later. These little things really do make a difference when you're turning personal photos into canvas art.
- Do a Quick Scan: Before you click that final purchase button, give your order one last look. Is the size, material, and wrap style correct? It’s so easy to misclick. If you're second-guessing the dimensions, our guide on choosing a custom canvas size is a great resource to help you decide with confidence: https://everone.shop/blogs/news/custom-canvas-size
- Look for a Guarantee: Does the printing company stand by its work with a satisfaction guarantee? This is a huge plus. It gives you peace of mind knowing you have options if the final product isn't quite right.
- Check the Timeline: Find the estimated delivery window. This is especially important if you're ordering the canvas as a gift for a birthday or holiday. Production and shipping times can really vary between companies.
The desire to turn our personal moments into tangible art is stronger than ever. From cherished family photos to quirky pet portraits, people love seeing their memories on display. In fact, custom pet portraits alone sold over 1,245 units in July 2025, which just goes to show how much we value turning our unique snapshots into something permanent. You can learn more about the latest trends in personalized art.
Hanging and Caring for Your New Masterpiece
Your canvas has finally arrived—congratulations! Now for the fun part: finding the perfect home for it. Where you hang your art can completely change the vibe of a room, so it's worth taking a moment to get it right.
I always suggest looking for a wall that gets a good amount of indirect, natural light. This will make the colors pop beautifully without the risk of fading that comes from harsh, direct sunlight.
Getting the Placement Just Right
When it comes to hanging, there’s a classic interior design trick that works every time. Aim to hang your canvas so the center of the piece is at eye level, which for most people is somewhere between 57 and 60 inches from the floor. This creates a really balanced, natural look that just feels right.
And please, grab a small level before you put that nail in the wall! A slightly crooked canvas can be more distracting than you'd think. It's a tiny step that makes a huge difference.
Keeping Your Canvas Looking Brand New
The good news is that caring for your canvas is incredibly easy. A little bit of attention will ensure your photo art stays vibrant for a lifetime. The main things to watch out for are direct sun, high humidity, and any kind of chemical cleaner. That means a spot far away from a south-facing window or a steamy bathroom is your best bet.
For day-to-day cleaning, a quick dusting is all it needs.
- Stick to a soft, dry cloth. A simple feather duster or a microfiber cloth is perfect for the job.
- Wipe it down gently. There's no need to scrub; just a light pass over the surface will do.
- Say no to moisture and chemicals. Whatever you do, never spray water, glass cleaner, or anything else on the canvas. It can cause stains, warp the frame, or even damage the protective finish and fade the colors you worked so hard on.
And that's it! By following these simple tips, you’re not just putting up a picture—you're preserving a memory. A well-cared-for canvas will bring that personal touch to your space for years and years, turning a digital moment into a lasting piece of your story.
Got Questions About Turning Your Photos Into Canvas Art?
It's totally normal to have a few questions when you're turning a personal photo into a piece of art for the first time. Let's walk through some of the things people often ask, so you can feel completely sure about your order.
Can I Really Use a Photo from My Phone?
Yes, you absolutely can! It’s one of the most common questions we get. The cameras on most modern smartphones are incredibly powerful and capture photos with more than enough detail for a stunning, sharp canvas print, even a large one.
The key is to use the original, full-size file from your phone. Avoid using pictures you've downloaded from social media or received through a messaging app, as those are often shrunk down and lose a lot of their quality.
How Long Will My Canvas Print Actually Last?
Another great question. A well-made canvas print isn't just a temporary decoration; it's a keepsake designed to last for decades. When crafted with archival-quality inks and protected with a UV-resistant coating, your canvas will stand up to the test of time, resisting fading and keeping your memories looking vibrant for a lifetime.
Honestly, the whole process is much easier than most people imagine. If you start with a photo you love and have a good idea of how you want it to look on your wall, you're already 90% of the way there.
Ready to see your own photos transformed into beautiful art? At everone prints, we help you create high-quality, personalized canvas prints you'll love for years to come. You can start your project today and bring your favorite memories to life.