

Best File Format for Printing Photos A Practical Guide
When it comes down to it, the best file format really depends on what you're printing. If you need absolute top-tier quality for a big, professional print, TIFF is the undisputed champion. But for your everyday photos and standard sizes, a high-quality JPEG is your best friend.
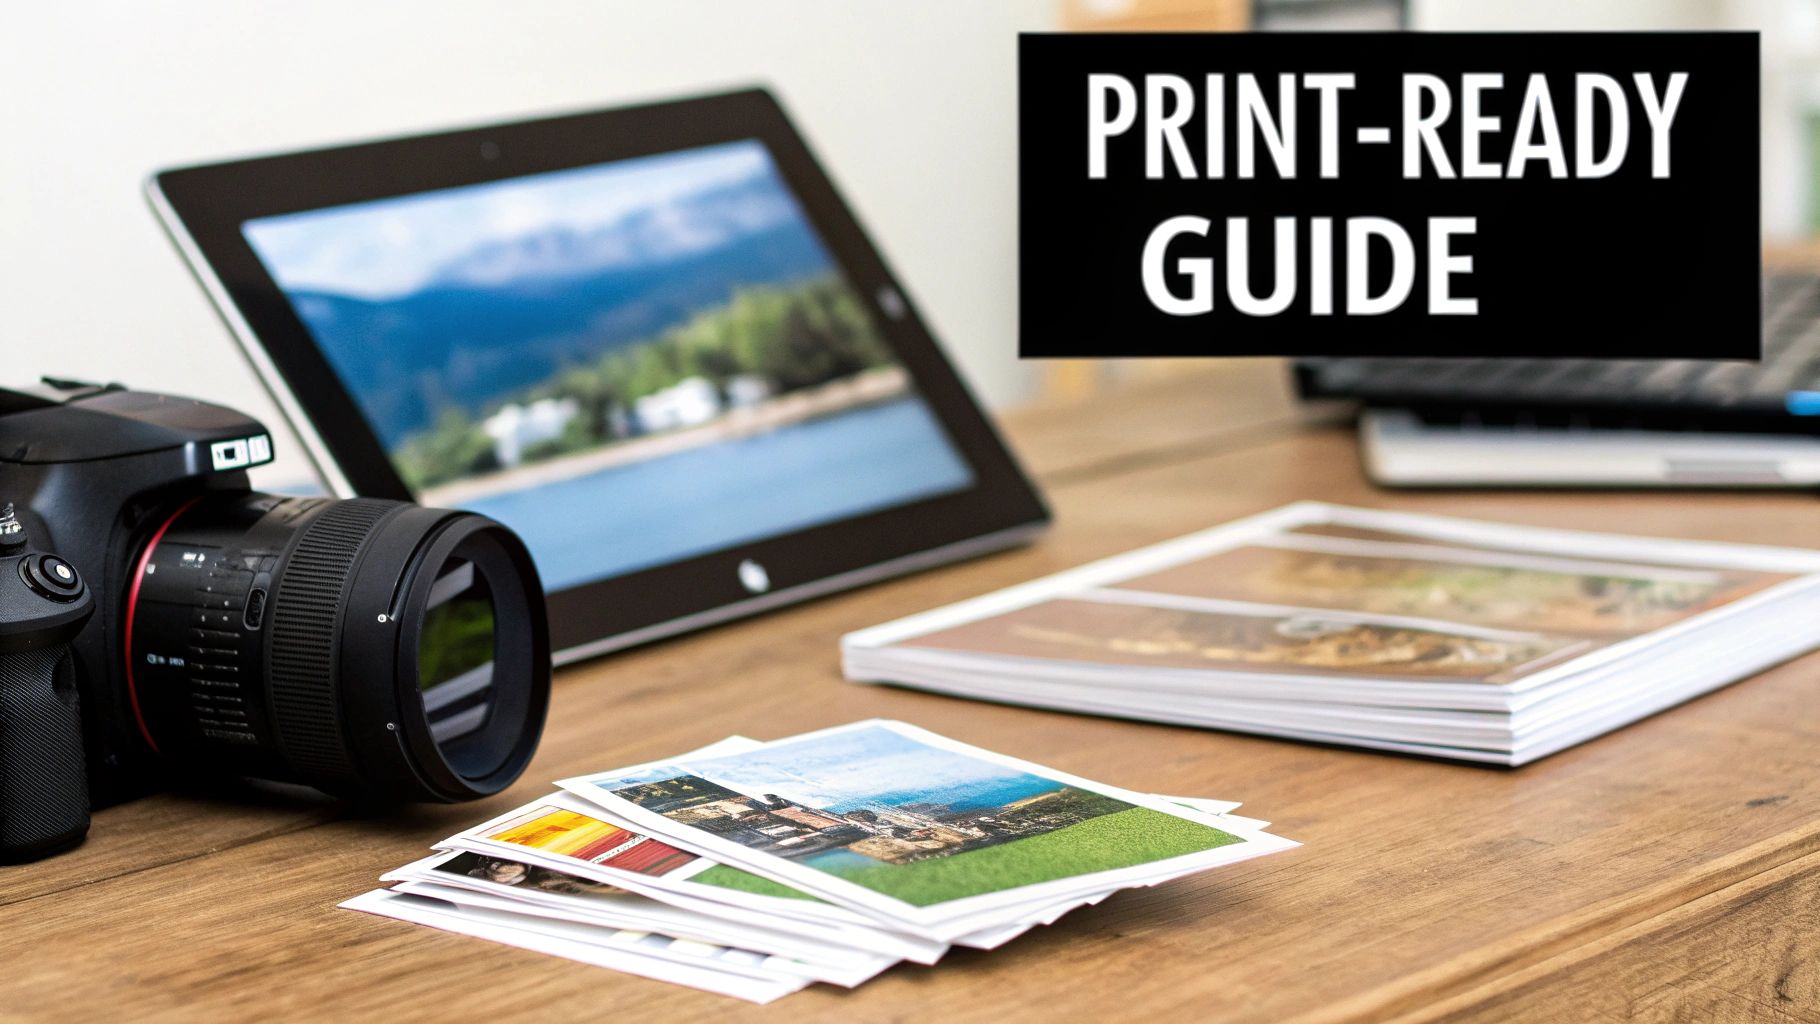
Your Quick Guide to Print-Ready Photo Formats
Choosing the right file format for your photos can feel a bit technical, but I promise it’s simpler than it sounds. It really just boils down to a trade-off between two things: image quality and file size.
Think of it this way: a TIFF file is like a chef's vacuum-sealed container. It perfectly preserves every single ingredient—or in our case, every pixel of data. A JPEG is more like a handy resealable bag; it’s great for everyday use but isn’t designed for flawless, long-term preservation.
This guide will give you the straightforward answers you need to make a quick, confident choice.
Breaking Down the Top Contenders
Let's dive into the most common file formats you’ll come across. Each one has a specific job it’s good at, and knowing their strengths is the key to getting that perfect print every single time.
-
JPEG (Joint Photographic Experts Group): This is the format you see everywhere. It uses what's called "lossy" compression to make files smaller and easier to handle. The trade-off? It sheds a tiny bit of image data every time you save it.
-
TIFF (Tagged Image File Format): This is the go-to for professionals. TIFF files use "lossless" compression, which means they hold onto every single pixel of the original image data. That makes them perfect for high-quality, large-scale printing where detail is everything.
-
PNG (Portable Network Graphics): People often think PNGs are good for printing, but they're really built for web graphics. While they do use lossless compression, they don't support the CMYK color profiles that are so important for professional printing. Plus, their file sizes are usually way bigger than necessary for photos.
The most important thing to remember is this: JPEG offers incredible convenience for smaller prints, while TIFF delivers uncompromising quality for professional results. PNG is almost never the right choice for printing your photos.
If you want to dig a little deeper into the technical side, this article on JPEG vs. PNG for photo printing is a great resource.
A Simple Comparison for Quick Decisions
To make this even easier, I've put together a simple table that cuts through the noise and helps you decide which format to use and when.
Quick Comparison of Photo File Formats for Printing
| File Format | Compression Type | Best For Printing... | Key Takeaway |
|---|---|---|---|
| JPEG | Lossy | Standard photo prints (4x6, 5x7), social media uploads, and projects where file size is a concern. | The versatile, everyday workhorse. Just be sure to use a high-quality setting to minimize data loss. |
| TIFF | Lossless | Large canvas prints, professional posters, fine art reproductions, and archival-quality images. | The ultimate format for quality. It preserves every detail but creates very large files. |
| PNG | Lossless | Web graphics, logos with transparent backgrounds, and illustrations. Not recommended for photos. | Great for digital use, but not optimized for the ink-and-paper world of photo printing. |
So, next time you're ready to print, a quick glance at this table should give you all the confidence you need to pick the perfect format for your project.
Understanding Your Digital Image Files
To get the best possible print, it helps to know a little bit about what’s going on inside your photo file. Don't worry, we'll skip the technical jargon. The most important concept to grasp is compression—which is just a fancy word for how a file is made smaller.
Let's use an analogy. Think of "lossy" compression like making a photocopy of a photocopy. Each time you make a new copy, the image gets a little bit fuzzier and loses some detail. This is how JPEGs work; they cleverly discard tiny bits of data your eyes likely won't miss to create a much smaller file.
Now, imagine duplicating a file on your computer. The copy is a perfect, bit-for-bit clone of the original. That’s "lossless" compression in a nutshell. It’s the magic behind TIFF files, which is why they are the gold standard for professional printing.

Meet the Main Contenders
With that simple idea in mind, let's look at the three file formats you'll run into most often. Each has its own strengths and is built for a specific job. Getting to know them is the first step toward a perfect print.
JPEG: The Universal Standard
The JPEG (Joint Photographic Experts Group) is the most popular image file in the world, and for good reason. It hits that sweet spot between great image quality and a manageable file size. This makes it ideal for everything from storing photos on your phone to sharing online and, yes, for most everyday print jobs.
Its lossy compression is incredibly efficient. When you save a photo as a high-quality JPEG (think a "9" or "10" on a 1-10 scale), the data it removes is almost impossible to spot with the naked eye. That makes it a fantastic, practical choice for your standard photo prints.
TIFF: The Professional's Choice
Think of the TIFF (Tagged Image File Format) as the heavyweight champion of print quality. Because it uses lossless compression, it keeps 100% of the original image data. No compromises, no shortcuts. Every single pixel stays exactly as it was when the photo was taken.
This uncompromised quality makes TIFF the absolute best file format for printing photos when every last detail matters. We're talking large-scale canvas prints, fine art posters, or any image you plan to edit heavily. The only trade-off? All that pristine data means the files are quite large.
PNG: The Web Specialist
Finally, we have the PNG (Portable Network Graphics). While it also uses lossless compression like a TIFF, it was really designed for web graphics, not photographs. PNGs are brilliant for things that need a transparent background, like a company logo you want to place on a website.
For printing photos, however, they aren't the best tool for the job. Their file structure isn't built to handle the professional CMYK color modes our printers use, and they often create unnecessarily large files for photographic images. When it comes to printing your photos, it's best to stick with JPEG or TIFF.
Quality vs. Convenience: The Big Trade-Off
Ultimately, choosing a file format is a balancing act. For decades, the JPEG format has dominated the photo printing market since its creation in 1992, mostly because of its brilliant compression. It offers a "good enough" approach that works beautifully for most people's needs.
Industry data shows that JPEGs saved at a high-quality setting produce sharp, vibrant prints for standard sizes up to 8x10 inches without any noticeable flaws. In contrast, lossless formats like TIFF are reserved for archival or professional projects where file size is no object, as they can be 5-10 times larger than their JPEG cousins. You can dig into more data on photo printing market trends to see how these formats are used across the board.
Key Takeaway: For your most precious memories destined for a huge canvas or a gallery wall, a TIFF file ensures every detail is captured perfectly. For your everyday snapshots and standard-sized prints, a high-quality JPEG is the perfect, hassle-free solution.
How Compression Affects Your Final Print
To really see the difference, let's go back to our photocopy analogy one last time.
- Saving as a TIFF: This is like creating a perfect digital clone of your original photo. No matter how many times you save it, the quality never changes.
- Saving as a High-Quality JPEG: This is like making one, single, top-notch photocopy. It's almost impossible to tell it apart from the original.
- Repeatedly Saving a JPEG: This is where you can get into trouble. Every time you open, edit, and re-save a JPEG, it's like making a photocopy of the last photocopy. The image slowly degrades, introducing blurriness and digital noise often called "artifacts."
This is exactly why photographers and designers work with TIFF files while editing and only save a final JPEG copy right at the very end. By understanding this simple difference, you're already on your way to picking the perfect file for your next print project with Everone Prints.
2. Nailing Your Print Settings: DPI and Color
Alright, let's get into the details that truly make or break a print. Beyond just the file type, two little settings—DPI and the color profile—are the secret sauce. Getting these right is how you close the gap between what you see on your glowing screen and the beautiful print you hold in your hand.
Think of these as the final quality control check before you send your image off to us. They’re what tell our printers exactly how to handle the sharpness and color you so carefully captured.
What’s the Deal with DPI? (And Why It Matters for Sharpness)
DPI stands for Dots Per Inch. In simple terms, it's the number of tiny ink dots our printer will lay down in a single one-inch line of your photo. This one setting is probably the single biggest factor in how sharp your final print looks.
Here’s a good way to picture it: think of a mosaic. If you build it with big, clunky tiles, the image looks blocky and pixelated up close. But if you use thousands of tiny, tightly packed tiles, you get a smooth, stunningly detailed picture. DPI is the exact same principle for printing. More dots = a crisper image.
The gold standard for high-quality photo printing is 300 DPI. At this resolution, the human eye can't distinguish the individual dots of ink, which gives you that seamless, professional look. Printing below this, especially for anything you’ll view up close, is a recipe for a blurry or "pixelated" result.
Sure, a massive billboard can get away with a lower DPI because you're seeing it from a hundred feet away. But for a print you'll hang on your wall or a sticker you'll stick on your laptop, hitting that 300 DPI mark is essential.
Ordering a really big print? Understanding how your image's size affects the final DPI is key. We break it all down in our guide to getting the best resolution for canvas prints.
The Two Worlds of Color: RGB vs. CMYK
Have you ever printed a photo and been disappointed because the colors looked dull, flat, or just plain wrong compared to your screen? That’s a super common problem, and it almost always comes down to a mismatch in color "languages."
Your screen speaks RGB (Red, Green, Blue). It creates color by mixing light. In contrast, printers speak CMYK (Cyan, Magenta, Yellow, Black), creating color by mixing ink on a surface. They're fundamentally different approaches.
- RGB (Additive Color): This is for screens. It starts with a black screen and adds light to make colors. When you mix red, green, and blue light at full blast, you get pure white.
- CMYK (Subtractive Color): This is for print. It starts with a white piece of paper and subtracts brightness by adding ink. The more ink you add, the darker the color gets.
When you send an RGB file straight to a professional CMYK printer without the right profile, the printer has to make its best guess at how to translate those light-based colors into ink. That "guess" is often where those disappointing color shifts happen.
The Easy Fix: Stick with the sRGB Color Profile
So, how do you avoid that color headache? Thankfully, the answer is incredibly simple for our customers. You should save and upload your files using the sRGB color profile.
Wait, didn't I just say printers use CMYK? Yes, but modern professional printing software—like ours—is perfectly calibrated to convert sRGB files with incredible accuracy. The sRGB profile is the universal standard for digital cameras, smartphones, and the web, making it the most reliable choice for getting predictable, beautiful color.
By exporting your image as a high-quality JPEG or TIFF at 300 DPI and embedding the sRGB color profile, you're handing our printers the perfect blueprint. It’s the formula for a vibrant, sharp, and color-accurate print every single time.
Choosing the Right Format for Your Print Project
Okay, we've covered the theory. Now, let's get down to what really matters: applying this to your actual print projects. It's time to move from the technical "why" to the practical "what" so you can get the beautiful prints you've been dreaming of.
Think of choosing a file format like picking the right tool for a job. You wouldn't use a tiny screwdriver to hammer a nail, right? In the same way, you shouldn't use a compressed JPEG for a massive, gallery-worthy canvas. This part of the guide is all about giving you specific, no-nonsense advice for our most popular products.
This simple decision tree can help you navigate the key settings for any print project you have in mind.

As you can see, the path to a perfect print always starts with checking your image's resolution, DPI, and color profile before you even think about exporting.
For Standard Photo Prints (4x6, 5x7, 8x10)
For all your everyday memories and standard-sized prints, a high-quality JPEG is your absolute best friend. It strikes the perfect balance between amazing visual quality and a manageable file size, which makes uploading your photos a total breeze.
When you're saving your photo, just be sure to slide that quality setting all the way to the max (usually shown as 10 or 12 in editing software, or 100%). This keeps that "lossy" compression to a bare minimum, preserving the sharp details and vibrant colors you're looking for.
For Large Canvas Wraps and Fine Art Posters
When you’re ready to go big with a canvas wrap or a fine art poster, it’s time to call in the heavyweight champion: TIFF. At this scale, "lossless" quality isn't just a nice-to-have; it's non-negotiable. Why? Because a large print magnifies every single detail in your photo, including any tiny flaws from compression.
Pro Tip: For any print larger than 16x20 inches, we strongly recommend sending us a TIFF file. The lossless format guarantees that zero data is sacrificed, which translates to the crispest lines, smoothest color transitions, and richest tones possible.
A TIFF file can handle 16-bit color, which gives you far more subtle tonal variations than the standard 8-bit color in JPEGs. This is what gives high-end prints that incredible depth and prevents "banding" in skies or gradients.
For Custom Stickers and Die-Cut Labels
This is where things get interesting! The right format for stickers and labels really depends on their shape and design.
-
For standard shapes (square, circle, rectangle): A high-quality JPEG will work perfectly. As long as your design fills the entire shape, there's no need for anything fancier.
-
For custom or die-cut shapes: You'll absolutely need a PNG with a transparent background. The PNG format is the only one that can tell our printers exactly where to cut around your unique design, leaving the background area totally clear.
Basically, the PNG's transparency layer acts as an invisible cutting guide for our machines. Without it, your awesome custom-shaped sticker would print inside a solid white box—and nobody wants that!
Matching Your Project to the Perfect File
To make it even clearer, let's talk about some real-world examples. If you're creating personalized photo gifts, the item itself will tell you which file format to use. A photo mug? A great JPEG will do the trick. A custom-shaped acrylic block? That’s a job for a PNG.
Here’s a quick-reference guide to help you choose:
| Your Project | Recommended File Format | Why It's the Best Choice |
|---|---|---|
| A set of 5x7 family photos | JPEG (Maximum Quality) | Balances incredible quality with a convenient file size for everyday prints. |
| A 30x40 inch canvas of a landscape | TIFF | Preserves every pixel of data, ensuring maximum sharpness and detail for a large statement piece. |
| A custom-shaped sticker of your pet | PNG (with transparency) | The transparent background is essential for telling our machines the exact custom shape to cut. |
| A batch of product labels for your business | Depends on the shape! | Use JPEG for squares/circles, and PNG for any design that requires a custom die-cut outline. |
By pairing your project with the right file format, you're setting yourself up for success from the start. And remember, the format is just one piece of the puzzle. The paper you print on also plays a huge role in the final look and feel, so be sure to check out our guide on choosing the best paper for photo printing to complete your masterpiece.
How to Export Your Photos for Flawless Prints
You’ve captured the perfect moment and polished it to perfection. Now for the final, most crucial step before sending it our way: the export. Think of this as your playbook for getting your beautiful images from the screen to our printers without losing any of that magic.
This guide is all about taking the guesswork out of the process. We'll walk through the exact settings for popular editing software—and even your phone—so you can feel totally confident that your photos are print-ready.
Exporting from Adobe Lightroom
Adobe Lightroom is a powerhouse for a reason, and thankfully, its export process is a breeze once you know what to look for. When your editing is done, just hit that "Export" button in the bottom-left corner of the Library module to pull up the export window.
Here’s your simple checklist for settings that lead to perfect prints every time:
-
File Settings:
- Image Format: Pick JPEG for most standard prints. If you're going for a large-format canvas or a fine art piece where every last detail counts, choose TIFF.
- Color Space: Set this to sRGB. This is the secret handshake that ensures the colors you see on your monitor are the same ones our printers produce.
- Quality: If you're exporting as a JPEG, crank that quality slider all the way up to 100. Don't hold back! This keeps compression at a minimum and your details sharp.
-
Image Sizing:
- Leave the "Resize to Fit" box unchecked. You always want to send us the full-resolution file. The more data we have to work with, the better your print will be.
- Resolution: Type in 300 pixels per inch. This is the industry gold standard for crisp, clear, high-quality photo printing.
Once you’ve dialed in these settings, just choose where you want to save the file and click "Export." That’s it! Your photo is now perfectly tuned for our printers.
Exporting from Adobe Photoshop
The process in Adobe Photoshop is just as straightforward, giving you all the control you need. Instead of a big "Export" button, the best route for print is typically the classic "Save As" command.
After you've finished your edits, head up to File > Save As. This opens up a dialog box where you can lock in your settings.
- Pick Your Format: In the "Format" dropdown menu, choose either JPEG or TIFF, just like in Lightroom.
- Embed Color Profile: This is a big one. Make sure the box for "Embed Color Profile" is checked and that sRGB is selected. This little checkbox is critical for getting accurate colors.
- Set JPEG Quality: If you’re saving as a JPEG, another window will pop up after you click "Save." Slide the quality to the maximum setting, which is 12 in Photoshop, and choose "Baseline (Standard)" as your format option.
Key Takeaway: Whether you're in Photoshop or Lightroom, the mission is the same: export a full-resolution file at 300 DPI, lock in the sRGB color profile, and push that JPEG quality to the max.
Getting the Best Quality from Your Smartphone
What if your masterpiece lives on your phone? No problem at all—you can still get stunning prints! The biggest trick is to avoid doing anything that shrinks your file before you even send it to us. The cameras on modern phones are incredible and capture high-resolution photos that print beautifully.
Just follow these simple tips to protect that quality:
- Be Careful with In-App Edits: Many social media apps can really chew up your photo's quality when you edit and save. For the best results, stick to your phone's built-in photo editor or a pro-level app like Lightroom Mobile.
- Share the Original File: This is a game-changer. When sending a photo from your phone to your computer, always choose the option for "Actual Size" or "Original Quality." Sending photos through text messages or social media DMs absolutely crushes their quality. Your best bet is always email or a file-sharing service like Dropbox or Google Drive.
- Check Your Camera Settings: Dive into your phone’s camera settings and make sure it's set to save photos at the highest possible resolution. Turn off any "storage saver" modes that might be secretly shrinking your images.
Even photos pulled from social media can be printed, but it helps to know what to expect. We break it all down in our guide to printing photos from Instagram. By following these simple export steps, you’re ensuring we get the absolute best version of your image, which is the first step toward a flawless print you'll be proud to display.
Common Questions About Printing Photo Files
Alright, you've got your file format picked out and you're almost ready to go. But wait—a few last-minute questions pop into your head. It happens to everyone! This is the part where we tackle those common head-scratchers we hear from our customers all the time.
Let's clear up any lingering confusion so you can hit that "print" button with total confidence.
Can I Use a Photo From My Phone?
Yes, absolutely! Modern smartphone cameras are surprisingly powerful. For most standard print sizes, a high-quality JPEG straight from your phone will give you a beautiful, crisp photo. If the original shot is sharp and well-lit, you're in great shape for everyday prints and even some larger wall art.
The secret is to use the original, full-resolution file. Never, ever use a photo you've sent through a text message or a social media app. Those services crush the file size to save space, which unfortunately ruins the quality needed for a good print.
What Is the Difference Between DPI and Resolution?
This is a fantastic question and one that trips a lot of people up. It's actually simpler than it sounds.
Think of it like building with LEGOs:
- Resolution is the total number of LEGO bricks you have (measured in pixels, like 4000x3000). It’s your raw supply of building material.
- DPI (Dots Per Inch) is how tightly you pack those bricks together on your LEGO baseplate (the paper). It's your construction plan.
A high-resolution photo gives you a huge pile of bricks to work with. That means you can build a bigger project (a larger print) while still packing the bricks in tightly at 300 DPI, which keeps the final image looking sharp and detailed.
Should I Print a Photo From Social Media?
We really, really advise against it. The only exception might be for something tiny, like a wallet-sized photo. Social media platforms are notorious for compressing images to save server space, and in the process, they throw out a massive amount of the original data.
This leaves you with a low-resolution file that will almost certainly look blurry, blocky, and just plain bad when printed at any decent size. For the best results, always, always go back to the source—the original file from your camera or phone.
This is a huge trend shaping the industry. The fact that our phones shoot in JPEG has fueled a global photo printing market valued at around USD 22 billion in 2024. Digital printing makes up nearly 62% of this market, largely because we can easily upload our phone pics. If you're curious, you can read more about these photo printing market insights to see where things are headed.
Why Do My Print Colors Look Different?
This is one of the most common surprises in printing, and it usually boils down to one thing: screens and printers speak different languages.
Your screen creates color by emitting light, using a mix of Red, Green, and Blue (RGB). A printer, on the other hand, applies physical ink to paper using Cyan, Magenta, Yellow, and Black (CMYK).
On top of that, your screen's brightness and calibration settings can fool your eyes. To get the closest possible match, make sure your file is saved in the sRGB color profile and try not to edit your photos with your screen brightness cranked all the way up. This simple trick helps bridge the gap between glowing pixels and physical ink. Want to dive deeper? Check out our guide on the best photo printing services online.
Here at Everone Prints, our passion is turning your digital memories into real-life art that you can cherish for years. Whether you're designing a stunning canvas, a set of custom stickers, or a beautiful poster, our goal is to make the process easy and the results perfect.
Ready to see your photos in a whole new way? Start creating your personalized art today at everone.shop!