

Create Your Own Canvas Prints A Simple How-To Guide
You know that amazing photo sitting on your phone? The one that makes you smile every time you see it? It doesn't have to stay trapped on a screen. Turning a cherished memory into a beautiful piece of wall art is such a rewarding experience, and when you create your own canvas prints, you're in the driver's seat for the whole process.
Let's walk through how to do it right.
Turn Your Photos Into Timeless Wall Art
Transforming a personal photo into a canvas print is about more than just filling a blank wall; it’s about making your space feel like yours. It’s a chance to turn any picture—whether it's a professional family portrait or a candid snap from your last vacation—into a piece of art that you'll be genuinely proud to display.
There’s a reason this has become such a popular way to personalize a home. In fact, the global printed canvas wrap industry was valued at a whopping USD 1.2 billion in 2024 and is on track to hit USD 2.5 billion by 2033. People just love custom decor.
This guide is here to cut through the noise and give you the practical, straightforward advice you need. We'll cover everything from picking the perfect image to navigating all the customization options like a pro.
Matching Photo Size to Canvas Size
Okay, let's talk about one of the most crucial parts of this whole process: making sure your photo's resolution is high enough for the canvas size you have in mind. If you try to blow up a small, low-resolution image, it's going to look blurry and "pixelated." Nobody wants that.
Think of it like this: the more you enlarge a photo, the more you're stretching its pixels. To keep things looking crisp and sharp, you need to start with a high-quality file.
Here's a handy little cheat sheet showing the minimum pixel dimensions you'll need for some of the most popular canvas sizes.
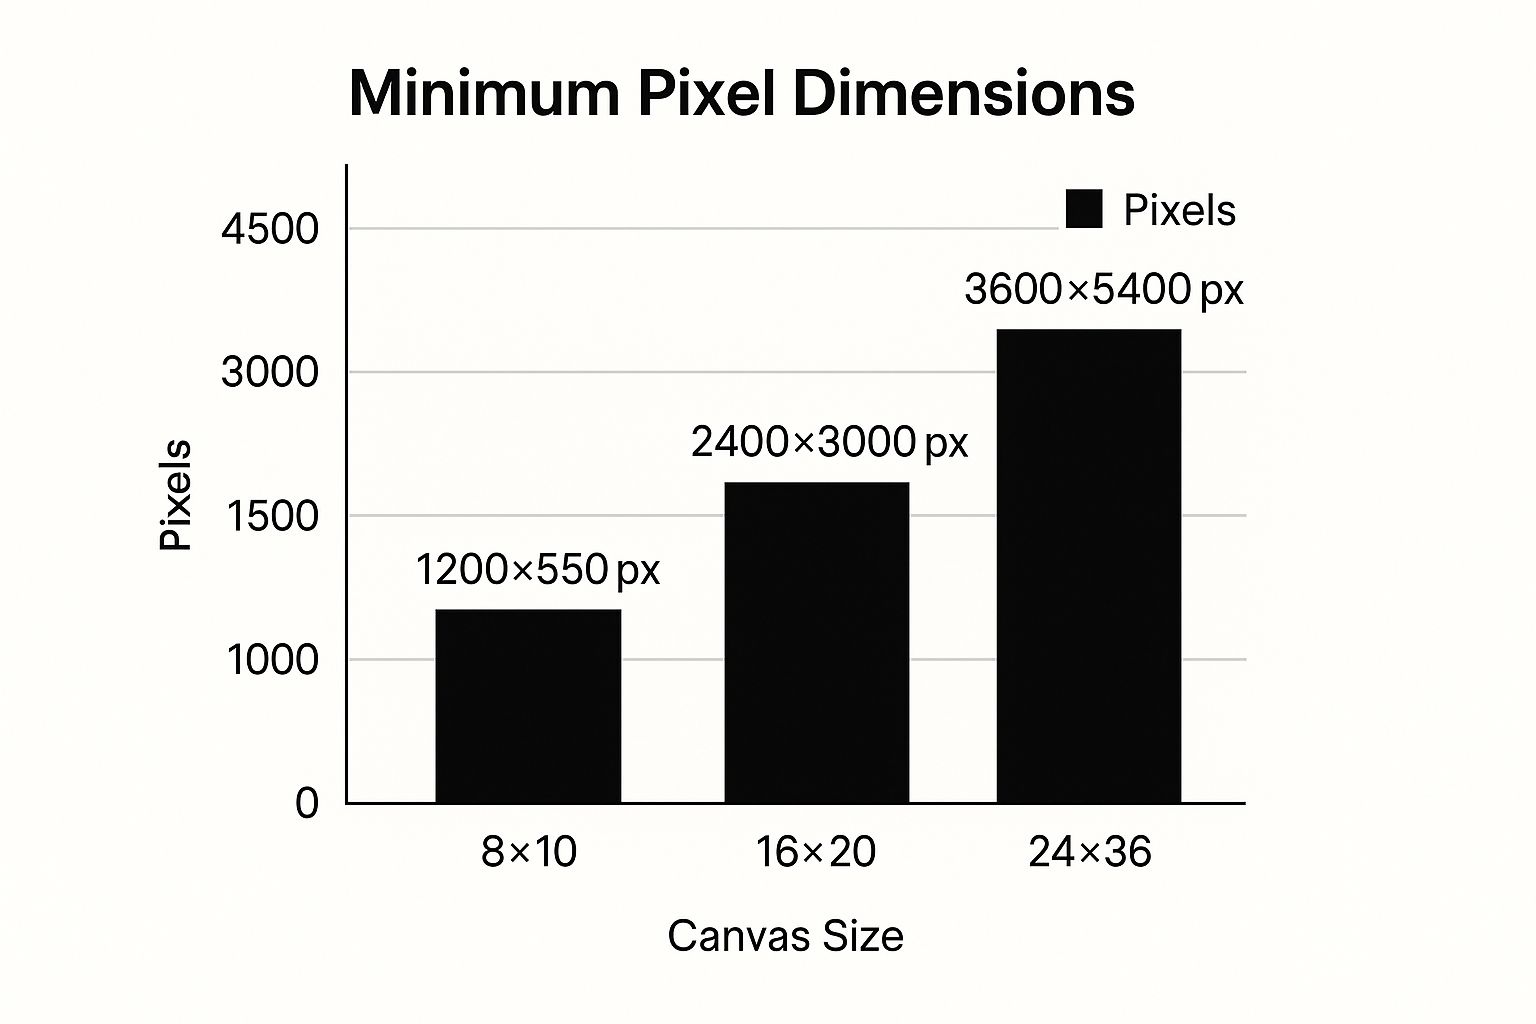
As you can see, the bigger the print, the more pixels you need to work with to maintain that beautiful quality. It’s a simple rule of thumb that makes a world of difference.
For a deeper dive into this, you can learn more about turning photos into wall art in our detailed guide.
Picking the Perfect Photo for Your Canvas
So, you've decided to turn a cherished memory into a piece of art. That's fantastic! But hold on—not every photo is cut out to be a canvas print. The secret to a stunning final product is finding that sweet spot where technical quality meets emotional impact.
Let’s get the technical stuff out of the way first, because it's a big deal.
Nail the Resolution for a Flawless Print
For a sharp, professional-looking print, high resolution is non-negotiable. Think of your digital photo as a grid of tiny colored dots called pixels. When you create your own canvas prints, you're essentially blowing up that grid. If you start with too few pixels, the final image will look fuzzy, blocky, and just plain disappointing.
How do you know if your photo has enough pixels? A quick look at the image dimensions will tell you. For a classic 16x20 inch canvas, for example, you'll need an image that's at least 2400 x 3000 pixels. Most phones from the last few years can easily handle this, but be careful with photos you've downloaded from social media sites, as they are often compressed and lower quality.
Here's a pro tip I always share: It’s always better to start with a photo that’s too big and shrink it than to try and stretch a small one. You can’t magically create detail that isn’t there in the first place.
To make this even easier, I've put together a quick cheat sheet. This table gives you a rough idea of what you'll need for some of the most popular canvas sizes.
Quick Guide to Image Resolution and Print Size
| Canvas Size (Inches) | Minimum Image Resolution (Pixels) | Ideal For |
|---|---|---|
| 8x10 | 1200 x 1500 | Desks, shelves, small gallery walls |
| 11x14 | 1650 x 2100 | Accent pieces, hallways, gallery walls |
| 16x20 | 2400 x 3000 | Living rooms, bedrooms, focal points |
| 20x24 | 3000 x 3600 | Above a fireplace, statement pieces |
| 24x36 | 3600 x 5400 | Large walls, dramatic entryways |
Think of these as your minimums—more pixels are always better!
Beyond the Pixels: Choosing an Image With Heart
Okay, once you've sorted out the technical side, it's time for the really fun part: choosing a photo that speaks to you. What looks incredible on your phone screen might not have the same "wow" factor when it's hanging on your wall.
I find that photos with a clear subject and a compelling composition work best. A sweeping landscape with vibrant colors or a close-up portrait that captures a fleeting expression can instantly transform a room. Ask yourself: what story does this photo tell?
If you're stuck for ideas, here are a few that almost always make for beautiful canvases:
- Candid Family Moments: Forget stiff, posed shots. Think of your kids dissolving into laughter or your dog curled up in a perfect patch of sunlight. These are the photos that radiate warmth.
- Adventures and Landscapes: That unforgettable sunset from your beach trip? The stunning mountain view from a hike? These images bring a sense of wonder and adventure right into your home.
- Meaningful Portraits: While a professional portrait is a classic, sometimes a relaxed, casual group photo feels much more personal and genuine.
And yes, even photos from your social media feed can work, as long as you have the original, high-resolution file. If you're curious about the best way to do this, we've got some great advice on printing photos from Instagram and making sure they look their best.
Simple Photo Edits for a Professional Look
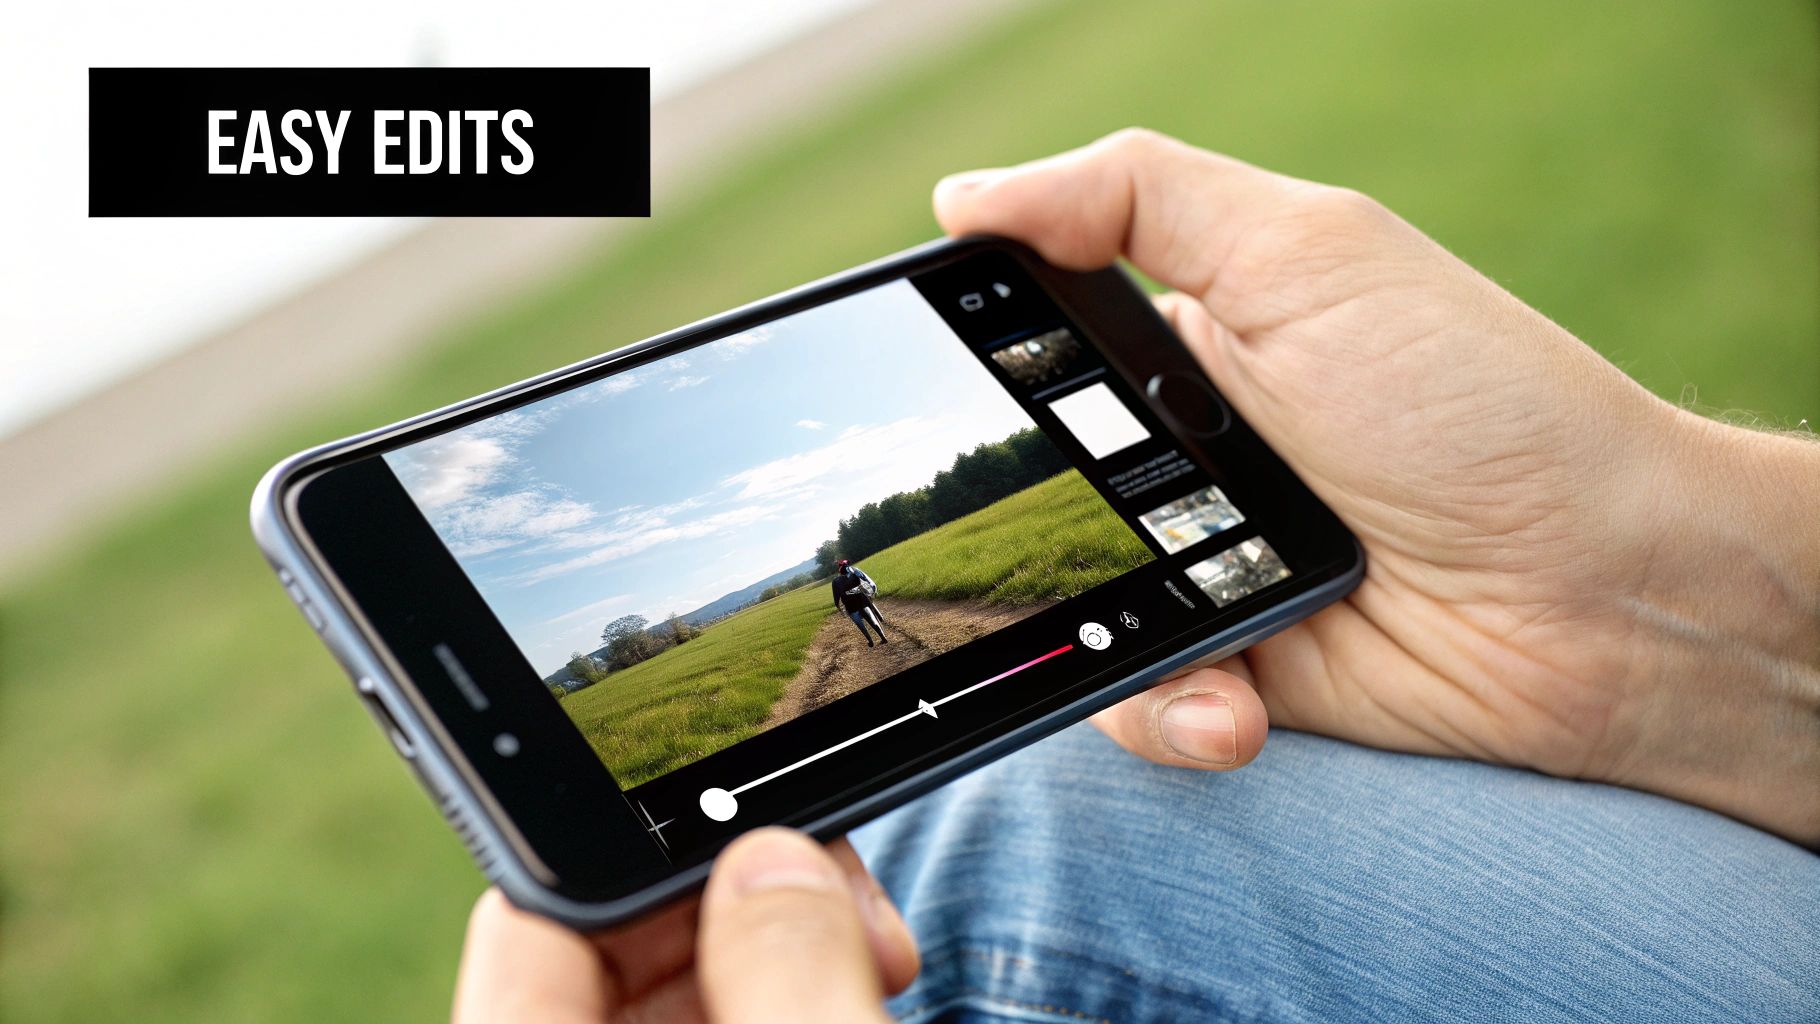
You absolutely do not need to be a professional photo editor to make your image look incredible. A few simple, strategic tweaks can elevate a good photo into a great one, ensuring it looks its best when you create your own canvas prints.
Most phones have fantastic built-in editing tools, and free apps like Canva offer powerful features. The goal isn't to fundamentally change the photo, but to give it that final polish before it goes to print. Let's walk through a couple of simple edits that make the biggest difference.
Master the Crop Tool
Cropping isn't just about cutting things out; it’s about refining the story your photo tells. Think of it as your second chance to frame the shot perfectly.
For example, imagine a beautiful family photo where there's just a little too much empty space on the side. By cropping in tighter, you pull the focus directly onto the smiling faces, making the whole moment feel more intimate and powerful. A simple crop can completely shift the focus and feel of your image.
My go-to rule is to always experiment. Try a few different crops before settling on the final version. You’d be surprised how a tiny adjustment can strengthen the entire photo.
Brightness and Contrast
Next up is light. Photos, especially those snapped on a phone, can often come out a bit too dark or washed out. Playing with the brightness and contrast sliders is the quickest way to make your image pop.
Picture a beach photo where the sand looks a little gray and the sky is pale. By slightly increasing the brightness, you bring light back into the sand. Then, a gentle boost in contrast deepens the blues in the water and sky, making every detail stand out with more life and definition.
To really nail those vibrant hues, you might want to explore some pro color correction techniques to get things just right. These small adjustments are what give your final print that polished, professional look, turning a simple snapshot into true wall art.
Getting the Custom Details Just Right
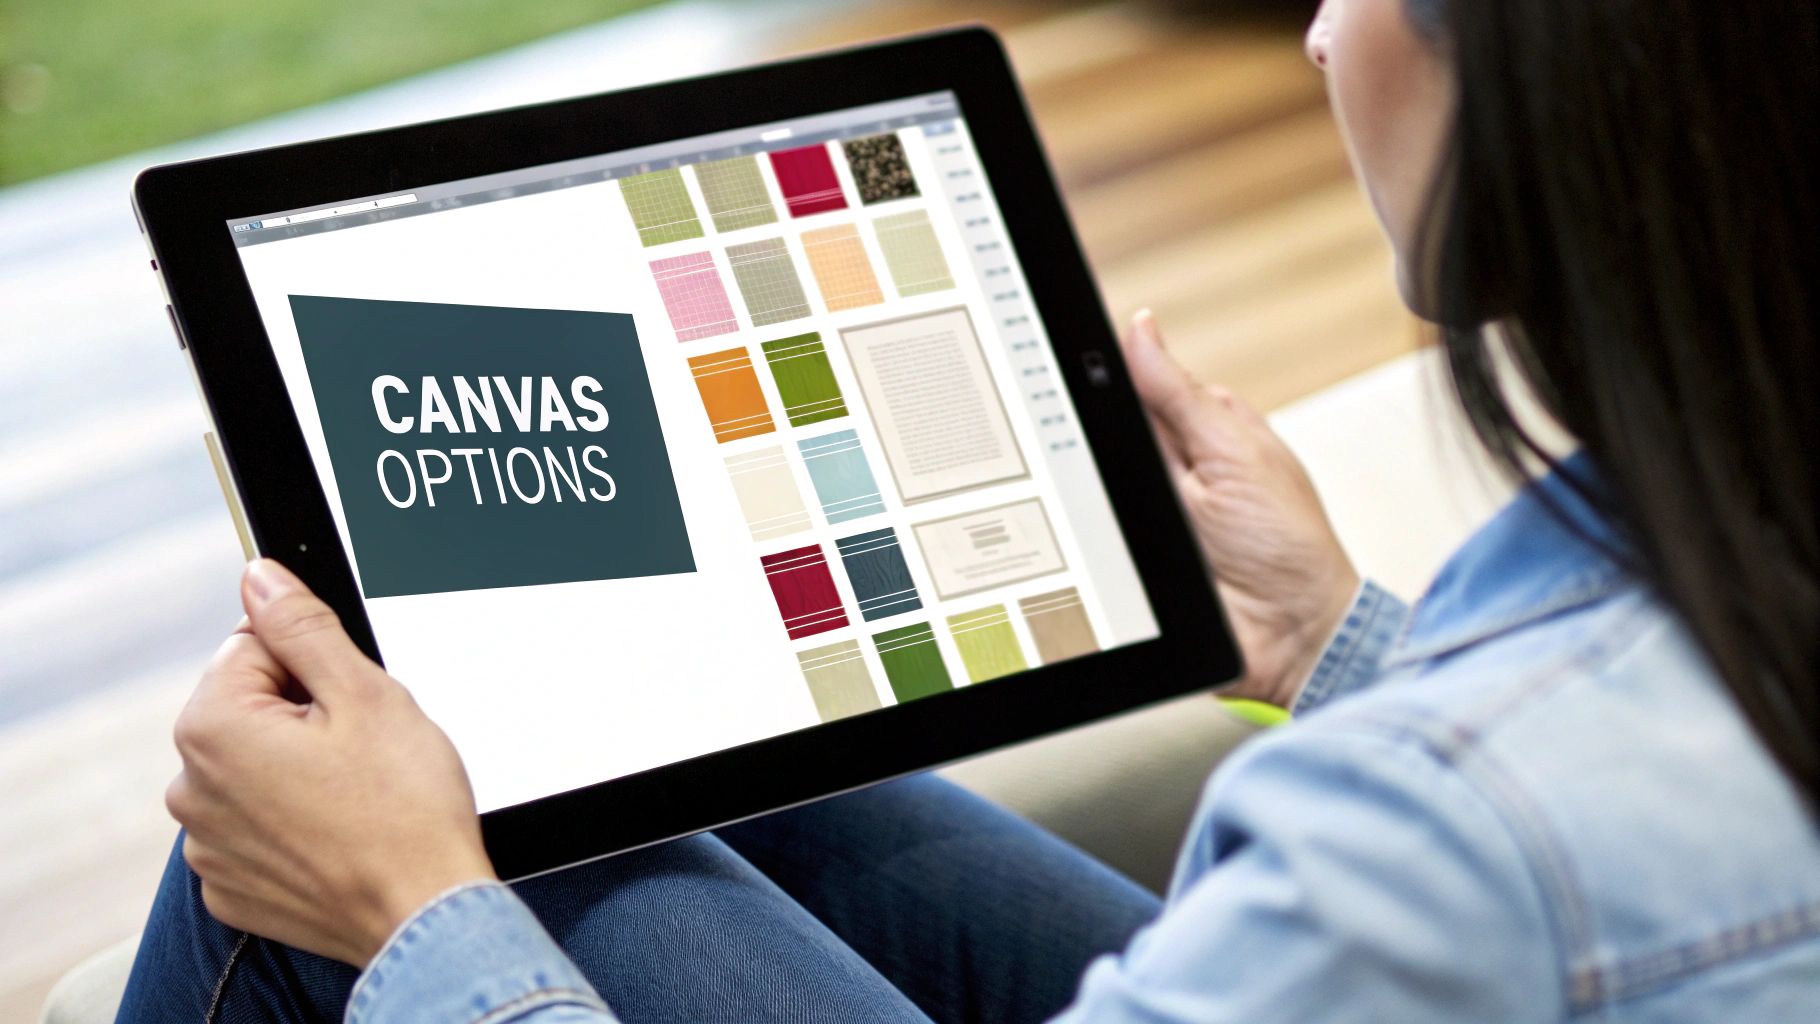
Okay, so you've uploaded your photo. That's the easy part! Now comes the fun: diving into the details that will take your picture from a simple file to a piece of art that truly feels like yours.
This is where you can create your own canvas prints that perfectly match your home's vibe. Don't let the options intimidate you; they're all about giving you control. Let's walk through the key choices you'll be making.
The Edges: To Wrap or Not to Wrap?
One of the first things you'll decide is how the edges of your canvas will look. This might seem like a small detail, but it makes a huge difference in the final presentation.
- Gallery Wrap: This is a classic for a reason. Your image continues around the sides of the frame, creating a clean, modern, and three-dimensional look. It’s my go-to for landscapes or abstract pieces where the main subject isn't crammed right up to the edge.
- Solid Color Border: With this style, your entire photo stays on the front surface. The sides are wrapped in a solid color—usually black or white. This is a lifesaver for portraits or any photo where you can't afford to lose an inch of the subject to the wrap.
Next up is depth. Most printers offer a standard 0.75" depth, which is great for smaller pieces or a more subtle look. But if you want your art to have a more substantial, gallery-quality feel, I always recommend the thicker 1.5" profile. It really makes the piece pop off the wall.
If you’re struggling with dimensions, we have a whole guide on finding a custom canvas size that’s just right for your wall.
A glossy finish will make your colors sing with a vibrant, reflective sheen. It's fantastic for modern art. On the flip side, a matte finish cuts down on glare and gives your print a more traditional, fine-art feel.
The Finishing Touches: Framing and Aspect Ratio
Want to give your canvas a truly polished look? Consider adding a floating frame. This is a special type of frame that sits just off the edge of the canvas, creating a small gap that makes the artwork appear to "float" inside. It's a sophisticated touch that elevates any piece.
One last thing to keep in mind: aspect ratio. Make sure the dimensions of your canvas match the aspect ratio of your photo. If they don't, the printer will have to crop your image, and you might lose important parts of the picture. If you're not sure, a quick check with an aspect ratio calculator can save you a lot of headaches.
Thanks to the boom in e-commerce, getting these custom features is easier than ever, contributing to a global market valued at an impressive USD 62.62 billion in 2024.
Alright, you've done all the fun, creative stuff. You've picked the perfect photo, tweaked it to perfection, and designed a canvas that’s uniquely yours. Now for the final, crucial step: placing the order. This is where you cross your t's and dot your i's to make sure what shows up at your door is exactly what you envisioned.
Before you even think about clicking that "buy" button, take a hard look at the final preview. Every good printing site will show you a digital mockup. Your mission? Scrutinize those crop marks. Is the gallery wrap eating into someone's face or an important part of the landscape? Does everything look perfectly centered and balanced? This is your last chance to catch any mistakes.
One Last Look: Your Pre-Flight Checklist
It’s so easy to get excited and rush through this part, but a quick double-check now can save a lot of headaches later. Just run through this list:
- Size: Is that the 16x20 you wanted, or did you accidentally click 24x36? Big difference on a wall!
- Wrap Style: Did you go for that classic gallery wrap, or did you opt for a solid color border?
- Depth: Check that frame depth. Are you getting the standard 0.75" or that beefier, more premium 1.5"?
- Finish: Matte or glossy? Make sure it's the one that matches the vibe you're going for.
Once you’ve confirmed all the details, you're pretty much home free. The process to create your own canvas prints is simpler than ever, thanks to a booming industry. In fact, the global photo printing market is a giant, estimated at USD 28.71 billion in 2024. Companies are competing for your business, which means they've made their ordering systems incredibly easy to use. You can dive deeper into these market trends and insights at 360iResearch.com.
Here's a pro tip I always share: Before you enter your payment info, open a new tab and search for a discount code. Seriously. A quick search for "[Company Name] promo code" often turns up a code that'll save you 10-20%. It takes 30 seconds and is almost always worth it.
Finally, glance at the estimated delivery date. Production usually takes a few business days, plus shipping time. Knowing the timeline helps you manage your excitement and plan for its grand arrival. For a complete walkthrough of the entire journey from photo to wall, don't forget to check out our detailed guide on how to print photos on canvas.
Got a Few Lingering Questions? Let's Clear Things Up
Even after you've picked the perfect photo and tweaked your design, a few last-minute questions can creep in. Don't worry, that's completely normal. Most people have the same curiosities before they hit the "order" button.
Let's walk through some of the most common ones I hear all the time. Getting these answers should give you that final bit of confidence you need.
From Your Phone to Your Wall? Absolutely.
One of the biggest questions I get is about photos taken on a smartphone. Can you really turn a phone picture into a big, beautiful canvas print? The answer is a resounding yes!
Today's smartphones pack some seriously impressive camera technology. The key is to use the original, full-size file from your camera roll. Avoid using a version you've downloaded from social media or sent through a messaging app, as those are often compressed and lose a lot of quality. As long as you start with the original, you'll have plenty of pixels for a crisp, clear print.
Finishes, Fading, and Hanging—The Final Details
Okay, let's get into the nitty-gritty. The small details can make a huge difference in how your final piece looks and feels.
Glossy vs. Matte: What’s the Vibe?
Choosing a finish really comes down to the mood you're going for.
- Glossy Finish: This one is all about impact. It has a reflective sheen that makes colors look incredibly vibrant and deep. I love using it for dynamic travel photos or modern art where you want the colors to jump off the wall.
- Matte Finish: For a more classic, fine-art feel, matte is the way to go. It has a non-reflective surface that’s perfect for portraits or soft landscapes because it completely cuts down on glare from nearby windows or lamps.
Will It Last? A Question of Longevity
It’s natural to wonder if your beautiful print will look just as good in a decade. The good news is, quality canvas prints are built to last. Thanks to modern archival-quality inks and a protective UV coating, a well-made canvas can hang proudly for 75 years or more without any noticeable fading. Just be sure to keep it out of constant, direct sunlight.
Pro Tip for Hanging: Aim to hang your canvas so the center of the image is at eye level. For most homes, that's somewhere between 57 and 60 inches from the floor. It’s the standard gallery height for a reason—it just looks and feels right.
Putting It on the Wall
Your masterpiece has arrived! Now what? Getting it on the wall securely and perfectly straight is the final step.
Thankfully, most reputable printers send canvases that are ready to hang right out of the box, usually with a sawtooth hanger or a picture wire already attached. You’ll just need a nail or a picture hook, a hammer, and a level. For smaller, lighter prints, you can often get away with strong adhesive strips to avoid making any holes.
If you’ve ordered a larger, heavier canvas, I always recommend using two hooks instead of one. Spacing them apart helps distribute the weight and keeps the canvas from shifting and going crooked over time. Simply measure it out, mark your spots, and use your level for that perfect, professional finish.
Ready to see your own photo transformed into a piece of art you can cherish for years? At everone prints, we handle all the technical details so you can focus on the fun part. Start creating your custom canvas today at https://everone.shop.