

how to make photos into posters: Create Stunning Wall Art
Turning your favorite photo into a poster isn't complicated. It really just comes down to picking a good, high-resolution image, maybe making a few small tweaks, and then uploading it to a printing service like Everone Prints. The secret sauce is starting with a quality picture and making sure it's prepped for its big debut in large format.
From Phone Pic to Wall-Worthy Masterpiece

We've all done it. You're scrolling through your camera roll and stumble upon a photo that just stops you in your tracks. That perfect sunset, a candid laugh from a family get-together, or a breathtaking landscape from your last trip. The thought hits you: "This would look amazing on my wall."
You're absolutely right, and it's easier than you think.
This guide is your roadmap. We’ll break down the technical stuff like resolution and DPI in a way that actually makes sense. We’ll also walk through a few simple editing tips that make a world of difference and guide you on how to confidently choose the right printing service. By the time you're done here, you’ll be ready to turn your best shots into personal art that completely transforms your space.
Why Bother Printing Your Photos?
Taking a digital file and turning it into a tangible piece of art is more popular than ever. It's all part of a bigger shift toward personalized home decor and giving gifts that actually mean something. The global photo printing market was valued at around USD 25.16 billion in 2025 and is projected to climb to USD 40.1 billion by 2035, according to Future Market Insights. That growth is fueled by the incredible cameras we all have in our pockets.
This isn't just about filling a blank wall; it’s about making your space feel like yours. A printed poster does something a phone screen just can't.
- It Creates a Focal Point. A large, well-placed poster can anchor an entire room and immediately draw the eye.
- It Tells Your Story. That print showcases a moment that means something to you, sparking conversations and bringing back memories.
- It’s a Digital Detox. There's something refreshing about surrounding yourself with physical art, giving your eyes a welcome break from screen time.
The best part? You don't need a fancy professional camera. The high-resolution photos from your phone—and even your tablet—are often more than good enough to create a stunning poster. Our guide on how to print photos from your iPad can help you get started, no matter which device you use.
When you learn how to make photos into posters, you're not just creating decor. You're curating your own personal gallery of life's best moments.
How to Choose the Perfect Photo for a Poster
Let's be honest, not every picture is destined to be a showstopper on your wall. The very first step in turning a great photo into an even better poster is learning to spot the ones that will truly shine when they're blown up. Think of it as a casting call for your walls—you need to pick a star.
The absolute, most critical quality is high resolution. A photo that looks perfectly crisp on your phone can easily turn into a blurry, pixelated disaster when stretched to 24 inches. All those wonderful little details get lost, and the magic of the moment just fizzles out.
For instance, a sharp, well-lit portrait where you can almost count the eyelashes will look incredible as a large print. On the other hand, that dark, slightly shaky concert photo, while packed with memories, probably doesn't have the technical chops to make it. It’s better left for your digital albums.
Start with a High-Quality File
Your best bet is to always, always use the original image file straight from your camera or smartphone. Photos you've downloaded from social media or that have been sent through messaging apps are almost always compressed. This means the app has shrunk the file by throwing away data, which permanently tanks the image quality.
Not sure if your file is big enough? It's easy to check. Just right-click on the image file on your computer and select "Properties" or "Get Info." You'll see the dimensions and file size. For a classic 18x24 inch poster, you're looking for an image that's at least 4-5 megabytes (MB) with a minimum of 4000 pixels on the longest side.
The technical specs are one thing, but don't forget about the emotional impact. A technically flawless but boring photo won't make you happy every time you see it. Pick an image that makes you smile, brings back a great memory, or just makes you feel good. That’s what turns a piece of paper into a piece of art.
Essential Elements of a Poster-Worthy Photo
Beyond just the resolution, a few other key ingredients make a photo a prime candidate for a poster. You can find some great advice on turning photos into wall art, but here's a quick checklist to get you pointed in the right direction:
- Good Lighting: Look for photos with balanced light. If it's too dark, you'll lose all the details in the shadows. If it's too bright and washed out, you'll lose texture and depth. You can't go wrong with soft, natural light.
- Clear Focus: Your main subject needs to be sharp. A soft, out-of-focus background is often a beautiful artistic choice, but a blurry main subject is a no-go for a big print.
- Strong Composition: Does the photo draw your eye to a specific point? Does it tell a little story? When you're thinking about a poster, the image's dimensions and resolution are everything for a crisp final product. It's really helpful to start by understanding ideal image sizes and aspect ratios.
Picking the right photo is more than half the battle. When you start with a high-quality file that’s visually strong and means something to you, you’re already on your way to creating a poster you’ll love looking at for years.
Prepping Your Image for a Flawless Print
You’ve found the photo. The one you can’t wait to see on your wall. Now comes the important part: getting it ready for its big moment. This is where a few simple tweaks can turn a good photo into a poster you’ll be proud of for years. And don’t worry, you won’t need a fancy design degree or expensive software to pull it off.
The main goal here is simple: make sure the image you love on your screen looks just as amazing on paper. Digital screens are backlit, which can sometimes make photos appear brighter and more vibrant than they will when printed. A few small, smart adjustments will bridge that gap and ensure your final poster is perfect.
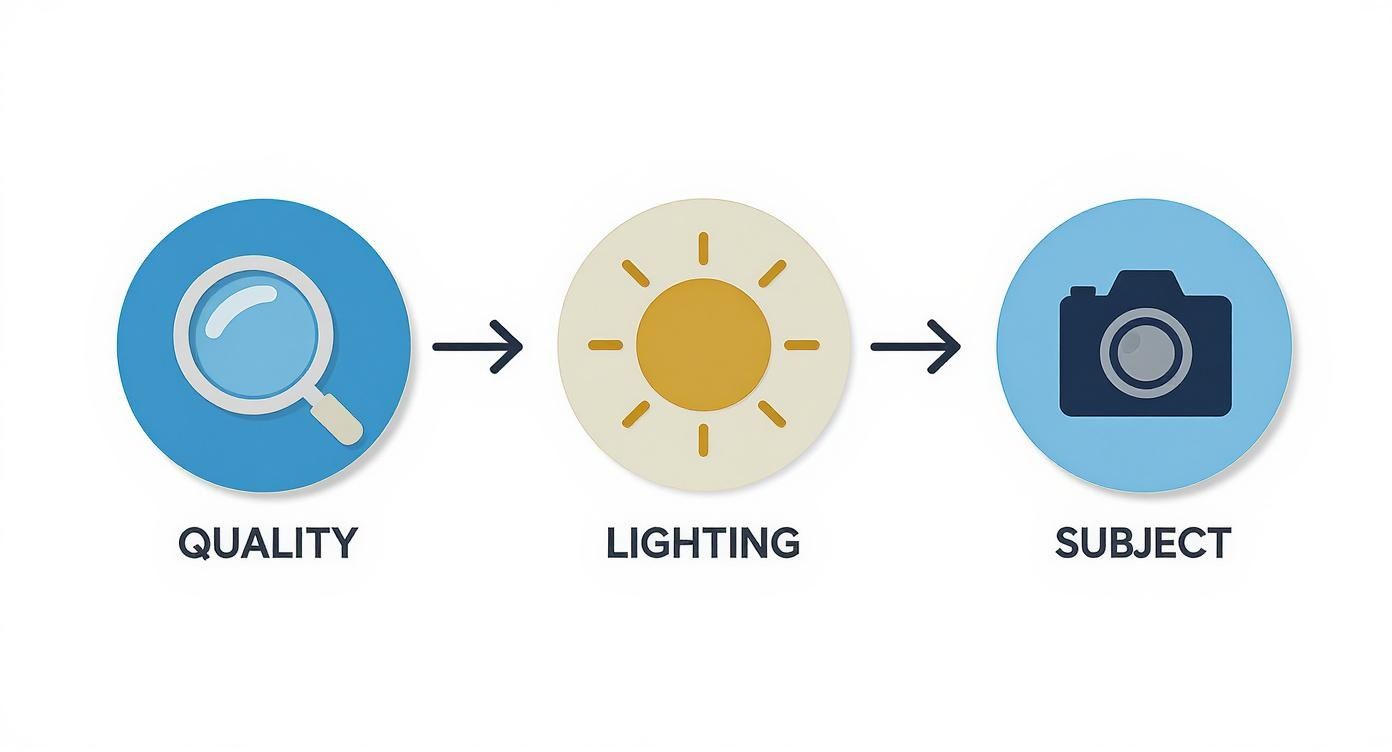
Think of this as your final checklist. Before you hit "print," a quick look at the quality, lighting, and subject can save you from any unwelcome surprises.
The Magic Number for Printing
When you dive into the world of printing, you'll hear one term pop up constantly: DPI, which stands for Dots Per Inch. Basically, it's a measure of how many tiny dots of ink a printer will place within a square inch of paper. The more dots, the sharper and more detailed your poster will look.
For a crisp, professional-looking print, the industry gold standard is 300 DPI.
A crucial aspect of preparing your image is understanding 300 DPI resolution for printing, which ensures your final product looks sharp and professional rather than pixelated. An image with low DPI might look fine on a small screen but will appear blurry and blocky when enlarged to poster size.
So, how do you find out your photo's DPI? It's easier than it sounds. You can often find this information right on your computer by viewing the image's properties or details. If you're using a photo from your phone, especially one you downloaded from social media, it's absolutely essential to check the quality. Our guide on printing photos from Instagram has some great tips if you’re in that boat.
Quick Guide to Poster Size and Image Resolution
Not sure if your photo has enough pixels for the poster size you want? This cheat sheet is your best friend. It breaks down the minimum resolution you’ll need for a sharp, high-quality print.
| Common Poster Size (Inches) | Minimum Pixels Required (for 300 DPI) | Great For |
|---|---|---|
| 11" x 17" | 3300 x 5100 pixels | Smaller spaces, gallery walls, gifts |
| 18" x 24" | 5400 x 7200 pixels | Standard decor, living room art |
| 24" x 36" | 7200 x 10800 pixels | Statement pieces, large wall coverage |
| 27" x 40" | 8100 x 12000 pixels | Movie poster size, dramatic focal points |
Remember, these are minimums. Having a higher resolution is always better, as it gives you more flexibility with cropping and editing without sacrificing quality.
Simple Edits for Maximum Impact
Once you’ve confirmed your resolution is good to go, a few tiny edits can take your image from great to absolutely stunning. These tweaks take just a few minutes in any free photo editing app on your phone or computer.
-
Boost the Brightness (Just a Little!)
Because screens are lit from behind, photos often print a little darker than they appear digitally. To counteract this, bump up the brightness or exposure just a touch—around 5-10% is usually enough. This tiny change can bring out beautiful details hiding in the shadows. -
Make the Colors Pop
Give the saturation a slight nudge to make the colors feel a bit richer and more alive. This will make a blue sky look deeper or the green of a forest more lush. The key is subtlety; you want the photo to look vibrant, not artificial. -
Crop for a Stronger Story
Cropping is one of the most powerful tools at your disposal. You can instantly improve your photo by trimming away distracting elements at the edges or re-centering your subject for a more balanced feel. Got a gorgeous beach photo with a random person walking in the corner? Crop them out and let the beautiful scenery take center stage.
Think of these quick steps as the final polish that ensures the photo you send to us is the absolute best version it can be.
Finding the Right Place to Print Your Poster
Okay, so you’ve got your photo looking picture-perfect. Now for the fun part: bringing it to life! But a quick search for poster printing can feel like wading into a massive, confusing ocean of options. How do you pick the right one?
Don't sweat it. It really comes down to knowing what separates the great services from the just-okay ones.
The good news is that you're looking at the right time. The online photo printing world is bigger and better than ever, making up a huge 64.3% of the market share in 2025. It's no surprise, really. Companies like Everone Prints have made it incredibly simple to upload your image, tweak your options, and get a beautiful poster delivered to your door. You can dig into the latest photo printing market insights to see just how much this space has grown.
When you’re trying to figure out how to make photos into posters, a top-notch service will give you clear guidance, a variety of choices, and no-nonsense pricing.
Decoding Paper Finishes
This is probably the single most important choice you'll make in the printing process. The paper finish completely changes the vibe of your poster. It dictates how light hits the surface and can either make your photo sing or fall a little flat.
Here’s a quick rundown of what you’ll usually find:
-
Glossy Finish: This is that classic, super-shiny look you probably think of with photos. It's amazing for making colors feel deep and vibrant. Got a stunning sunset shot or a colorful candid? Glossy will make those hues jump off the paper. The only catch is the glare—it can be a real problem in a bright room.
-
Matte Finish: Matte is the exact opposite. It has a flat, non-reflective surface that gives your poster a more artistic, almost velvety feel. It's my go-to for black-and-white images, moody portraits, or any piece you’re hanging where sunlight might hit it. Zero glare, pure sophistication.
-
Satin or Luster Finish: Can't decide? This is your answer. A satin finish (sometimes called luster) is the perfect middle ground. It has just a hint of sheen, enough to give your colors a nice kick but not so much that you’ll be fighting reflections. It’s incredibly versatile.
Pro Tip: If you're on the fence, go with satin. It offers the best of both worlds—vibrant color without distracting glare—which is why it's a favorite for gallery shows and professional prints.
Navigating the Ordering Process
After you’ve landed on a paper type, ordering should be a breeze. But a couple of technical terms might pop up, and it's good to know what they mean so you get exactly what you want. If you want a deeper dive, our guide on the best photo printing services online breaks it down even further.
Bleed Area
The online design tool might show a "bleed area" or a "safe zone." All this means is that a tiny sliver around the very edge of the paper might be trimmed off during printing. It's just part of the production process. The key is to make sure nothing crucial—like the top of someone's head or an important detail—is pushed right up against that edge.
Aspect Ratio
You’ll likely be asked to crop your photo to match the poster's aspect ratio. This is just about making your photo's shape fit the paper's shape. For instance, a square photo from your phone (a 1:1 ratio) won't fit perfectly on a rectangular 18x24 inch poster (a 3:4 ratio) without some cropping. Every good site has a simple visual tool that lets you see exactly how the crop will look, so there are no surprises.
Creative Ways to Display Your New Poster
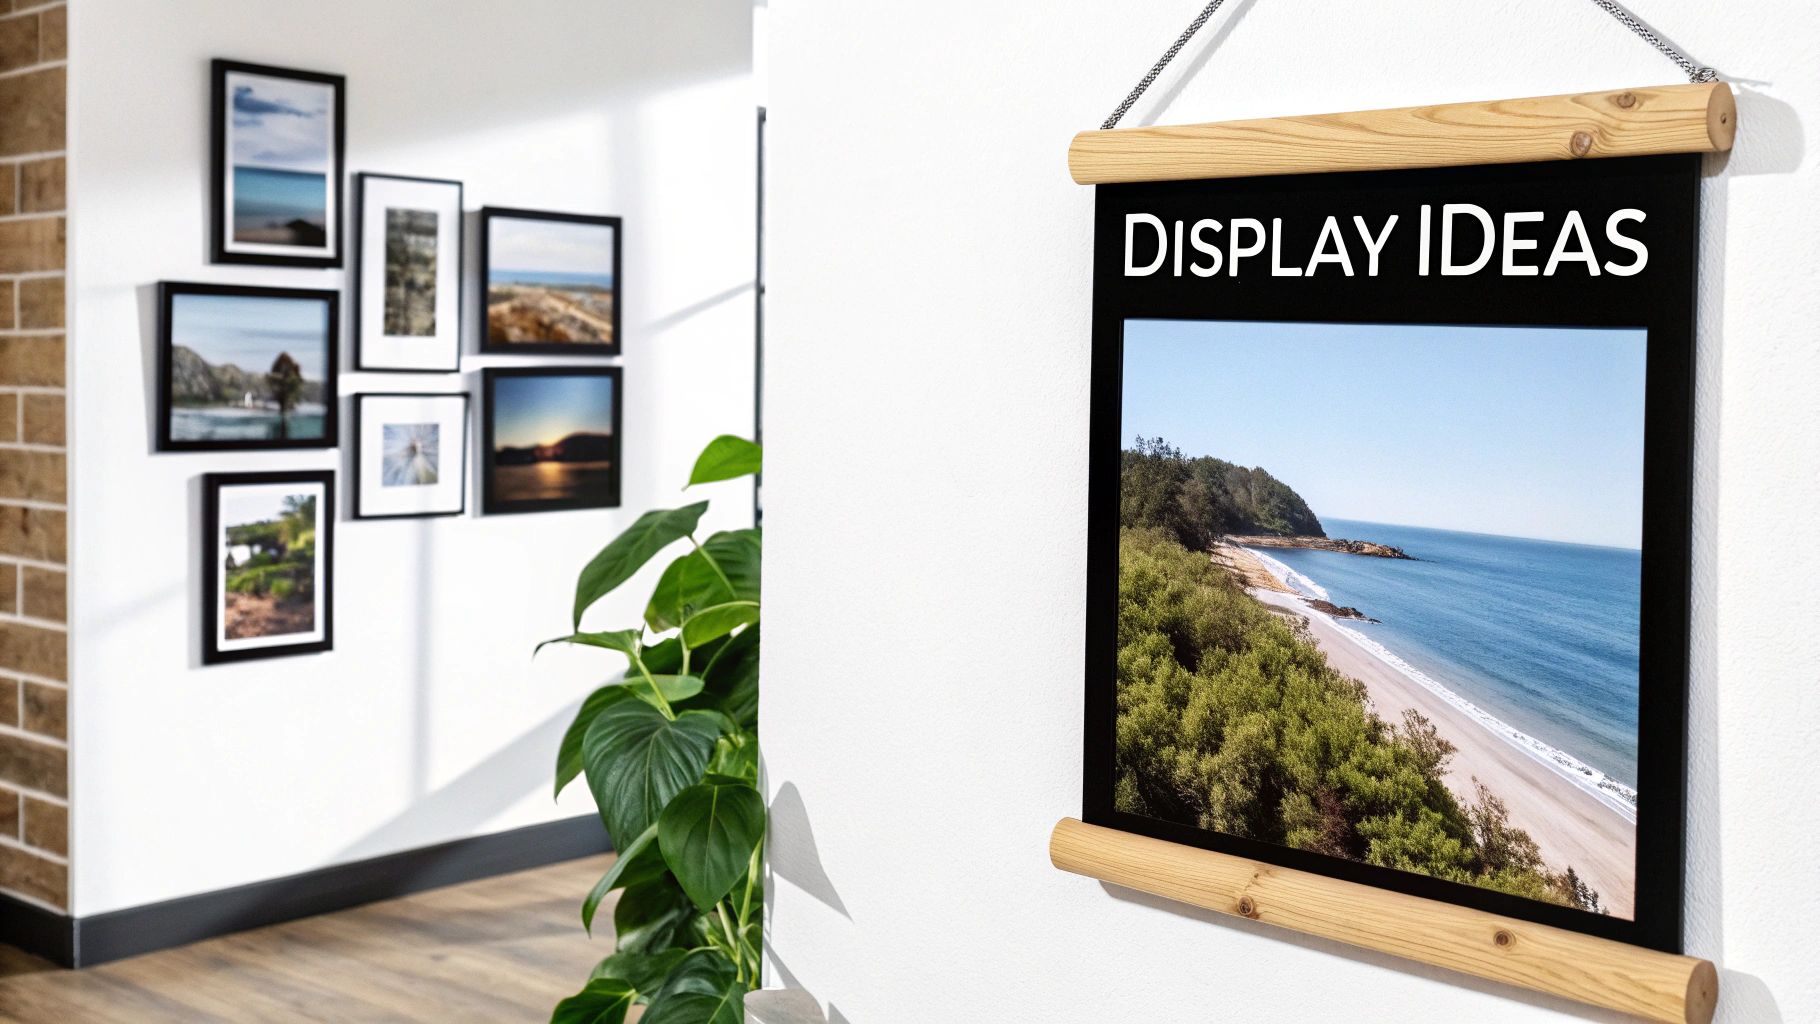
Your poster has finally arrived from Everone Prints, and it looks incredible. Now for the fun part: showing it off! The way you display your print can completely change its vibe and even elevate the entire room.
While a classic frame is a solid choice, there are so many other creative and stylish ways to make your poster pop. Stepping outside the traditional frame is a great way to give your space a unique, curated feel.
Thinking Beyond the Frame
You don't always need an expensive custom frame to make your poster look polished and intentional. In fact, some of the most eye-catching displays are the simplest. These modern, often more affordable, options let the art itself shine.
-
Magnetic Wood Hangers: These are my go-to for a minimalist, Scandinavian-inspired look. You get two wooden bars for the top and two for the bottom, each with strong magnets inside. They gently clamp onto your poster without causing any damage, creating a clean, relaxed, and stylish vibe.
-
Poster Rails or Hangers: A bit sleeker and more modern, these aluminum or plastic rails slide right onto the top and bottom edges of your poster. They offer a bit more structure than wood hangers and give your print a professional, gallery-like finish without the bulk of a full frame.
-
Bulldog Clips or Binder Clips: For a more industrial or casual aesthetic, a few large bulldog clips can look fantastic. Just nail them to the wall and clip your poster in place. What I love about this method is how incredibly easy it is to swap out your art whenever you're ready for a change.
It's no surprise that personalizing our walls is a big deal. The global posters and frames market is projected to hit USD 9.8 billion by 2035, all thanks to our growing love for statement decor. It really shows a shift toward using bold, impactful art to make our spaces feel like our own. You can dive deeper into the growth of the wall decor market to see the trends.
Putting Together a Killer Gallery Wall
Your new poster doesn’t have to fly solo! Making it the star of a gallery wall is a fantastic way to tell a bigger story with your decor. The secret to a great gallery wall isn't perfect symmetry—it's all about balance.
Before you even think about grabbing a hammer, lay everything out on the floor. Trust me, this will save your wall from looking like Swiss cheese. Start with your biggest piece—your new poster—and place it slightly off-center to act as an anchor. From there, you can build outwards, mixing in different shapes and sizes to create some visual energy.
Don’t be afraid to mix and match different elements. Combine your poster with framed photos, small canvases, or even three-dimensional objects like a cool mirror or a piece of woven textile. Just try to keep the spacing between each piece fairly consistent, usually around 2-3 inches. This little trick helps pull everything together, turning a simple collection of items into a stunning focal point for the room.
Got Questions? Let's Clear Things Up
Even after you've got the perfect photo picked out, a few last-minute questions tend to pop up just as you're about to order. It happens to everyone! Let’s tackle some of the most common uncertainties people face when turning a photo into a poster. Getting these details sorted will give you total peace of mind that your final print will be exactly what you envisioned.
Think of this as your final checklist before hitting that "confirm" button.
Can a Photo From My Phone Really Become a Big Poster?
You bet it can! Modern smartphones are incredible, and even models from a few years back capture high-resolution photos that look stunning when enlarged. The secret is to always, always use the original file from your phone’s camera roll.
Where people run into trouble is by using a photo they've saved from social media or that was sent over a messaging app. Those platforms squash the file size to save data, and that compression absolutely kills the quality. As a good rule of thumb, a photo that's at least 3-5 MB is a solid starting point for posters up to 18x24 inches.
What's the Ideal Resolution for a Photo Poster?
For that sharp, professional look you see in galleries, you'll want to aim for 300 DPI (Dots Per Inch). This is the gold standard for high-quality printing, and it’s what prevents your image from looking fuzzy or pixelated when blown up.
When you upload your image to a printer like Everone Prints, our system is smart enough to flag it if the resolution is too low for your chosen poster size. But if you want to check for yourself, a standard 18x24 inch poster requires an image that's at least 5400 x 7200 pixels.
Don't get too bogged down by the technical specs. The most important thing you can do is start with the biggest, highest-quality version of the photo you have. A great source file solves 99% of potential printing issues from the get-go.
Matte vs. Glossy: Which Finish Should I Pick?
This is all about personal taste and where you plan to display the poster. Each finish creates a completely different vibe.
-
Glossy Finish: This one is shiny, and it makes colors pop with incredible life and vibrancy. It’s a killer choice for brilliant travel photos, colorful abstract art, or energetic family shots. The only catch is that it can create a mean glare if you hang it in a very bright room or directly across from a window.
-
Matte Finish: A matte finish has zero shine, which gives your poster a more subtle, artistic, and sophisticated feel. It's my go-to for portraits, moody black-and-white photos, or any print that will be in a room with a lot of ambient light.
Help! My Photo Is a Little Too Dark. How Do I Fix It?
This is such a common problem, and thankfully, it’s a super easy one to solve. You can quickly brighten up a photo using a free mobile app like Snapseed or a simple online tool like Canva.
Just find the "Brightness" or "Exposure" setting and nudge the slider up a little. You don't need to go crazy—a small tweak is often enough to bring out all the details hiding in the shadows. I also like to boost the "Contrast" just a touch to make sure the colors don't look faded. This one tiny step can make a world of difference in the final print.
Ready to see your favorite memory on your wall? Everone Prints makes it incredibly simple to create gorgeous, high-quality custom posters that bring your photos to life. Upload your photo and start designing your poster today!