

How to Print Pictures on Canvas Like a Pro
Ready to turn that amazing photo you love into a piece of art for your wall? Printing a picture on canvas is one of the best ways to make your memories feel real and permanent, but it can seem a little daunting if you've never done it before. Don't worry—this guide is here to walk you through it, step by step.
We'll cover everything from picking the right photo that won't look blurry when it's enlarged to making the final tweaks before you hit "print." We’ll even touch on common mistakes, like choosing a wrap style that accidentally crops out someone's face. Think of me as a friend who’s made a ton of these and is happy to share all the secrets.
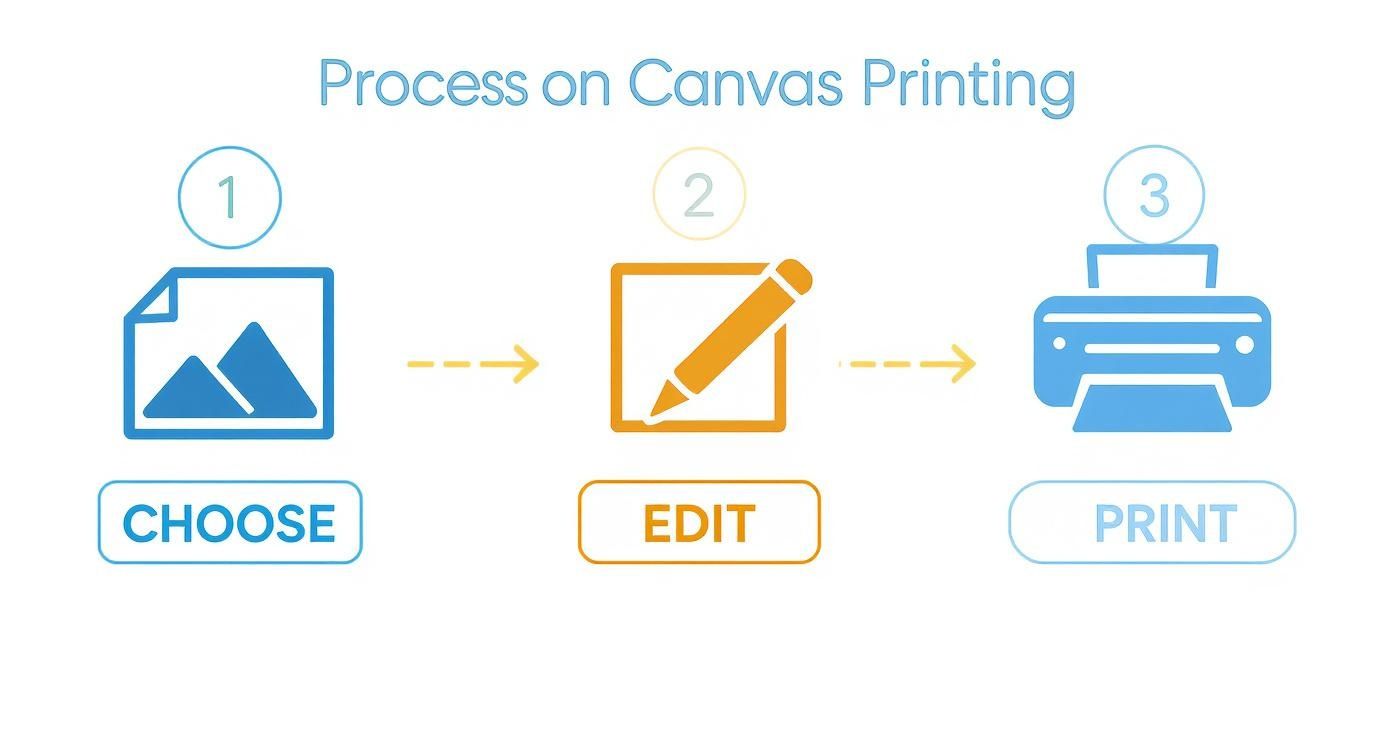
Your Canvas Printing Quick Start Guide
Here's a quick overview of the essential stages for turning your digital photo into a beautiful canvas print. We'll dive into each of these throughout the guide.
| Stage | Your Key Action | Why It Matters for Quality |
|---|---|---|
| 1. Photo Selection | Choose a high-resolution, well-lit photo. | A high-quality source image is the foundation for a sharp, vibrant print. |
| 2. Simple Edits | Crop, adjust brightness, and enhance colors. | Basic edits ensure the photo looks its best when translated from screen to canvas. |
| 3. Print Options | Select canvas size, wrap style, and finish. | These final choices define the look and feel of your finished artwork. |
Getting these three stages right is the key to creating a print you'll be proud to display.
As you can see, it’s a pretty straightforward path from your camera roll to your living room wall.
Why Is Everyone Printing on Canvas?
Let's be honest, personalized home decor is huge right now, and canvas prints are at the heart of it. This isn’t just a passing fad. People are tired of generic, mass-produced art and want to fill their homes with pieces that actually mean something to them.
It's a shift toward telling our own stories on our walls. For a closer look at this trend, you can read our post about turning photos into canvas art.
The truth is revealed when the ink hits the paper. Holding a physical print of your work allows you to appreciate it in a way a screen never can, highlighting details and evoking powerful emotions.
The numbers back this up, too. The global market for canvas used in digital printing is valued at around $1.5 billion and is only expected to grow. This boom is all about the demand for unique, high-quality wall art that makes a personal statement. By the time you finish this guide, you’ll have all the confidence you need to create a stunning canvas print of your own.
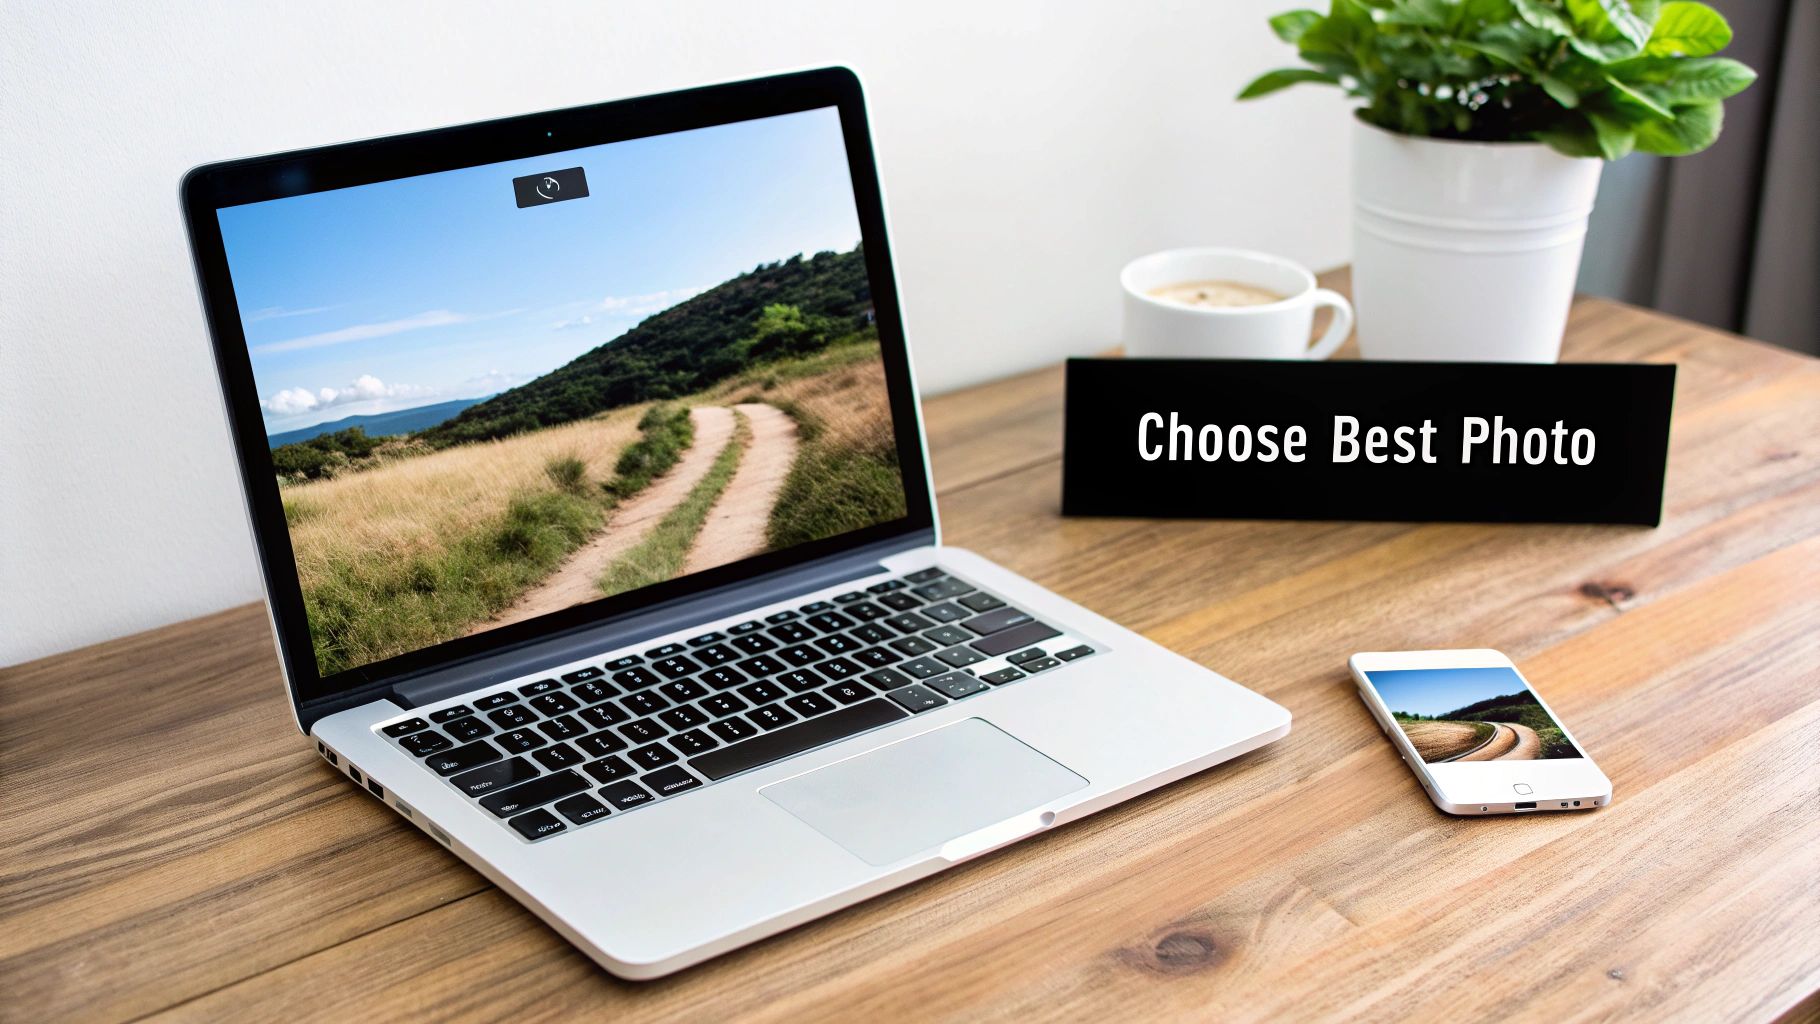
Choosing the Perfect Photo for Your Canvas
Let’s be honest, not every picture is destined for canvas. That amazing shot on your phone screen? It might not look so great when it's stretched across a big 20x30 inch frame. The secret to a jaw-dropping canvas print really boils down to picking the right photo from the get-go—one with the right technical specs and a little artistic magic.
The single most important thing to look at is resolution. Think of it like the DNA of your picture. If you try to blow up a low-resolution photo, it’s going to look blurry and "pixelated" simply because there aren't enough digital building blocks to create a sharp image. You need a high-res file to get that crisp, clean look you're after.
Checking Your Photo's Resolution and Lighting
So, how do you know if your photo has what it takes? It's pretty simple—just check the file's details.
For most canvas sizes, you’ll want a photo that’s at least 2000 pixels on its longest side. If you're going for a really large print and want that professional, gallery-quality finish, aim for an image that can be printed at 300 DPI (dots per inch). This usually means a much larger pixel count, but it's worth it.
Lighting is just as crucial. A photo snapped in bright, natural light will always look better on canvas than a dark, grainy one taken in a dimly lit room. The quality of the original picture is everything. If you want your final print to truly pop, it’s worth spending a little time mastering photography lighting. It's the foundation of any great print.
A great canvas print starts long before you upload the file. It begins with a photo that has strong composition, good lighting, and sharp focus. The canvas will amplify these qualities, turning a good photo into a stunning piece of art.
What Kinds of Photos Work Best?
While technically any high-quality photo can become a canvas, some subjects just have a natural flair for it. Think about sweeping landscapes, dramatic architectural shots, or close-up portraits where you can see every detail in the person's expression. These images usually have a clear focal point and interesting textures that look incredible on the woven surface of a canvas.
If you need some inspiration, we've got more ideas for your home in our guide on turning photos into wall art.
The desire for unique, personalized decor is bigger than ever. The wall decor market is actually expected to hit almost $28.5 billion by 2027, all because people want to fill their homes with art that means something to them. Selecting a powerful, high-resolution photo is your first step to creating a piece that feels both personal and professional.
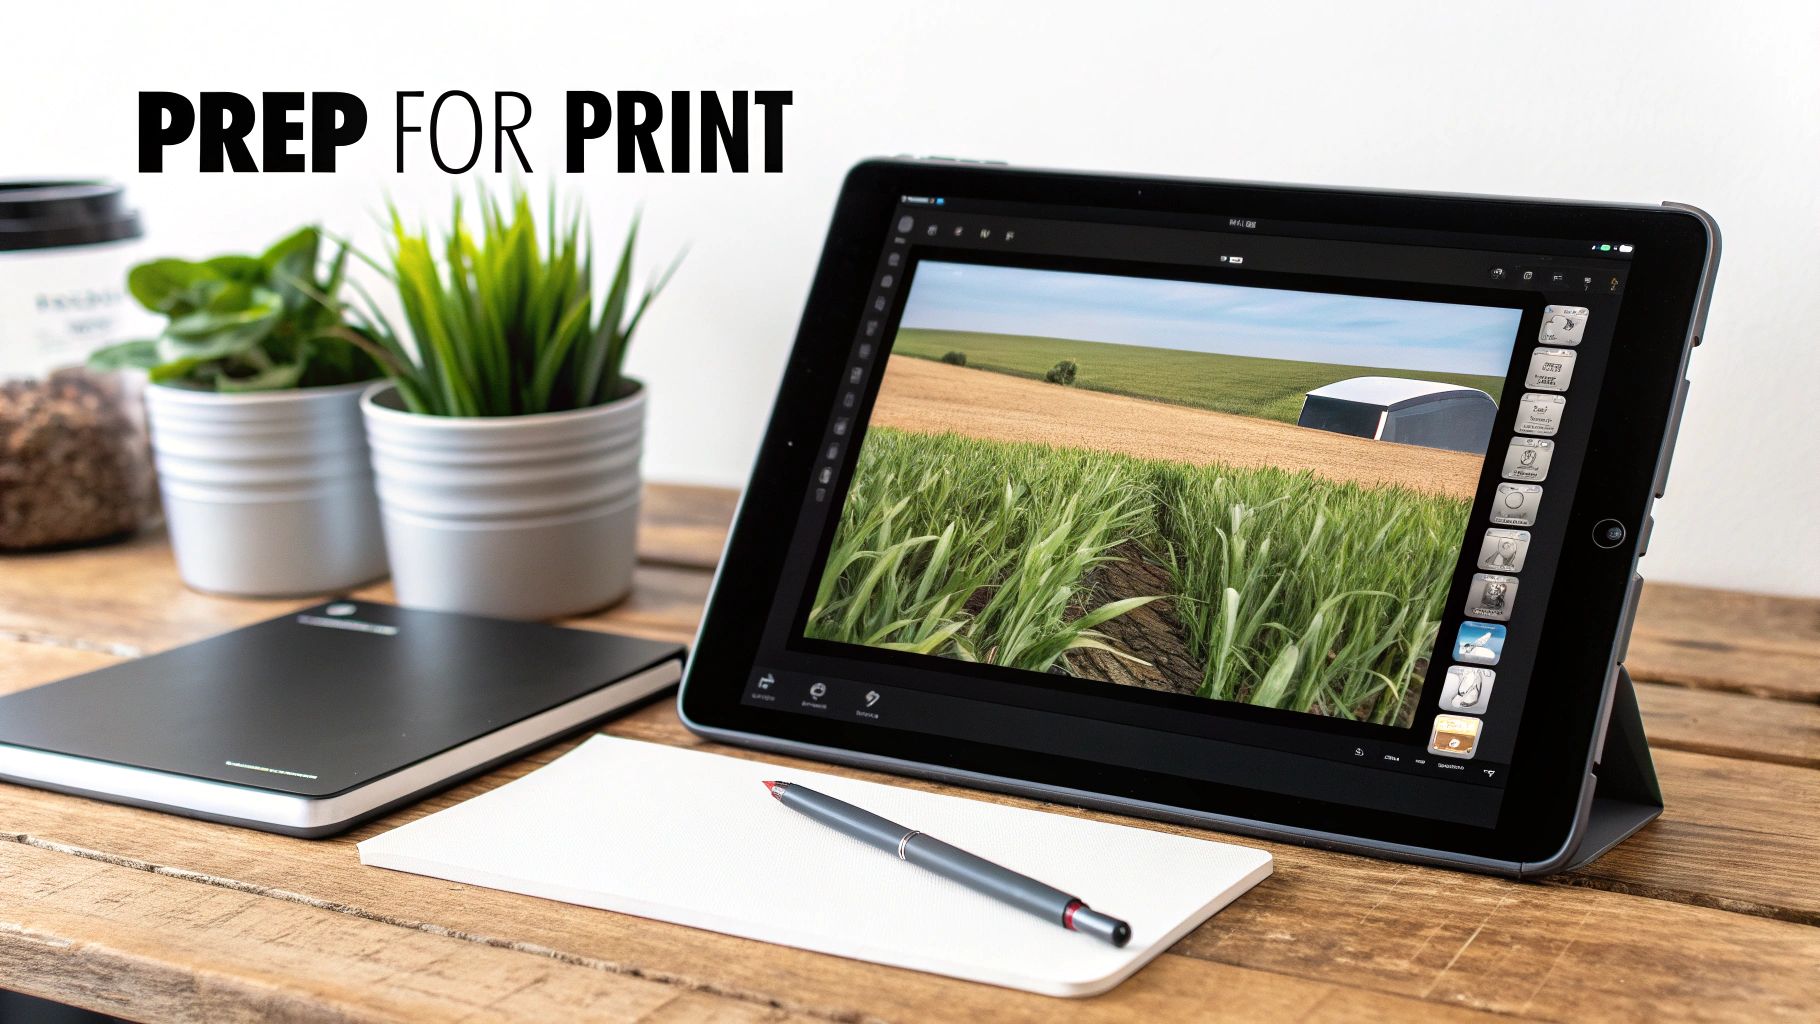
Essential Photo Editing and Preparation
Alright, you’ve picked your winning shot. Now, let's talk about the final prep work that takes a photo from just "good" to absolutely stunning on canvas. Don't worry, you don't need to be a Photoshop pro. A few simple tweaks can make a huge difference in how your image translates from a glowing screen to the rich texture of a canvas.
Think of it this way: editing is the final polish. A quick adjustment to brightness and contrast can make the colors leap off the canvas and prevent that dreaded washed-out look. I've seen it happen—a vibrant photo on screen turns into a dull, flat print. A little bit of sharpening also goes a long way, defining the details and giving the final piece a crisp, professional feel.
Key Adjustments For Canvas Prints
Before you hit "upload" on the Everone Prints site, spending just a few minutes on these edits will pay off big time.
-
Cropping and Composition: This is where you frame your art. If you know you want a 16x20 canvas, go ahead and crop your photo to a 4:5 aspect ratio. This ensures you’re in control of the composition and don't lose any key details off the edges.
-
Brightness and Contrast: Your computer screen has a backlight; a canvas print doesn't. To compensate, I always recommend bumping up the brightness just a little. A small boost in contrast will also make the colors feel richer and more dynamic.
-
Color Saturation: Want to make those colors pop? A subtle increase in saturation can breathe life into your photo. The key word here is subtle. It’s easy to go overboard and end up with something that looks unnatural or cartoonish.
A common mistake I see is over-editing. The goal is just to enhance what's already there, not create a totally new reality. When it comes to photo prep, a light touch is always the best approach.
One last, crucial check: resolution. After you've cropped your image, it’s a good idea to double-check that it's still large enough for a beautiful print. If you're worried about pixelation on a bigger canvas, some fantastic AI image enlarger tools can help upscale your photo without losing quality.
By the way, these same principles apply to other kinds of wall art, too. For more detailed advice, you should check out our guide on https://everone.shop/blogs/news/how-to-make-photos-into-posters, which dives into similar techniques for large-format printing.
Bringing Your Vision to Life: Customizing Your Canvas
Alright, your photo is edited and looking sharp. Now for the fun part: turning that digital file into a physical piece of art that’s perfectly suited for your home. This is where you get to make the creative calls that will give your canvas that professional, gallery-quality feel.
The first big choice you'll need to make is how you want the edges of your canvas to look. This is called the "wrap," and it dramatically affects the final presentation.
Picking the Perfect Wrap and Frame
How your image folds around the wooden stretcher bars can create some really different visual effects. Getting this right ensures the most important parts of your photo stay front and center.
-
Gallery Wrap: This is the go-to modern style. The photo itself is stretched and wrapped around the sides of the frame, creating a seamless, three-dimensional look. It works beautifully for landscapes or abstract images where you don't mind a little bit of the outer edge being on the side.
-
Museum Wrap: If you have a portrait or a shot where every pixel on the edge counts, this is your best bet. With a museum wrap, your entire image stays on the front face of the canvas. The sides are then finished in a solid color, usually black or white, which neatly frames the photo without cropping anything out.
-
Floating Frame: For that extra touch of elegance, consider a floating frame. This option places your canvas inside a minimalist wooden frame with a tiny gap in between, creating a cool illusion that your print is "floating." It really adds depth and a high-end, sophisticated vibe.
Of course, size matters too! A tiny print can get lost on a big wall, while an oversized one can overwhelm a small room. To figure out what dimensions will work best for your space, take a look at our guide on how to pick a custom canvas size.
The right finish can completely change the mood of your print. A matte finish offers a classic, glare-free look that's perfect for brightly lit rooms, while a glossy finish makes colors pop with a vibrant, reflective sheen.
It’s easy to see why canvas is so popular. The global wall decor market is projected to hit an incredible $69.56 billion by 2032. And thanks to their durability and premium look, canvas prints are on track to make up a 23.8% share of that market by 2025. They’re not just prints; they’re lasting pieces of decor.
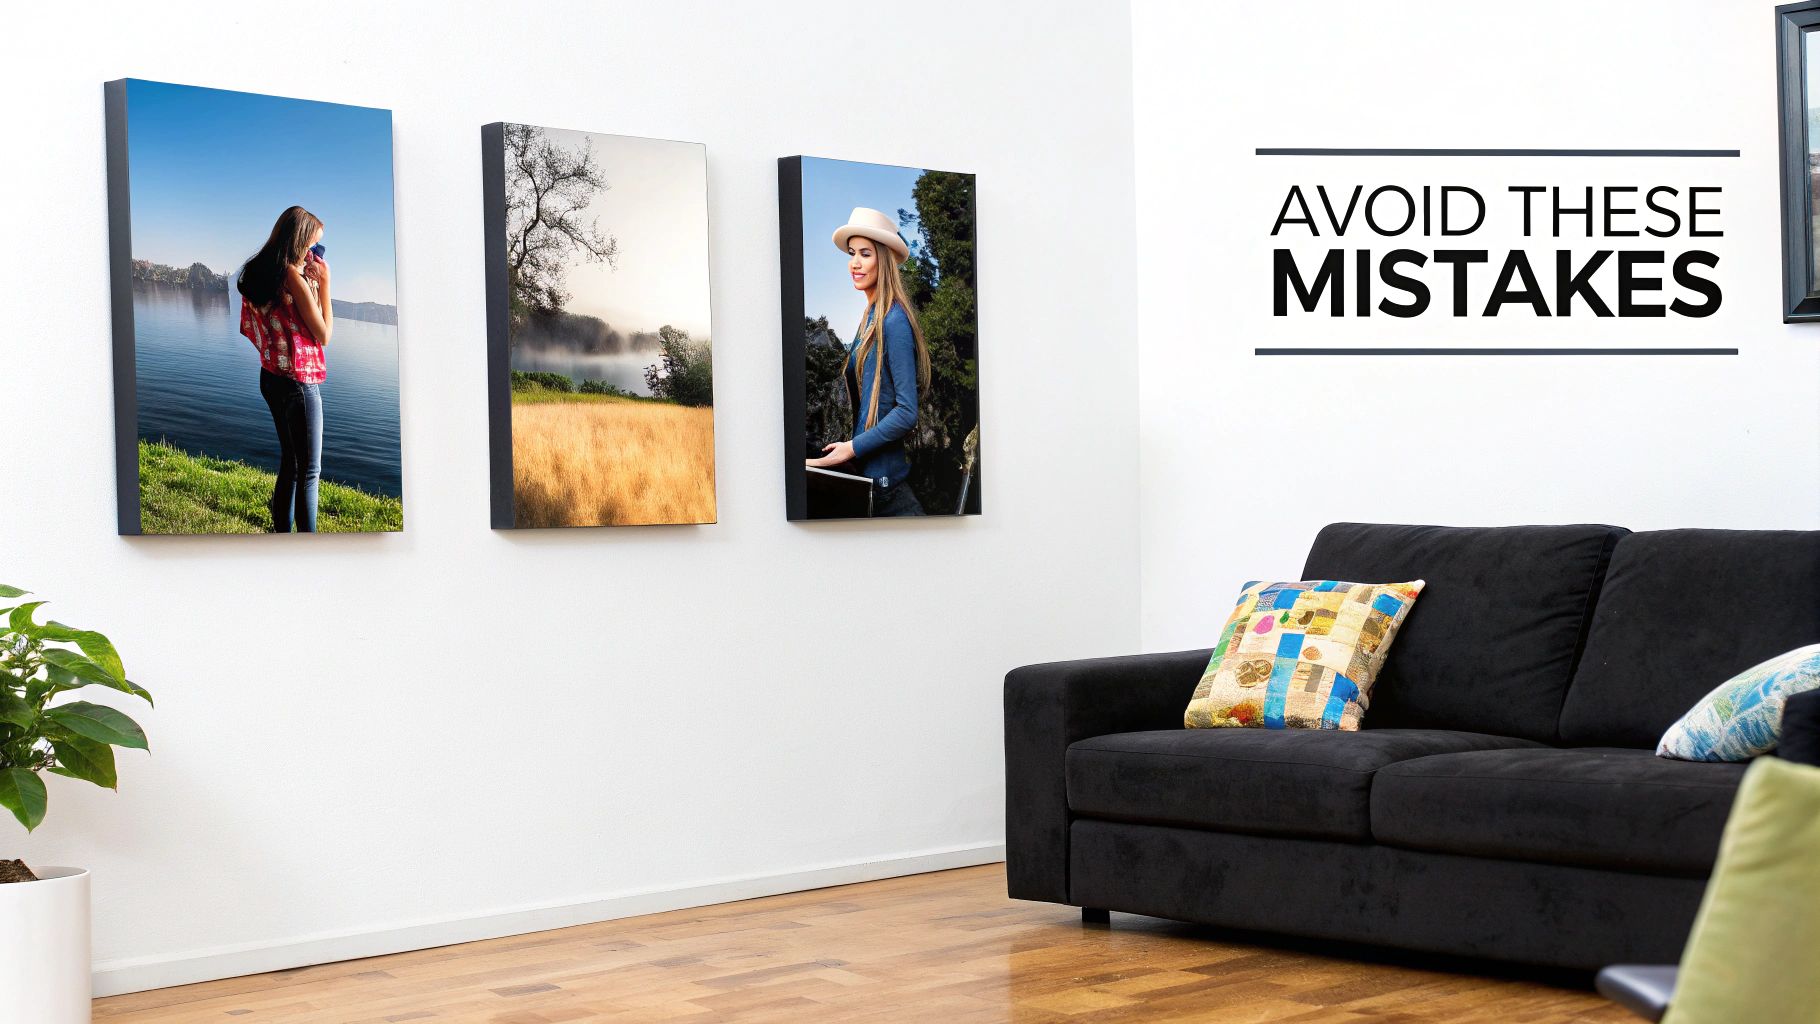
Common Canvas Printing Mistakes to Avoid
Learning how to print your photos on canvas can be a bit of a journey, but you can definitely skip some of the more common headaches by learning from the mistakes many of us have made over the years. The goal is to avoid those little blunders that can turn an exciting project into a real letdown.
The biggest issue I see, time and again, is starting with a low-resolution image. When a photo with too little digital information gets blown up to canvas size, you're left with a blurry, pixelated print. This is almost always the case with pictures you've pulled from social media, as those platforms compress files heavily to save space.
Another classic oversight is completely forgetting about the wrap area. With a gallery wrap, a chunk of your image—usually one to two inches—gets folded over the wooden frame. If you're not paying attention, you might find a crucial part of your photo, like a person's hand or the top of a beautiful mountain, has vanished around the side.
Managing Colors and Expectations
Ever had a photo that looked incredibly vibrant on your phone but came out looking a little flat in print? That's a super common problem. Your screen is lit from behind, which naturally makes colors pop more than they will on a physical canvas.
I’ve found it’s usually a good idea to give the brightness and contrast a little boost in your editing software to make up for this difference. It's all about managing expectations for how a digital file translates to a real-world object that reflects light, rather than emits it.
"The truth is revealed when the ink hits the paper. Holding a physical print of your work allows you to appreciate it in a way a screen never can, highlighting details and evoking powerful emotions."
A few other pitfalls to keep on your radar:
- Going overboard with edits: It's tempting to slide the saturation and sharpness all the way up, but this often makes a photo look artificial and harsh. A gentle touch is always better; you want to enhance the photo, not create a caricature of it.
- Picking the wrong size: A massive canvas can easily dominate a small room, while a tiny print will just get lost on a big, empty wall. Do yourself a favor and measure your wall space beforehand to find a size that feels right and looks intentional.
Keeping these simple tips in mind will help you sidestep the most frequent issues. A little mindfulness at each stage of the process makes all the difference in getting a canvas print you’ll be proud to hang.
Got Questions? We’ve Got Answers
Even after walking through the process, a few questions always seem to pop up. Let's tackle the most common ones I hear, so you can move forward with total confidence.
What’s the Best Resolution for a Canvas Print?
The magic number for a super crisp, professional-looking print is 300 DPI (dots per inch). Think of it as the gold standard for quality.
That said, you can still get fantastic results with a resolution around 150 DPI, especially if you're creating a larger piece that people will be viewing from a few feet away.
As a quick rule of thumb for a popular 16x20 inch canvas, you’ll want an image that's at least 2400x3000 pixels. You can usually find this info by right-clicking your image file and checking the "details" or "properties."
A quick peek at your photo’s pixel dimensions before you upload can save you from the disappointment of a blurry print. It’s honestly the single most important check for getting a great result.
Can I Really Use a Photo From My Phone?
You absolutely can! The cameras on today's smartphones are shockingly good, and they often capture images with more than enough detail for stunning small to medium-sized canvases, like an 8x10 or 11x14.
The secret is to use the original, full-size file straight from your phone's camera roll. Don't use a version you saved from social media or that was sent to you over a messaging app—those are almost always compressed, and the quality takes a nosedive. For the best shot, always aim for good lighting and try to avoid using the digital zoom.
How Do I Keep My Canvas Looking Great?
Canvas prints are pretty durable, but a little TLC goes a long way in keeping them vibrant for years. The best cleaning method is a simple, gentle dusting with a soft, dry, lint-free cloth.
It’s really important to never use water, chemical sprays, or any household cleaners. These can permanently damage the ink and the canvas fabric. Also, try to hang your art where it won't be in direct, harsh sunlight all day, as that can cause the colors to fade over time.
Ready to turn those digital memories into something you can hang on your wall? At Everone Prints, we're all about making it simple to create beautiful canvas prints that you'll love for a lifetime.
Start designing your custom canvas today at https://everone.shop